6.7 KiB
Getting started with Anaconda Python for data science
 Like many others, I've been trying to get involved in the rapidly expanding field of data science. When I took Udemy courses on the R and Python programming languages, I downloaded and installed the applications independently. As I was trying to work through the challenges of installing data science packages like NumPy and Matplotlib and solving the various dependencies, I learned about the Anaconda Python distribution.
Anaconda is a complete, open source data science package with a community of over 6 million users. It is easy to download and install, and it is supported on Linux, MacOS, and Windows.
I appreciate that Anaconda eases the frustration of getting started for new users. The distribution comes with more than 1,000 data packages as well as the Conda package and virtual environment manager, so it eliminates the need to learn to install each library independently. As Anaconda's website says, "The Python and R conda packages in the Anaconda Repository are curated and compiled in our secure environment so you get optimized binaries that 'just work' on your system."
I recommend using Anaconda Navigator, a desktop graphical user interface (GUI) system that includes links to all the applications included with the distribution including RStudio, iPython, Jupyter Notebook, JupyterLab, Spyder, Glue, and Orange. The default environment is Python 3.6, but you can also easily install Python 3.5, Python 2.7, or R. The documentation is incredibly detailed and there is an excellent community of users for additional support.
Installing Anaconda
To install Anaconda on my Linux laptop (an I3 with 4GB of RAM), I downloaded the Anaconda 5.1 Linux installer and ran md5sum to verify the file:
$ md5sum Anaconda3-5.1.0-Linux-x86_64.sh
Then I followed the directions in the documentation, which instructed me to issue the following Bash command whether I was in the Bash shell or not:
$ bash Anaconda3-5.1.0-Linux-x86_64.sh
/home/<user>/.bashrc?" I allowed it and restarted the shell, which I found was necessary for the .bashrc environment to work correctly.
I followed the installation directions exactly, and the well-scripted install took about five minutes to complete. When the installation prompted: "Do you wish the installer to prepend the Anaconda install location to PATH in your?" I allowed it and restarted the shell, which I found was necessary for theenvironment to work correctly.
After completing the install, I launched Anaconda Navigator by entering the following at the command prompt in the shell:
$ anaconda-navigator
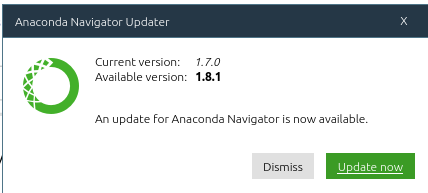
Every time Anaconda Navigator launches, it checks to see if new software is available and prompts you to update if necessary.
Anaconda updated successfully without needing to return to the command line. Anaconda's initial launch was a little slow; that plus the update meant it took a few additional minutes to get started.
You can also update manually by entering the following:
$ conda update anaconda-navigator
Exploring and installing applications
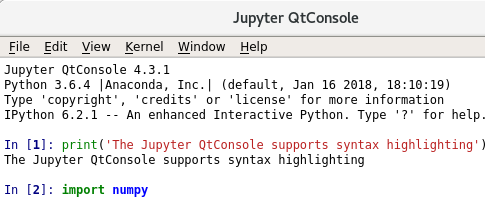
Once Navigator launched, I was free to explore the range of applications included with Anaconda Distribution. According to the documentation, the 64-bit Python 3.6 version of Anaconda supports 499 packages. The first application I explored was Jupyter QtConsole. The easy-to-use GUI supports inline figures and syntax highlighting.
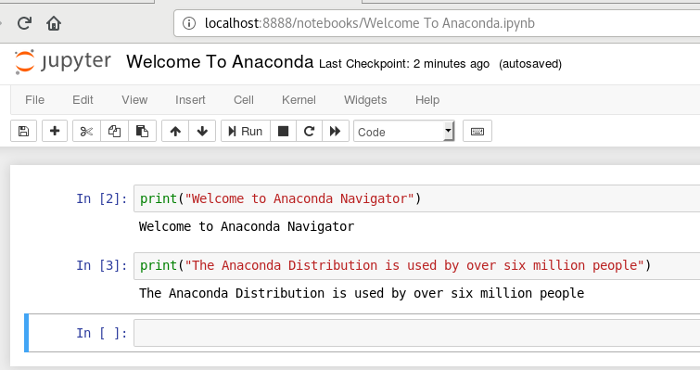
Jupyter Notebook is included with the distribution, so (unlike other Python environments I have used) there is no need for a separate install.
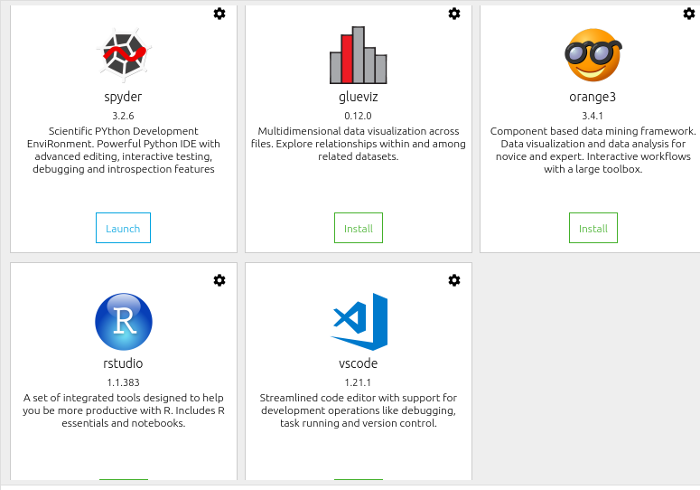
I was already familiar with RStudio. It's not installed by default, but it's easy to add with the click of a mouse. Other applications, including JupyterLab, Orange, Glue, and Spyder, can be launched or installed with just a mouse click.
One of the Anaconda distribution's strengths is the ability to create multiple environments. For example, if I wanted to create a Python 2.7 environment instead of the default Python 3.6, I would enter the following in the shell:
$ conda create -n py27 python=2.7 anaconda
Conda takes care of the entire install; to launch it, just open the shell and enter:
$ anaconda-navigator
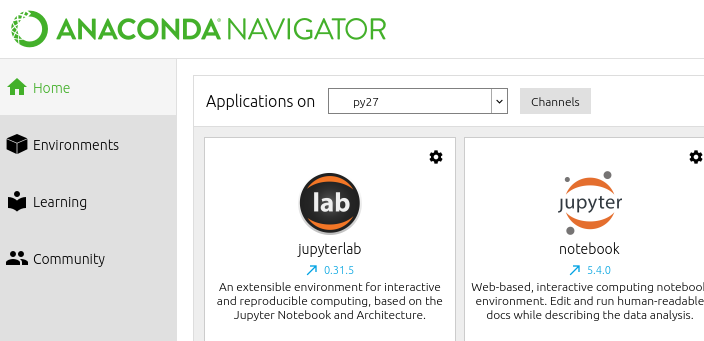
Select the py27 environment from the "Applications on" drop-down in the Anaconda GUI.
Learn more
There's a wealth of information available about Anaconda if you'd like to know more. You can start by searching the Anaconda Community and its mailing list.
Are you using Anaconda Distribution and Navigator? Let us know your impressions in the comments.
via: https://opensource.com/article/18/4/getting-started-anaconda-python
作者:Don Watkins 选题:lujun9972 译者:译者ID 校对:校对者ID
