7.9 KiB
Bring an old MacBook back to life with Linux
It takes about an hour to make an outdated Mac useful again with Fedora.

Recently, I stumbled on an old MacBook Pro 13" from late 2011, with a 125GB SSD and 8GB RAM. I've taken this machine on trips around the world, and back in the day, I ran many a session, workshop, or demo to share all the AppDev goodness from JBoss technologies.
After verifying that its battery works, charging it up, and reinstalling a new OS X, it turns out that the Safari browser version is limited to an old security specification, which means it can't connect to a lot of HTTPS sites now. This renders this solution defunct.
What to do with this old thing?
It's been a few years since I worked solely on Linux workstations as a developer. I specifically worked on Fedora, so I decided to try to install the latest version on this MacBook Pro.
It took me just over an hour to get Fedora 33 working on this laptop with the steps below.
Download Fedora 33 and create a live USB
The first step is to find the right way to install Fedora. This machine has a CD slot, so you could burn an ISO and boot from it, but I chose to go straight to a bootable USB option.
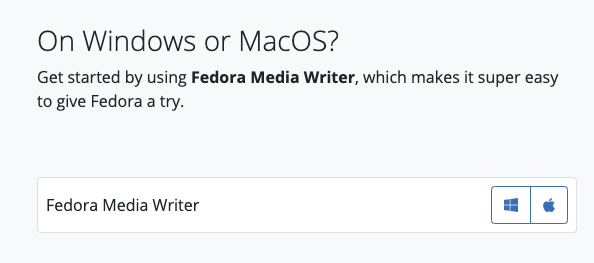
I got on my other MacBook and visited the Fedora Workstation site, which links to Fedora Media Writer. Click on the icon for your machine type (in my case, the Apple logo), and you get an installation package.
(Eric D. Shabell, CC BY-SA 4.0)
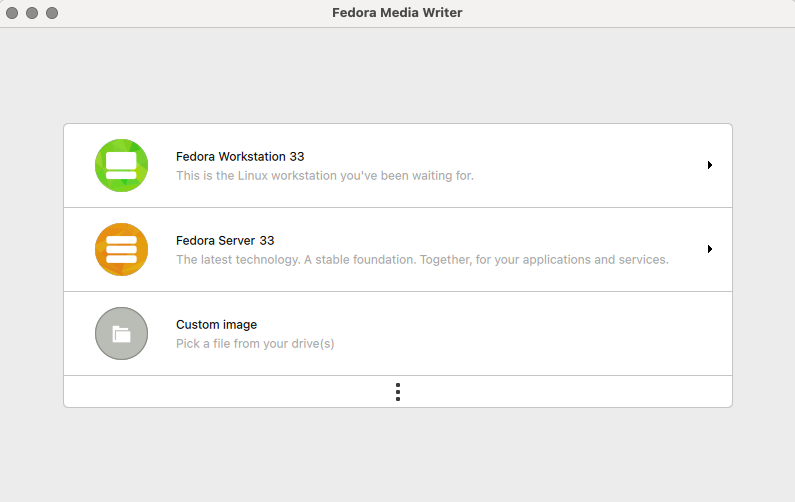
Start installing it to see a graphical user interface (GUI) that guides you through the process. Select the Fedora Workstation 33 option:
(Eric D. Shabell, CC BY-SA 4.0)
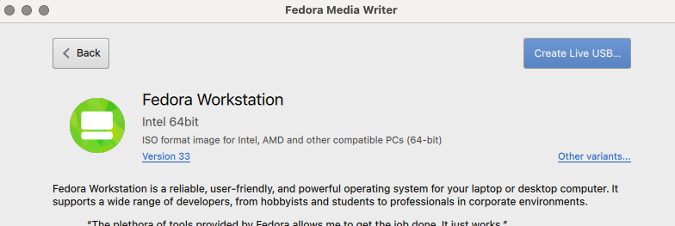
Next, select the Create Live USB option in the top-right corner:
(Eric D. Shabell, CC BY-SA 4.0)
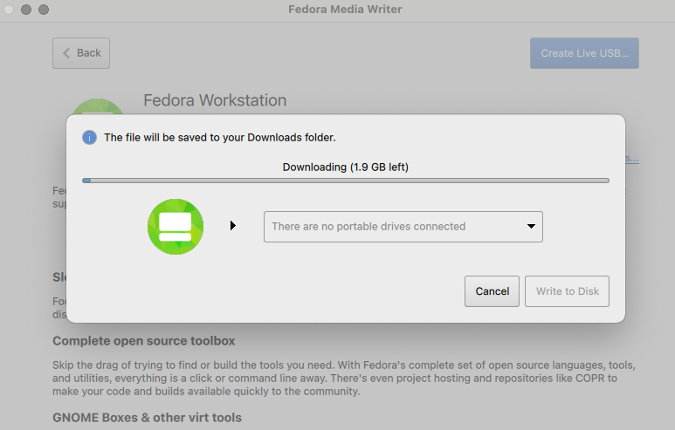
The image will start to download, and you will see a drop-down menu to select where to install it:
(Eric D. Shabell, CC BY-SA 4.0)
Plug in a USB stick with enough space available, then after the download finishes, you can select and install the image on it. Once it's finished, close the GUI and remove the USB stick.
Install Linux
Insert the USB stick you created into the port on the left side of your MacBook Pro, and restart it while holding down the Option (or Alt) key just to the left of the Cmd key. This opens a menu of options to start the machine; use the EFI option, as that's the USB image.
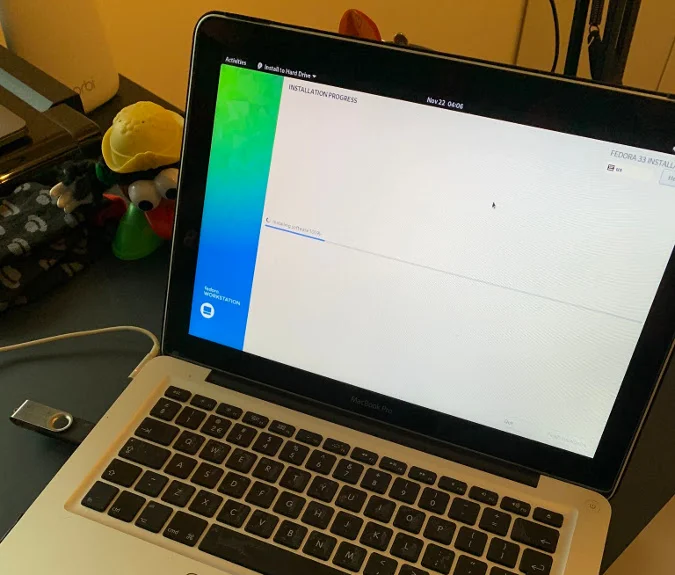
The laptop will boot from the USB device, and you can follow the normal Fedora installation process. It helps if you can plug the MacBook Pro into a network cable connection, as the Broadcom WiFi device will not work out of the box.
(Eric D. Shabell, CC BY-SA 4.0)
You should get the opportunity to install Fedora to your hard drive and put it on your machine permanently.
(Eric D. Shabell, CC BY-SA 4.0)
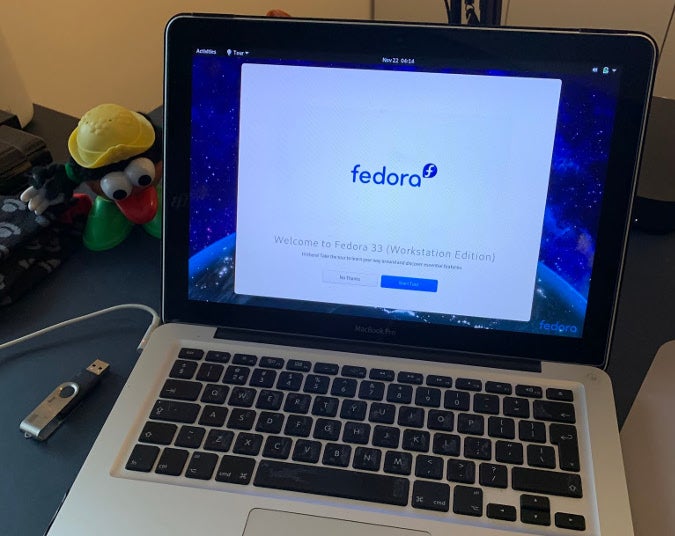
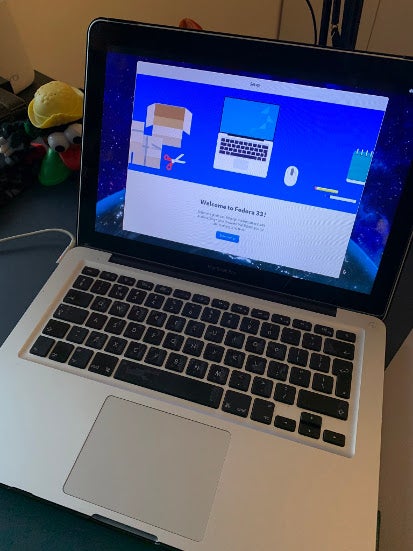
Once the installer completes, reboot your machine, and Fedora 33 should now be the option to boot from.
(Eric D. Shabell, CC BY-SA 4.0)
The only thing missing is a WiFi driver, so keep your network cable connected to install the development packages for the kernel you are running and to build the broadcom-wl driver for that kernel.
Verify the card you need for WiFi:
`$ lspci -vnn -d 14e4:`
There will be several items in the output, including something like:
Network controller [0280]: Broadcom Inc. and subsidiaries....

Subsystem: Apple Inc. AirPort Extreme...
Install a repository to pull the Broadcom stuff:
`$ su -c 'dnf install -y http://download1.rpmfusion.org/nonfree/fedora/rpmfusion-nonfree-release-$(rpm -E %fedora).noarch.rpm'`
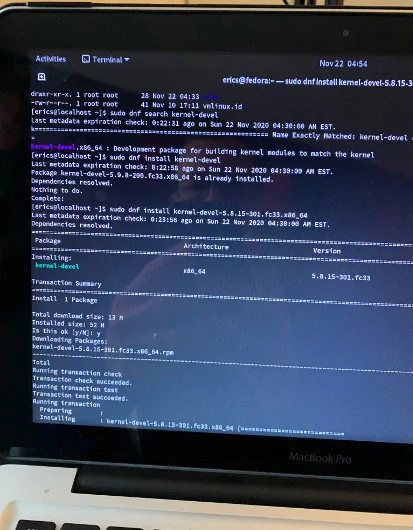
The next part is interesting: As you look at the running kernel, you'll see v5.9.8-200.fc33, but you will use the development kernel packages to build your Broadcom wireless driver. So, you need to install v5.8.15-301.fc33 (available at the time of this writing). Check them using uname -r, and list the installed kernel packages using sudo dnf list kernel:
$ sudo dnf list kernel

kernel.x86_64                     5.8.15-301.fc33

kernel.x86_64                     5.9.8-200.fc33
Install the development packages:
`$ sudo dnf install -y akmods kernel-devel-5.8.15-301.fc33`
(Eric D. Shabell, CC BY-SA 4.0)
Install the Broadcom wireless package:
`$ sudo dnf install -y broadcom-wl`
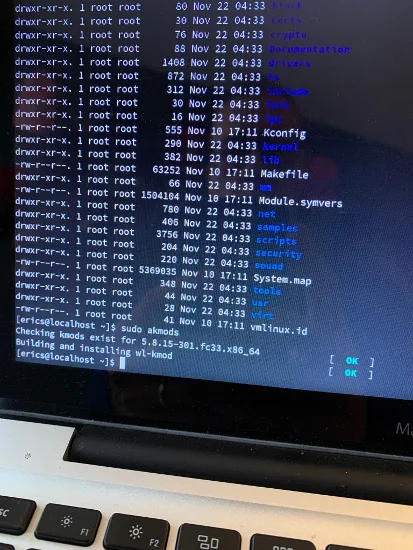
Build the kernel module:
`$ sudo akmods`
(Eric D. Shabell, CC BY-SA 4.0)
Reboot your machine, and you should be able to view the wireless driver (wl) with:
`$ lsmod | grep wl`
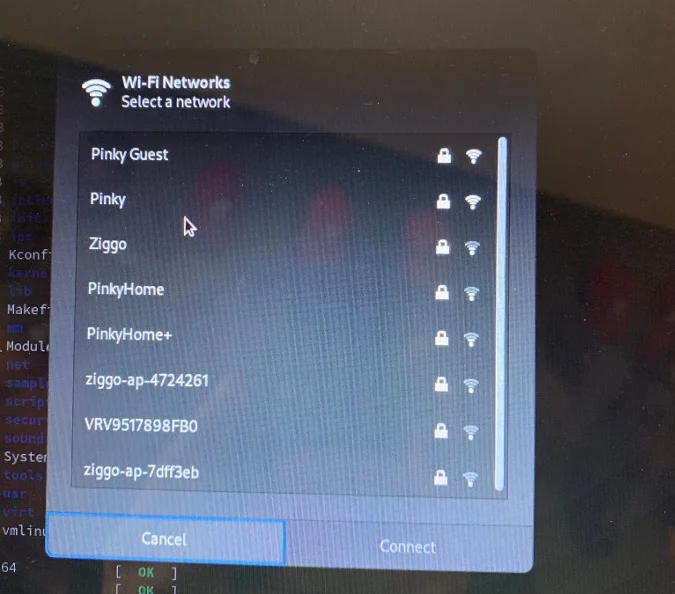
Set up your wireless connection in Fedora:
(Eric D. Shabell, CC BY-SA 4.0)
This article is a bit out of the ordinary for me, but I hope it might help someone else enjoy some fun on the weekend with some old hardware!
Going off the beaten path now... installing #Fedora on a macbook pro from 2011. Wish me luck! pic.twitter.com/zlsESnq2Px
— Eric D. Schabell (@ericschabell) November 22, 2020
This originally appeared on Schabell.org and is republished with permission.
via: https://opensource.com/article/20/12/linux-macbook
作者:Eric D. Schabell 选题:lujun9972 译者:译者ID 校对:校对者ID
