6.2 KiB
Create a wiki on your Linux desktop with Zim
There's no denying the usefulness of a wiki, even to a non-geek. You can do so much with one—write notes and drafts, collaborate on projects, build complete websites. And so much more.
I've used more than a few wikis over the years, either for my own work or at various contract and full-time gigs I've held. While traditional wikis are fine, I really like the idea of desktop wikis . They're small, easy to install and maintain, and even easier to use. And, as you've probably guessed, there are a number a desktop wikis available for Linux.
Let's take a look at one of the better desktop wikis: Zim.
Getting going
You can either download and install Zim from the software's website, or do it the easy way and install it through your distro's package manager.
Once Zim's installed, start it up.
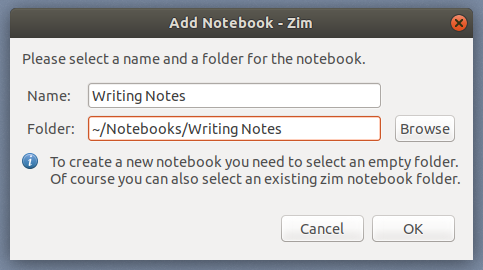
A key concept in Zim is notebooks. They're like a collection of wiki pages on a single subject. When you first start Zim, it asks you to specify a folder for your notebooks and the name of a notebook. Zim suggests "Notes" for the name, and ~/Notebooks/ for the folder. Change that if you want. I did.
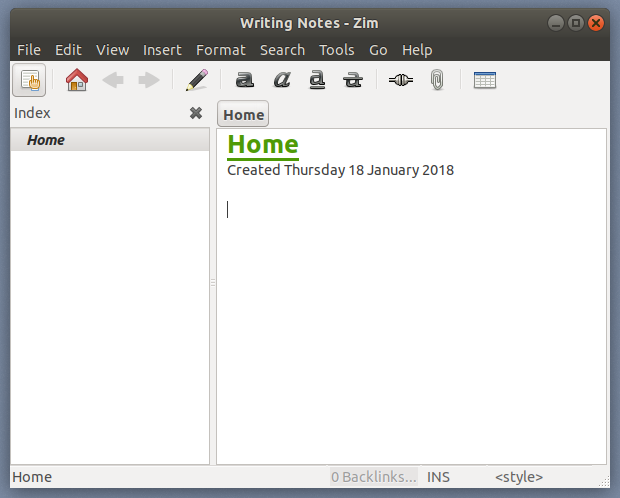
After you set the name and the folder for your notebook, click OK. You get what's essentially a container for your wiki pages.
Adding pages to a notebook
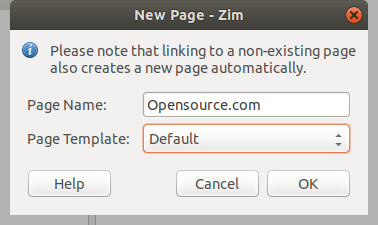
So you have a container. Now what? You start adding pages to it, of course. To do that, select File > New Page.
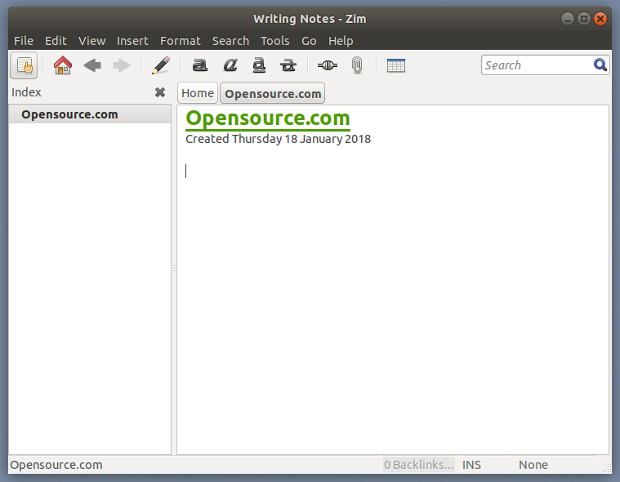
Enter a name for the page, then click OK. From there, you can start typing to add information to that page.
That page can be whatever you want it to be: notes for a course you're taking, the outline for a book or article or essay, or an inventory of your books. It's up to you.
Zim has a number of formatting options, including:
- Headings
- Character formatting
- Bullet and numbered lists
- Checklists
You can also add images and attach files to your wiki pages, and even pull in text from a text file.
Zim's wiki syntax
You can add formatting to a page using the toolbar, but that's not the only way to do the deed. If, like me, you're kind of old school, you can use wiki markup for formatting.
Zim's markup is based on the markup that's used with DokuWiki. It's essentially WikiText with a few minor variations. To create a bullet list, for example, type an asterisk. Surround a word or a phrase with two asterisks to make it bold.
Adding links
If you have a number of pages in a notebook, it's easy to link them. There are two ways to do that.
The first way is to use CamelCase to name the pages. Let's say I have a notebook called "Course Notes." I can rename the notebook for the data analysis course I'm taking by typing "AnalysisCourse." When I want to link to it from another page in the notebook, I just type "AnalysisCourse" and press the space bar. Instant hyperlink.
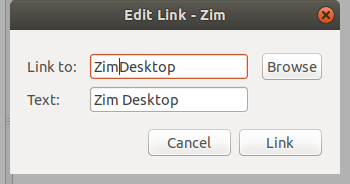
The second way is to click the Insert link button on the toolbar. Type the name of the page you want to link to in the Link to field, select it from the displayed list of options, then click Link.
I've only been able to link between pages in the same notebook. Whenever I've tried to link to a page in another notebook, the file (which has the extension .txt) always opens in a text editor.
Exporting your wiki pages
There might come a time when you want to use the information in a notebook elsewhere—say, in a document or on a web page. Instead of copying and pasting (and losing formatting), you can export your notebook pages to any of the following formats:
- HTML
- LaTeX
- Markdown
- ReStructuredText
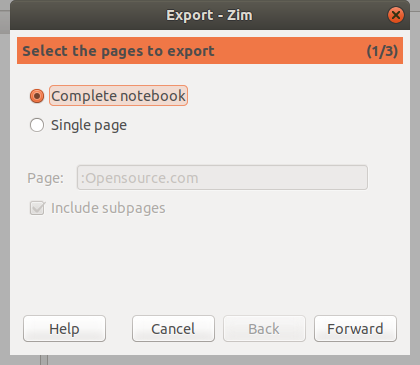
To do that, click on the wiki page you want to export. Then, select File > Export. Decide whether to export the whole notebook or just a single page, then click Forward.
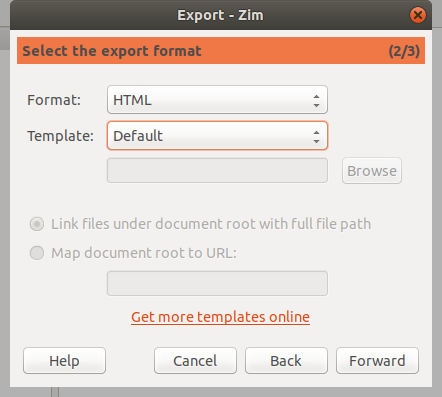
Select the file format you want to use to save the page or notebook. With HTML and LaTeX, you can choose a template. Play around to see what works best for you. For example, if you want to turn your wiki pages into HTML presentation slides, you can choose "SlideShow_s5" from the Template list. If you're wondering, that produces slides driven by the S5 slide framework.
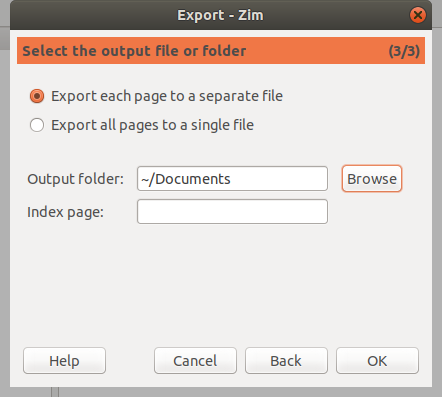
Click Forward. If you're exporting a notebook, you can choose to export the pages as individual files or as one file. You can also point to the folder where you want to save the exported file.
Is that all Zim can do?
Not even close. Zim also has a number of plugins that expand its capabilities. It even packs a built-in web server that lets you view your notebooks as static HTML files. This is useful for sharing your pages and notebooks on an internal network.
All in all, Zim is a powerful, yet compact tool for managing your information. It's easily the best desktop wiki I've used, and it's one that I keep going back to.
via: https://opensource.com/article/18/2/create-wiki-your-linux-desktop-zim
作者:Scott Nesbitt 译者:译者ID 校对:校对者ID

