mirror of
https://github.com/LCTT/TranslateProject.git
synced 2025-01-19 22:51:41 +08:00
68 lines
4.7 KiB
Markdown
68 lines
4.7 KiB
Markdown
##如何在Ubuntu下安装Google云端硬盘客户端
|
||
|
||
以下教程将为所有的Ubuntu用户讲授如何在你们的运行正常的Ubuntu上安装名为Grive的非官方Google云端硬盘客户端。
|
||
|
||
|
||
|
||
正如你所知,Google(大概讨厌Linux用户)没有为其优秀的Google云端硬盘提供Linux客户端。但是不用担心,随着开源社区拥有了一些像Lorenzo Breda一样的天才人物,他们为Linux开发了一个叫做 Grive的非官方的Google云盘客户端。
|
||
|
||
在我们实际安装之前,我们提醒你Grive应用还处于开发的早期阶段,仍旧有一些局限性,例如对多重父级的文件及文件夹的支持以及下载Google文档的能力.
|
||
|
||
另外,我们应该提及的是Grive是一个命令行客户端并且没有GUI(图形用户界面),因此,这次安装我们将使用其他Linux大神们制作的工具,叫做Grive Tools,它将在你的Ubuntu机器上自动下载、编译和安装最新版本的Grive.
|
||
|
||
Grive Tools支持以下的Ubuntu发行版:Ubuntu 12.10 (Quantal Quetzal), Ubuntu 13.04 (Raring Ringtail),和Ubuntu 13.10 (Saucy Salamander).
|
||
|
||
###安装依赖库
|
||
|
||
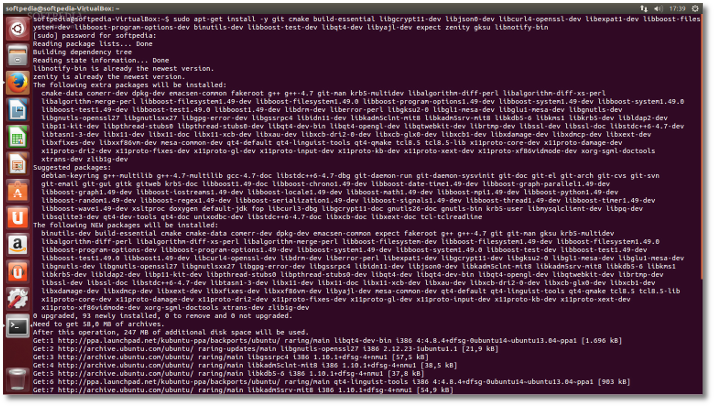
这是一个简单的步骤,只要求你在Unity Dash上搜索并打开终端,然后将以下的代码粘贴在终端窗口上:
|
||
|
||
sudo apt-get install -y git cmake build-essential libgcrypt11-dev libjson0-dev libcurl4-openssl-dev libexpat1-dev libboost-filesystem-dev li bboost-program-options-dev binutils-dev libboost-test-dev libqt4-dev libyajl-dev expect zenity gksu libnotify-bin
|
||
|
||
敲击回车键后,当提示输入密码时键入密码并再一次敲击回车键开始进入安装过程,需要注意的是可能有一些依赖包已经由你之前的应用程序安装好了。
|
||
|
||
|
||
|
||
###安装Grive Tools和Grive
|
||
|
||
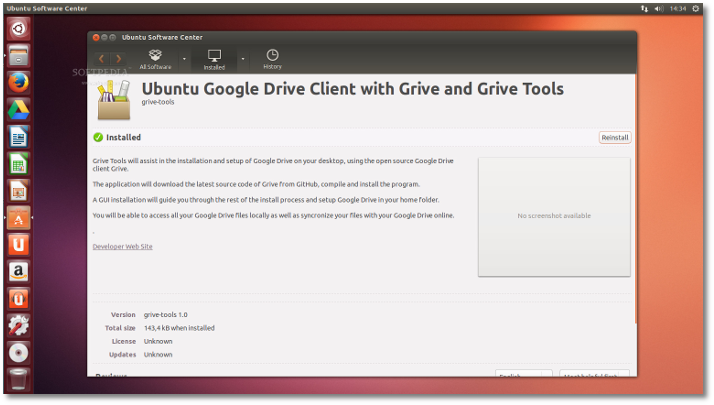
在[这里][1]下载正确的Grive Tools包并保存在你的桌面上,下载完成后双击它,此时Ubuntu软件中心将打开,这样你就可以轻松容易的安装该应用了。
|
||
|
||
|
||
|
||
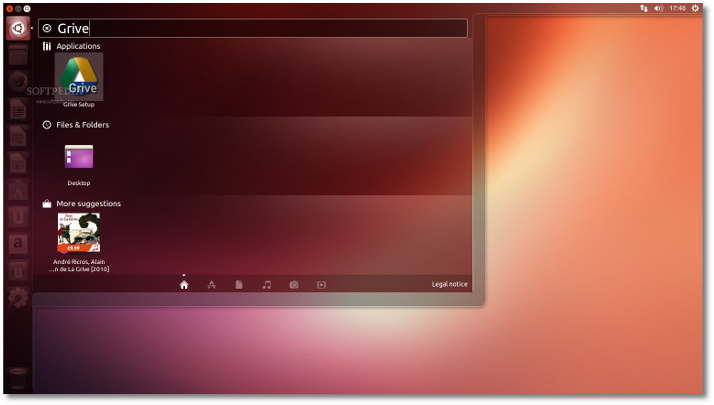
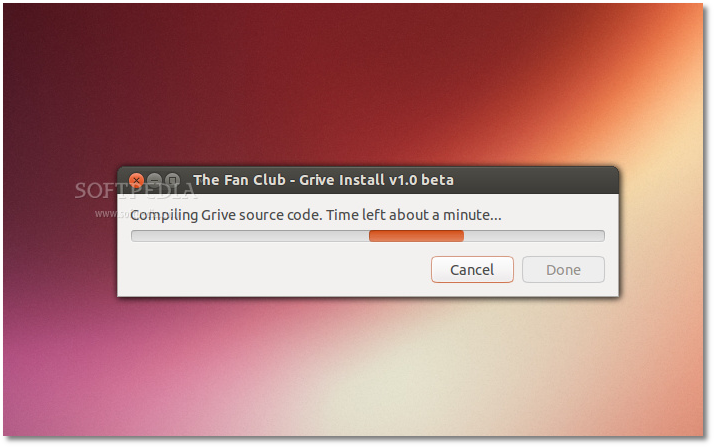
一旦安装完成,在Unity Dash上搜索Grive Tools并打开。Grive Tools将要求你输入你的密码,键入你的密码并点击OK,然后Grive Tools将开始下载文件和配置最新版本的Grive,这将会花费你一些时间。
|
||
|
||
|
||
|
||
|
||
|
||
###在Grive上配置Google云端硬盘
|
||
|
||
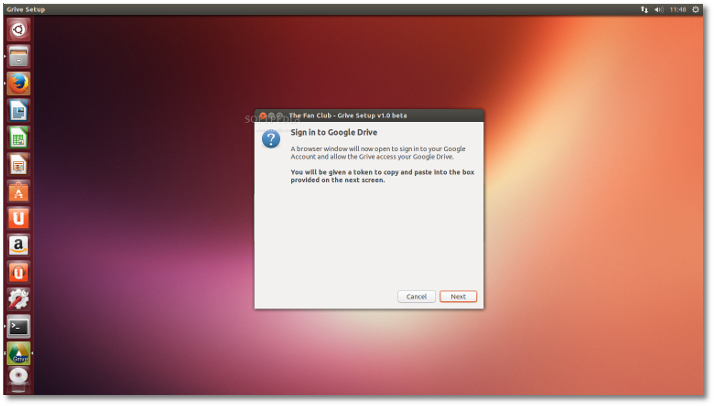
既然Google云端硬盘Linux客户端已经安装完毕,为了让它可以访问你的Google云端账号,我们需要对它进行配置,当你看到下面的对话框时请单击"Next"按钮。
|
||
|
||
|
||
|
||
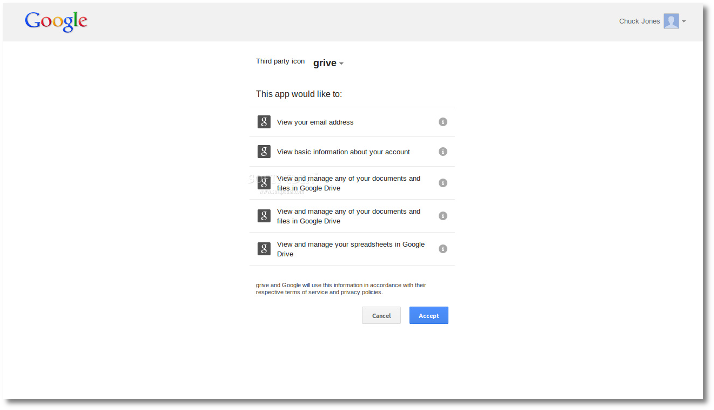
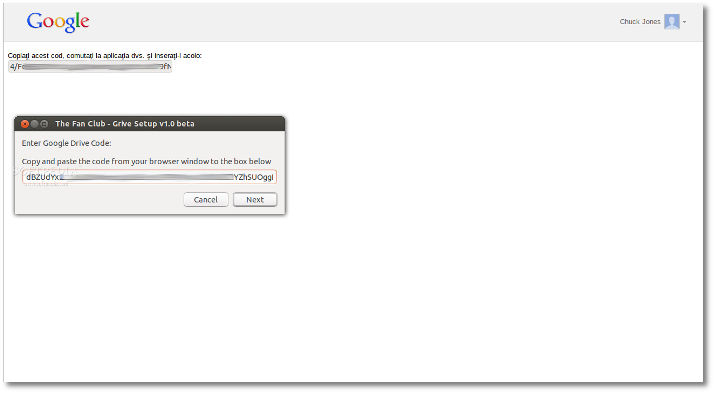
一个web浏览器或标签将被打开,要求您登录到您的Google账号(如果你尚未登入)并授权给该应用去访问你的Google云端硬盘,单击蓝色的"Accept"按钮后你将可以看到Google认证码,你需要将该认证码复制并且粘贴在Grive设置对话框上。
|
||
|
||
|
||
|
||
|
||
|
||
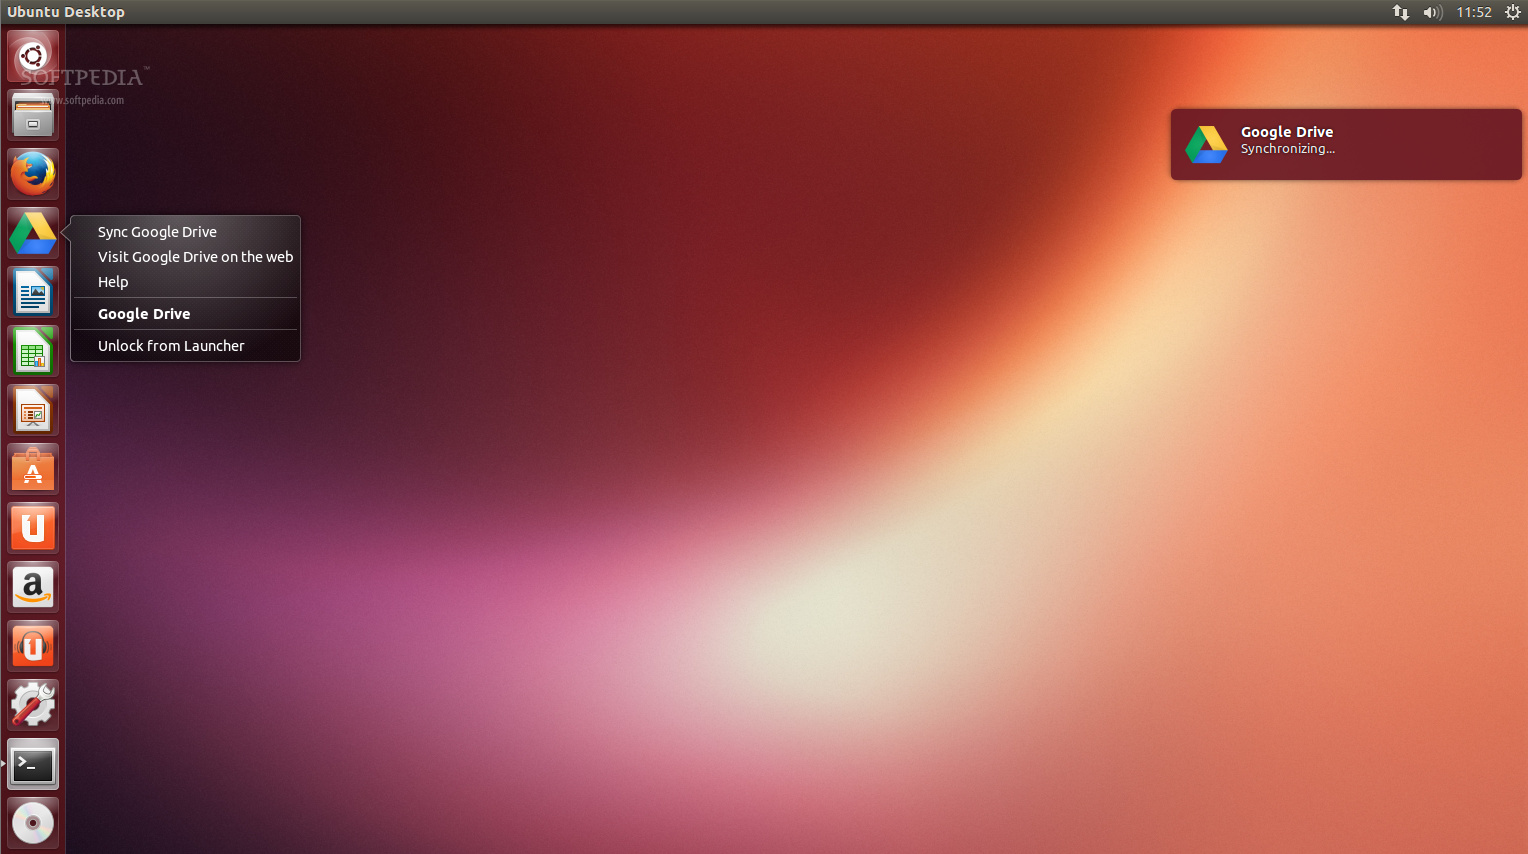
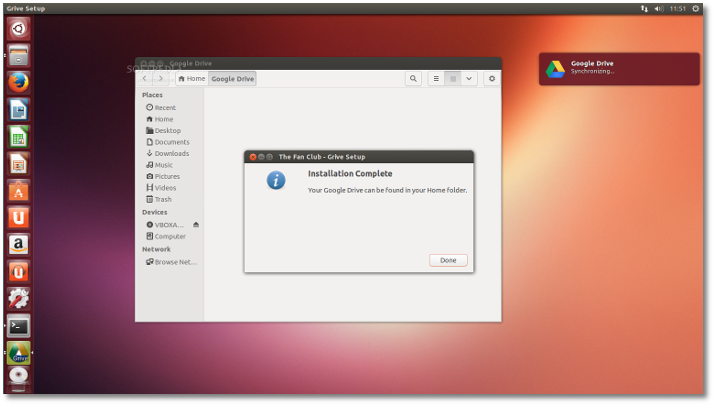
就是这样!你的Google云端硬盘上的文件将根据你的Google账号立即下载到并放置到你的家目录下的"Google Drive"文件夹下。同步时你将可以看到一个桌面通知。
|
||
|
||
|
||
|
||
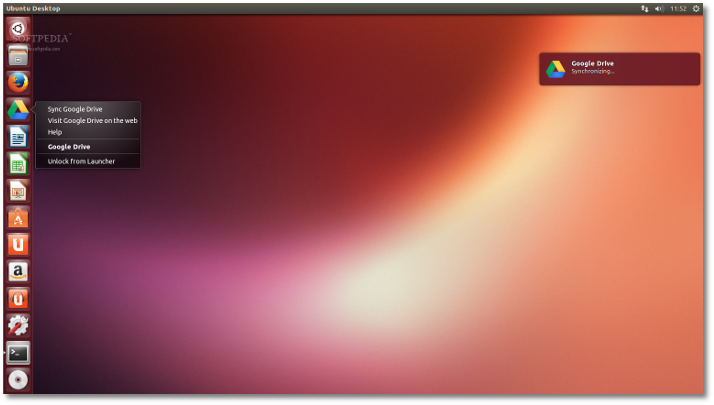
如果你在Unity Dash上搜索"Google Drive"(搜索时不加引号),你将可以看到一个Google云端硬盘的图标,你可以将该图标拖拖动到Unity启动器上,在Unity启动器上右击Google云端硬盘图标可以快速的同步到你的Google云端硬盘上或者访问你的本地文件夹。
|
||
|
||
|
||
|
||
如果您对于教程还有问题,尽管在下面写下评论。
|
||
|
||
[1]:http://linux.softpedia.com/get/Utilities/Grive-Tools-102298.shtml
|
||
|
||
|
||
|
||
本文由 [LCTT](https://github.com/LCTT/TranslateProject) 原创翻译,[Linux中国](http://linux.cn/portal.php) 荣誉推出。
|
||
|
||
译者:[Luny](http://linux.cn/space/luny) 校对:[Caroline](http://linux.cn/space/caroline),[wxy](http://linux.cn/space/wxy)
|
||
|
||
via: http://news.softpedia.com/news/How-to-Install-a-Google-Drive-Client-on-Ubuntu-381532.shtml
|