3.2 KiB
How to Install The Latest Arduino IDE 1.6.6 in Ubuntu
Quick tutorial shows you how to the latest Arduino IDE, so far its version 1.6.6, in all current Ubuntu releases.
The open-source Arduino IDE has reached the 1.6.6 release recently with lots of changes. The new release has switched to Java 8, which is now both bundled and needed for compiling the IDE. See the RELEASE NOTE for details.
For those who don’t want to use the old 1.0.5 version available in Software Center, you can always follow below steps to install Arduino in all Ubuntu releases:
注:下面这个说明下面的代码颜色,这个发布的时候要对照一下原文,写点说明,因为颜色在md里标识不出来
Replace the words in red for future releases
1. Download the latest packages, Linux 32-bit or Linux 64-bit, from the official link below:
Don’t know your OS type? Go and check out System Settings -> Details -> Overview.
2. Open terminal from Unity Dash, App Launcher, or via Ctrl+Alt+T keys. When it opens, run below commands one by one:
Navigate to your downloads folder:
cd ~/Downloads
Decompress the downloaded archive with tar command:
注:arduino-1.6.6-.tar.xz 为红色部分 tar -xvf arduino-1.6.6-.tar.xz
Move the result folder to /opt/ directory for global use:
注:arduino-1.6.6 为红色部分 sudo mv arduino-1.6.6 /opt
3. Now the IDE is ready for use with bundled Java. But it would be good to create desktop icon/launcher for the application:
Navigate to install folder:
注:arduino-1.6.6 为红色部分 cd /opt/arduino-1.6.6/
Give executable permission to install.sh script in that folder:
chmod +x install.sh
Finally run the script to install both desktop shortcut and launcher icon:
./install.sh
In below picture I’ve combined 3 commands into one via “&&”:
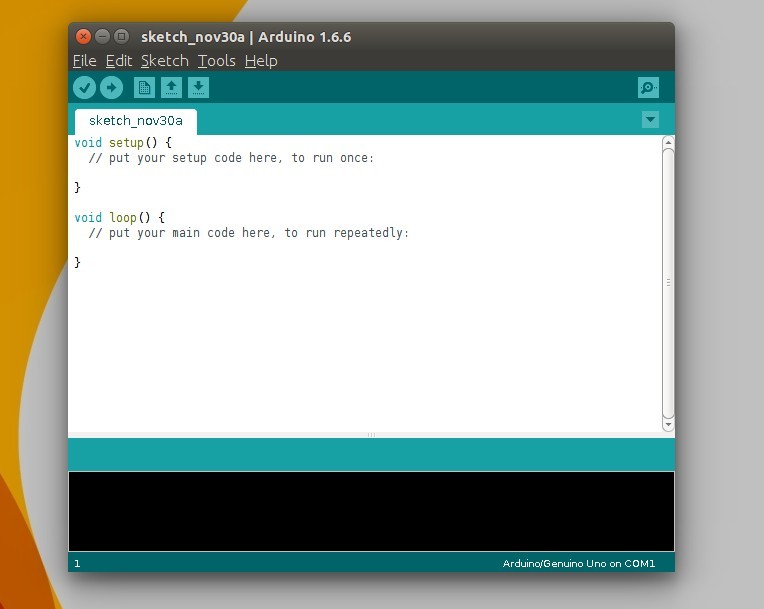
Finally, launch Arduino IDE from Unity Dash, Application Launcher, or via Desktop shorcut.
via: http://ubuntuhandbook.org/index.php/2015/11/install-arduino-ide-1-6-6-ubuntu/


