7.5 KiB
Deploy Quarkus applications to Kubernetes using a Helm chart
A developer's guide to serverless function deployment with Quarkus Helm
chart.
Serverless functions are driving the fast adoption of DevOps development and deployment practices today. Knative on Kubernetes is one of the most popular serverless platforms to adopt serverless function architectures successfully. But developers must understand how serverless capabilities are specified using a combination of Kubernetes APIs, Knative resources, and function-oriented programming. DevOps teams also need to standardize runtime stacks (that is, application runtime, builder image, deployment configuration, and health check) to execute the functions on Kubernetes. What if you, a developer, could set this up with familiar technology and practice?
This article guides you on the way developers can get started with serverless function deployment with the Quarkus Helm chart on Kubernetes. Furthermore, developers can avoid the extra work of developing a function from scratch, optimizing the application, and deploying it to Kubernetes.
If you haven't experienced using Helm for cloud-native application deployments on Kubernetes, I will tell you what Helm is and what benefits you have with it. Helm is one of the most popular package managers for Kubernetes. Helm provides a chart that simplifies Kubernetes resources within a single package file for an application build and deployment. Developers can install the chart to Kubernetes using the Helm command-line interface or graphical dashboard.
Install Quarkus Helm chart
In this article, you'll use OpenShift Kubernetes Distribution (OKD) built on Kubernetes with application lifecycle management functionality and DevOps tooling. If you haven't installed the Helm feature on your OKD cluster yet, follow the installation document.
Before building a Quarkus application using a Quarkus Helm chart, you need to create pull and push secrets in your OKD cluster. You use the secrets to pull a builder image from an external container registry and then push it to the registry.
Note: You can skip this step if you don't need to use an external container registry during application build or deploy the application to the OKD cluster.
Create a pull secret using the following oc command:
$ oc create secret docker-registry my-pull-secret \
\--docker-server=$SERVER_URL \
\--docker-username=$USERNAME \
\--docker-password=$PASSWORD \
\--docker-email=$EMAIL
Then, create a push secret using the following command:
$ oc create secret docker-registry my-push-secret \
\--docker-server=$SERVER_URL \
\--docker-username=$USERNAME \
\--docker-password=$PASSWORD \
\--docker-email=$EMAIL
Install the Quarkus Helm chart:
$ helm repo add quarkus \
<https://github.com/redhat-developer/redhat-helm-charts>
Build and deploy Quarkus application using Helm chart
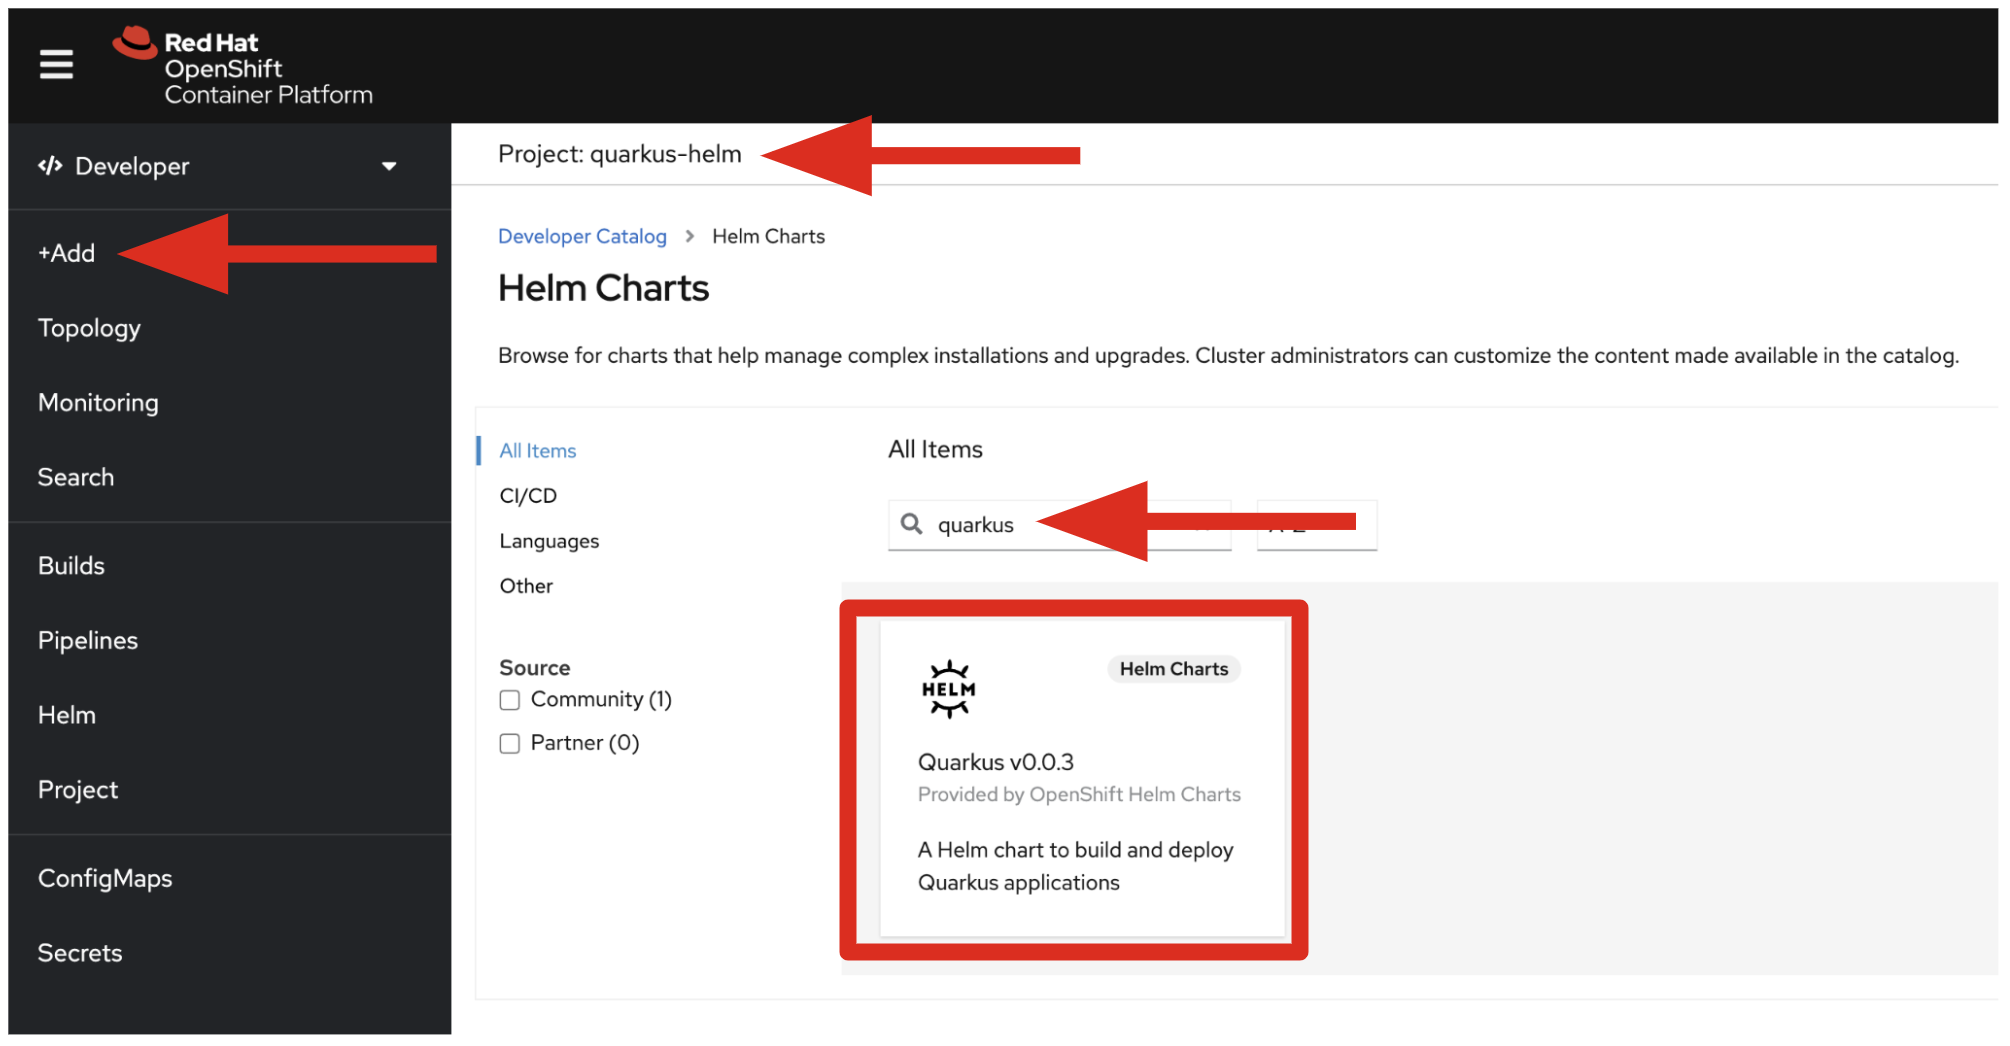
Go to the Developer console in the OKD cluster, click on Helm chart in +Add menu. Then type in quarkus in the search box. Click on the Quarkus v0.0.3 helm chart, as shown below.
Note: You'll need to create a quarkus-helm project (namespace) to install a Quarkus Helm chart in your OKD cluster.
(Daniel Oh, CC BY-SA 4.0)
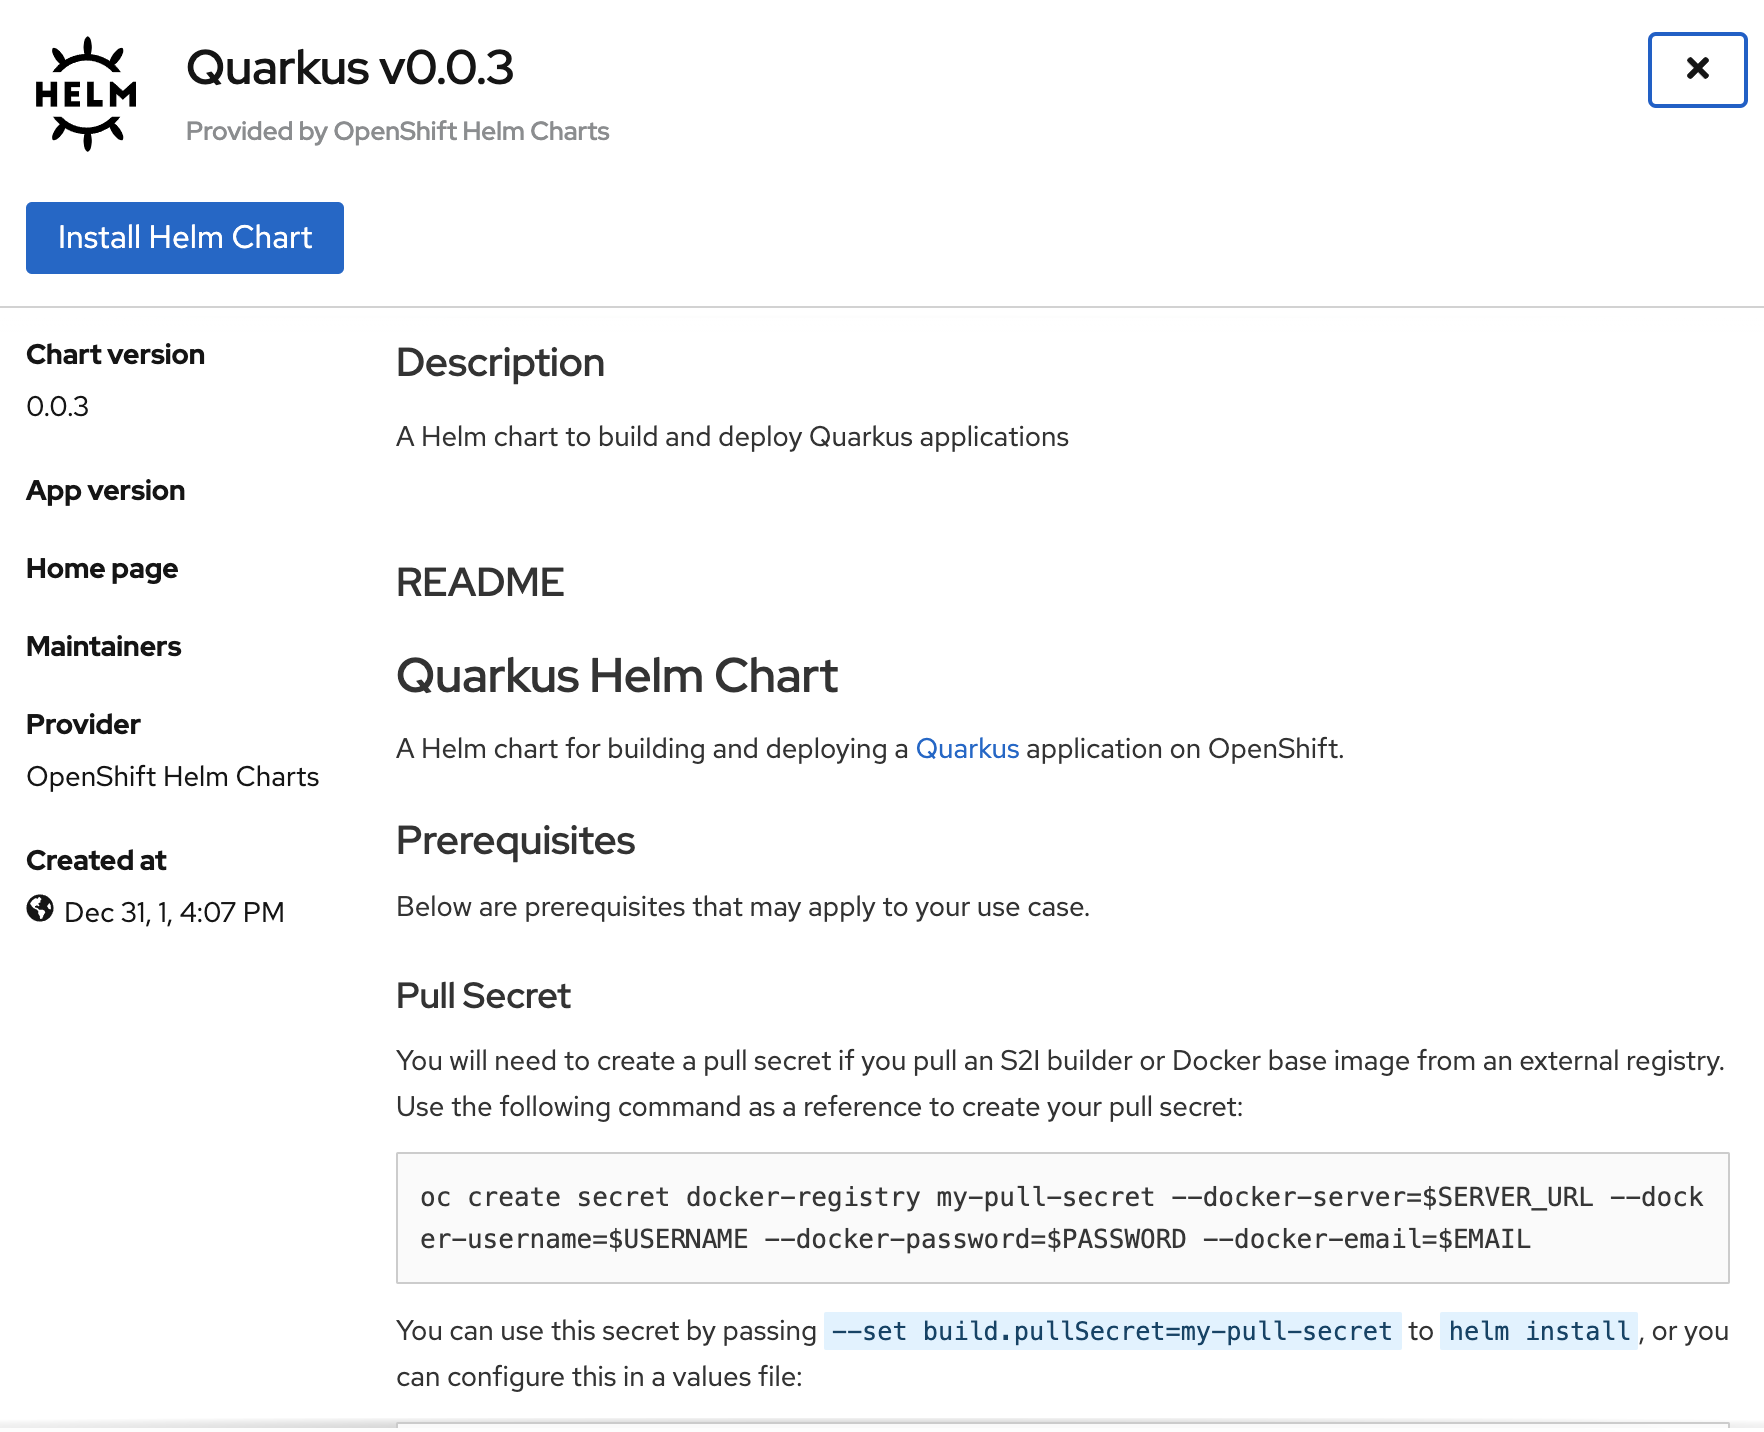
Click on Install Helm Chart, as shown below.
(Daniel Oh, CC BY-SA 4.0)
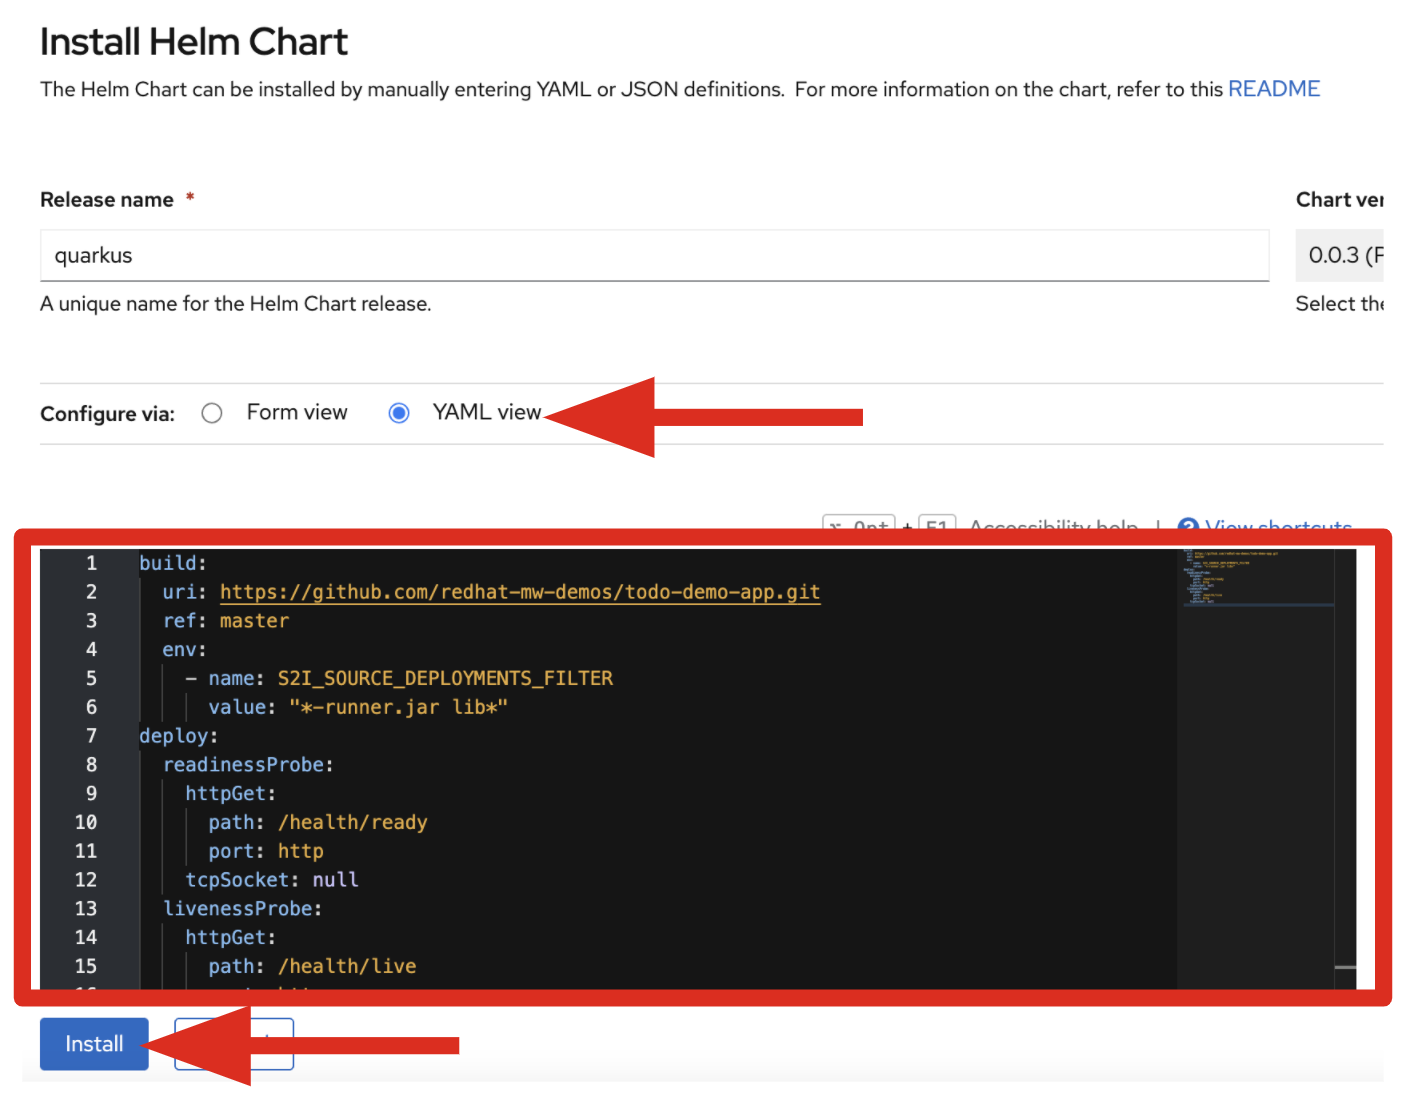
Switch the editor to YAML view, then paste the following build and deploy configurations:
build:
  uri: <https://github.com/redhat-mw-demos/todo-demo-app.git>
  ref: master
  env:
    - name: S2I_SOURCE_DEPLOYMENTS_FILTER
      value: "*-runner.jar lib*"
deploy:
  readinessProbe:
    httpGet:
      path: /health/ready
      port: http
    tcpSocket: null
  livenessProbe:
    httpGet:
      path: /health/live
      port: http
    tcpSocket: null
Then, click on the Install button, as shown below.
(Daniel Oh, CC BY-SA 4.0)
Find more values to configure the Quarkus helm chart here.
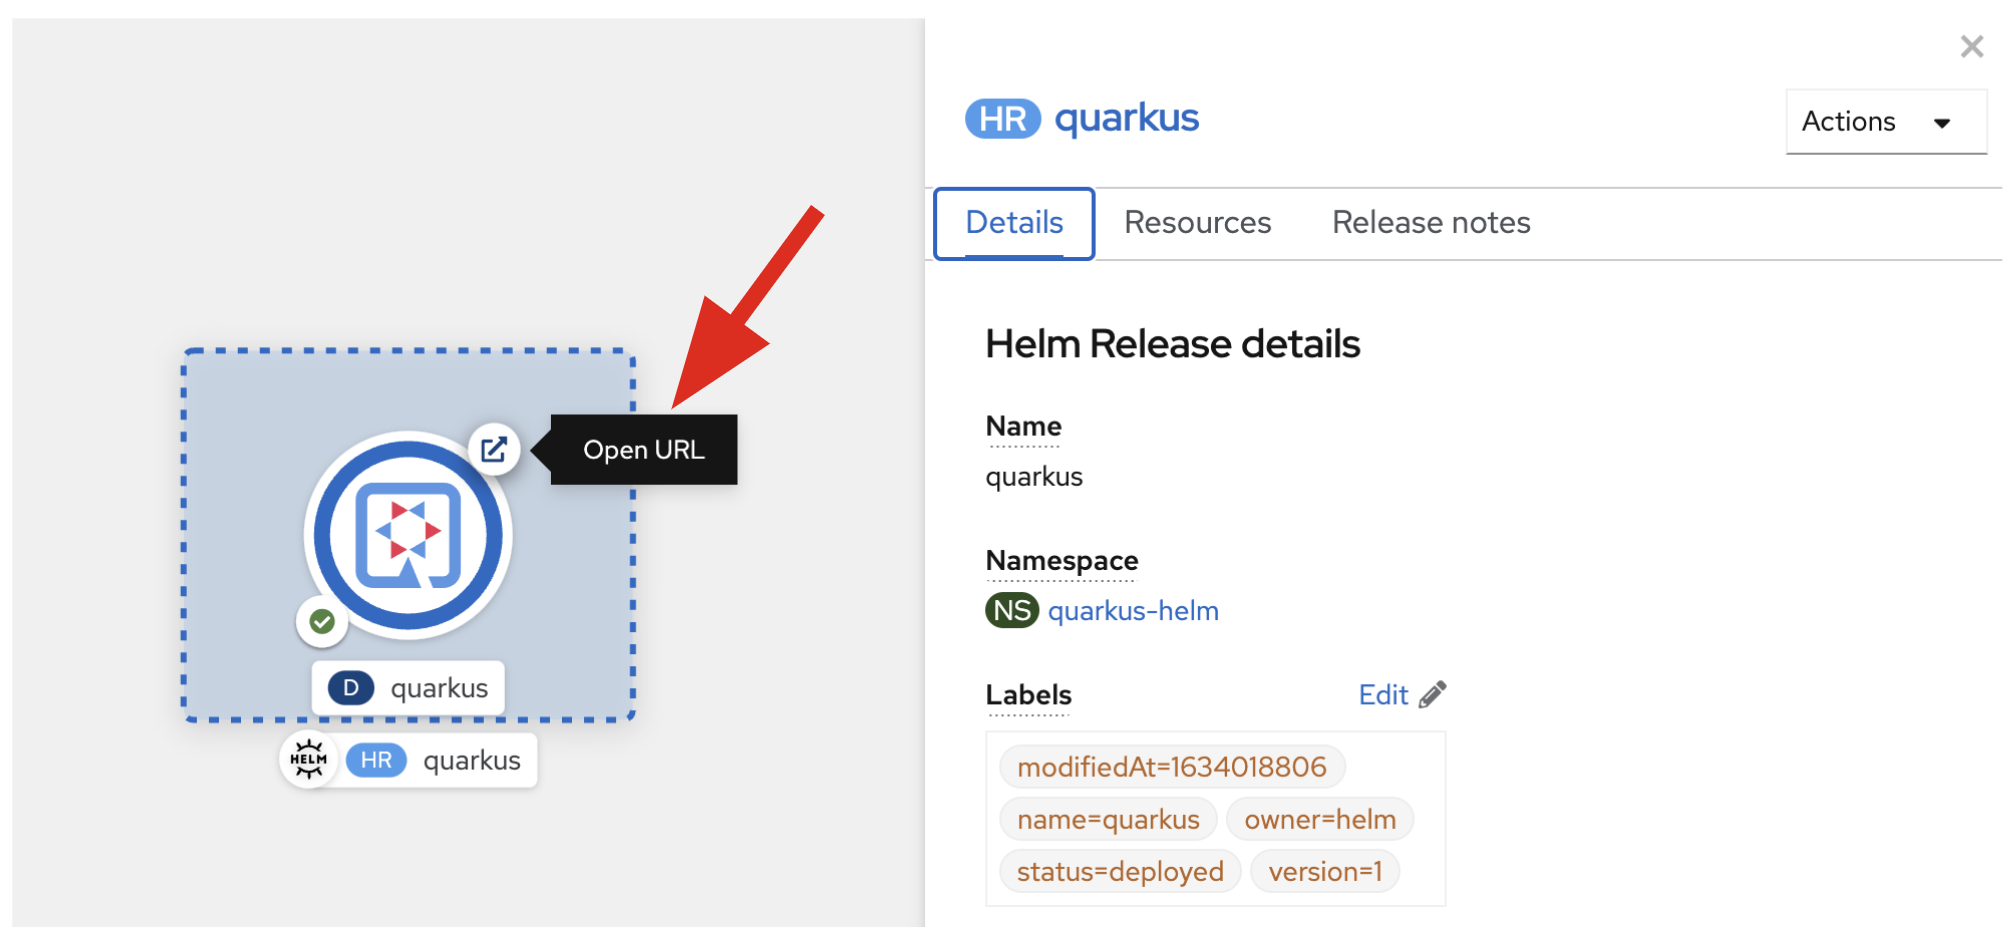
Once the chart gets installed successfully, you'll see the following Quarkus pod in the Topology view, as shown below.
(Daniel Oh, CC BY-SA 4.0)
Note: You might see ErrImagePull and ImagePullBackOff in Deployments while the build is processing. Once the build completes, your image gets automatically rolled out.
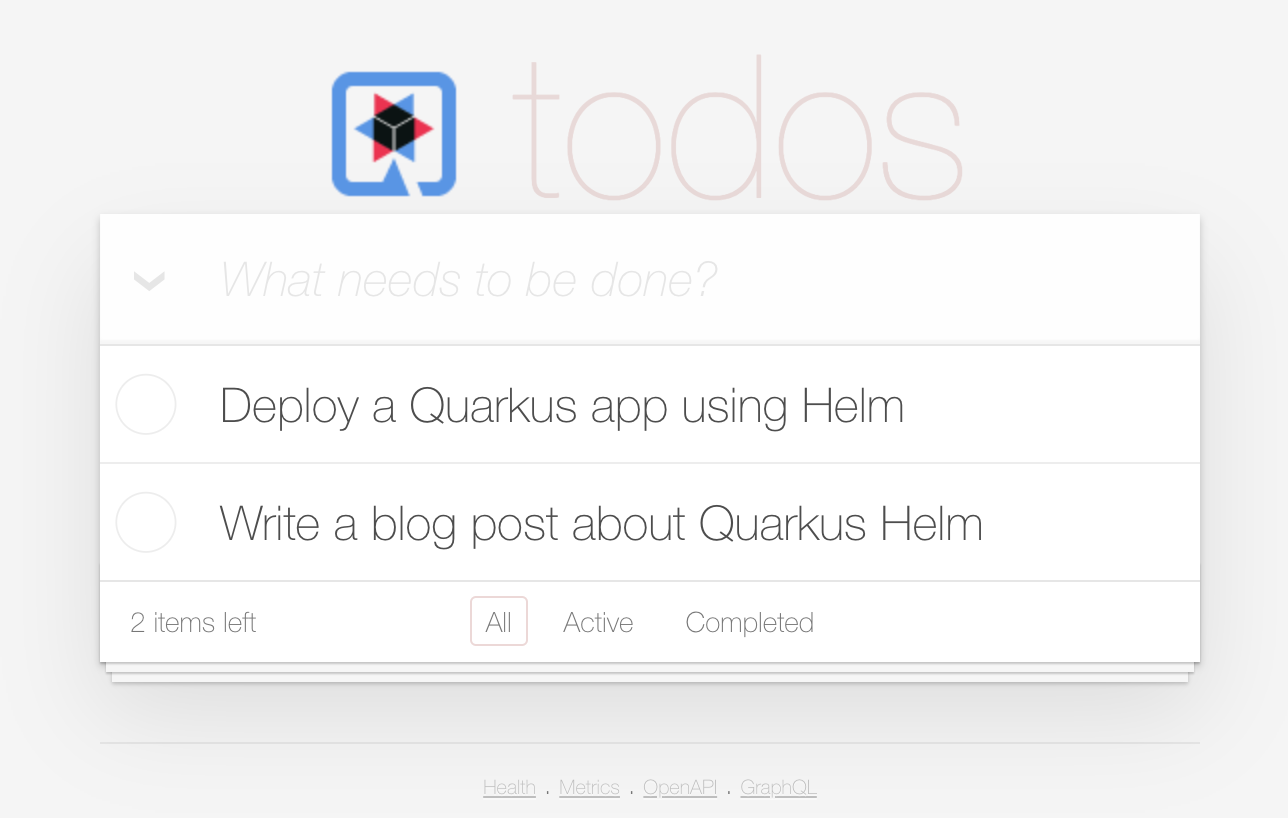
Click on the Open URL icon. It brings you to the todos application. Let's try to add a few items for fun, as shown below.
(Daniel Oh, CC BY-SA 4.0)
Conclusion
You've learned the way developers can build Quarkus applications and deploy them to Kubernetes/OpenShift cluster in a few minutes using a Helm chart. The developers can manage the application runtime stack in terms of upgrade, rollback, uninstall, and add new configurations such as application health check, replication without changing the application source code or developing new Kubernetes manifestos with YAML files. This minimizes developers' burden to keep leveraging application runtimes other than implementing business logic on Kubernetes. For more information to follow on Quarkus journey here:
- A Java developer's guide to Quarkus
- 3 reasons Quarkus 2.0 improves developer productivity on Linux
- Optimize Java serverless functions in Kubernetes
via: https://opensource.com/article/21/10/quarkus-helm-chart
