12 KiB
Install Ubuntu on Windows Using VirtualBox [Complete Guide]
This tutorial will guide you through the easiest steps to install an Ubuntu desktop on Windows using Oracle VirtualBox.
VirtualBox is a popular virtualization software by Oracle which is available for Linux, mac and Windows systems. It is flexible and brings many features to take advantage of your virtualization. It’s the best and easy way to experience Ubuntu in Windows without installing it. However, I strongly recommend installing Ubuntu physically as a dual-boot to enjoy its advantage.
The steps outlined below assume that you are installing Ubuntu for the first time in Windows. Hence the steps are a little descriptive and a bit lengthy. Furthermore, the following steps should work for Windows 10 and Windows 11 as host machines.
Contents
- Pre-requisite
- Download Ubuntu ISO and VirtualBox set-up files
- Install VirtualBox on Windows (Host)
- Install Ubuntu (Guest) on VirtualBox
- Guest addition installation and tips
What you’ll need
- A PC with internet access
- Ubuntu Linux ISO image file for installation
- Windows system with VirtualBox installed
Install Ubuntu on Windows Using VirtualBox
Download and install the necessary items
- Download the Ubuntu Linux desktop ISO image file from the following link.
- Also, download the Oracle VirtualBox installer from the official website below.

How to install and configure VirtualBox
VirtualBox in Windows requires Microsoft Visual C++ 2019 Redistributable package. And you have to install it first. Download the package (under X64 architecture) from the below link:


- After the above installation is complete, download the latest Python package from the below link. Python bindings are also a dependency for VirtualBox installation on Windows.
- Then, launch the VirtualBox installation and follow the onscreen instructions to install it.
- After installation, restart your Windows system again.
Set up a virtual machine for Ubuntu
- Launch VirtualBox from the start menu.

- On the VirtualBox window toolbar, click New.
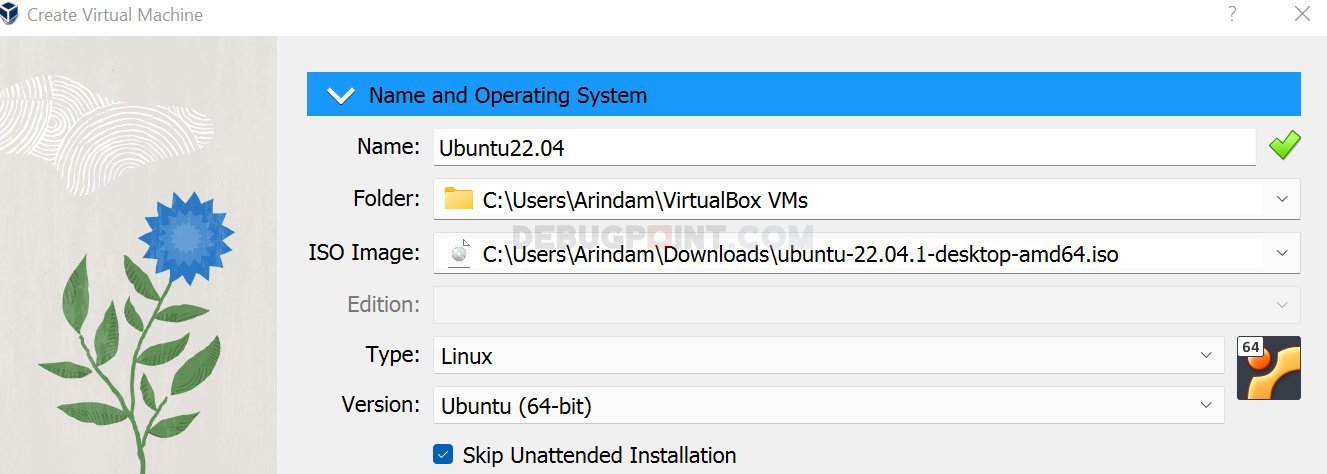
- On the Create VirtualBox window, give the name of your virtual machine. It can be any name which identifies this version of Ubuntu.
- Keep the Folder Name unchanged. This is the path where the virtual machine file will be created.
- In the ISO Image field, browse the Ubuntu ISO file you downloaded.
- And select the Unattended installation. If you un-select this, a default user id (vboxuser) and password will be created in your virtual machine. Let’s not follow it for now.

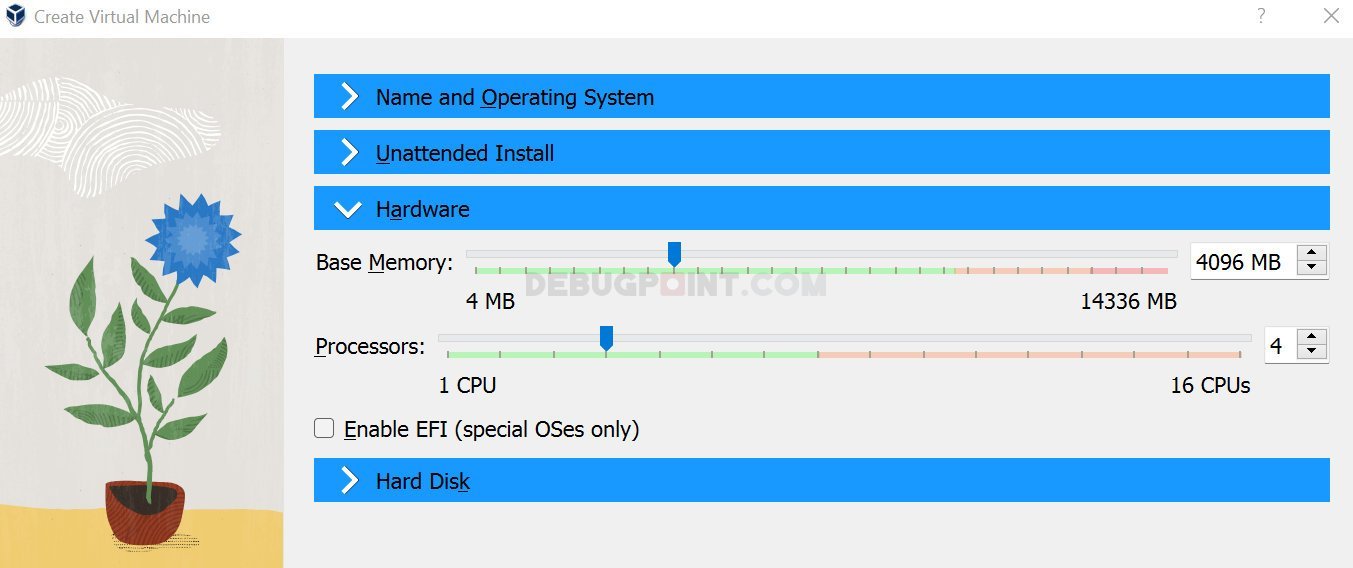
- Click on Hardware and select the RAM you want for your virtual box. A thumb rule is that your VM’s RAM size should be less than your physical RAM in the host system. I would recommend using 2 GB to 4 GB for a virtual machine for an 8 GB RAM system. For 4 GB RAM, use the slider (or type in) to make it 4096 MB (i.e. 4*1024).
- Choose processor as 2 or 4.
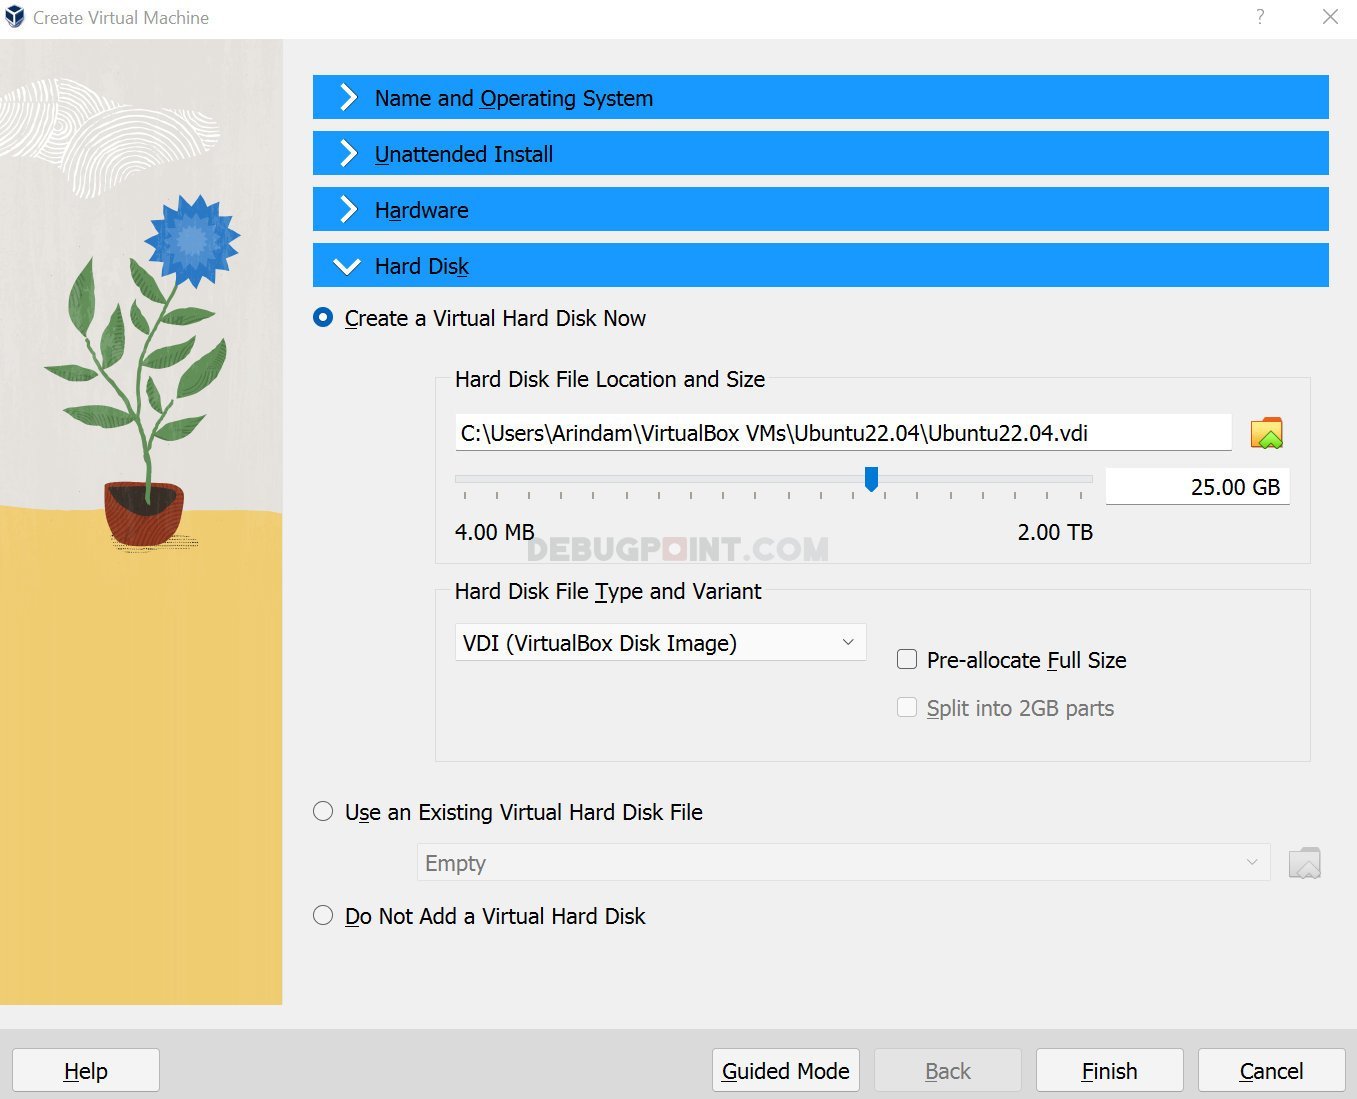
- Click on the Hard Disk section, and keep the file location unchanged.
- Give a minimum of 20GB to 25GB for Ubuntu installation.
- The hard disk file type value keeps as VDI (VirtualBox Disk Image)
- Do not select the pre-allocate full size.
- And finally, click on Finish.
- You should see a new entry at the left panel of VirtualBox with an Ubuntu 22.04 entry (the name which you gave above).
- Select the entry and click on Start to boot into the virtual machine

Install Ubuntu using VirtualBox
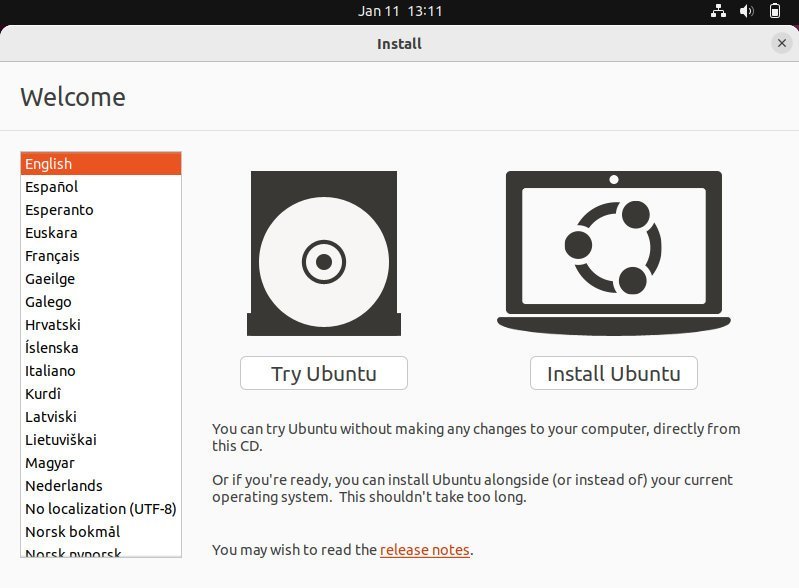
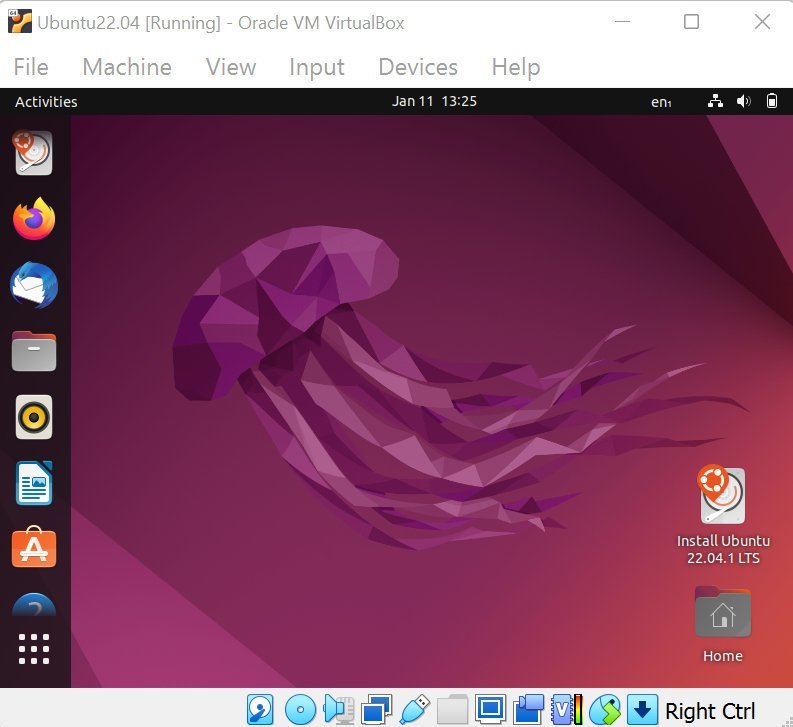
- After a successful boot, you should see the following screen, which shows various options for installing Ubuntu. Select Try or install Ubuntu.
- In the Welcome screen, click on Try Ubuntu. And after a few moments, you should see the following Ubuntu LIVE desktop. If you want to change the resolution, right-click on the desktop and select Display settings. And change the resolution to 1400×900.
- On the desktop, double-click on “Install Ubuntu…”.
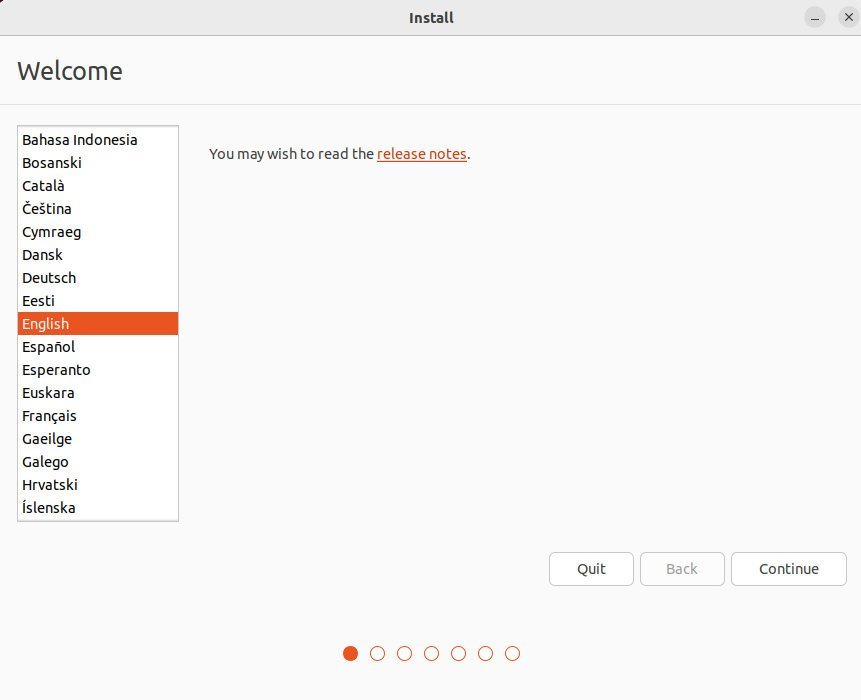
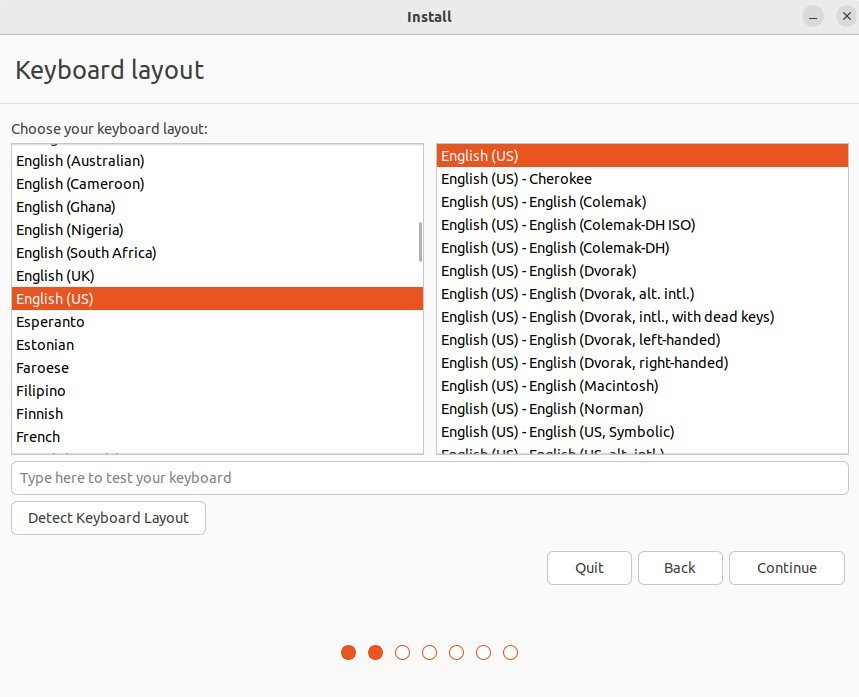
- In the next set of screens, select Language and Keyboard Layout as your needs.
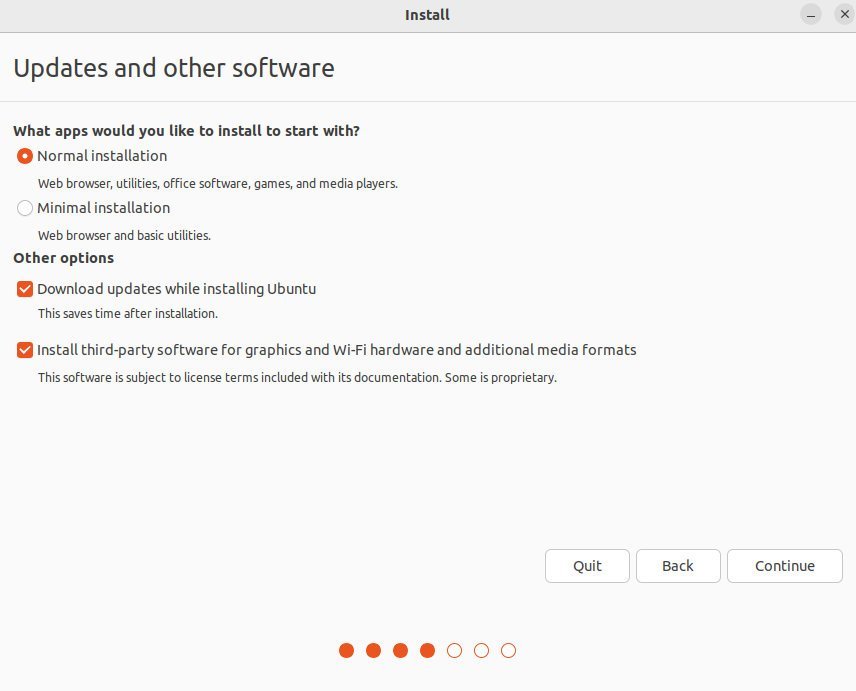
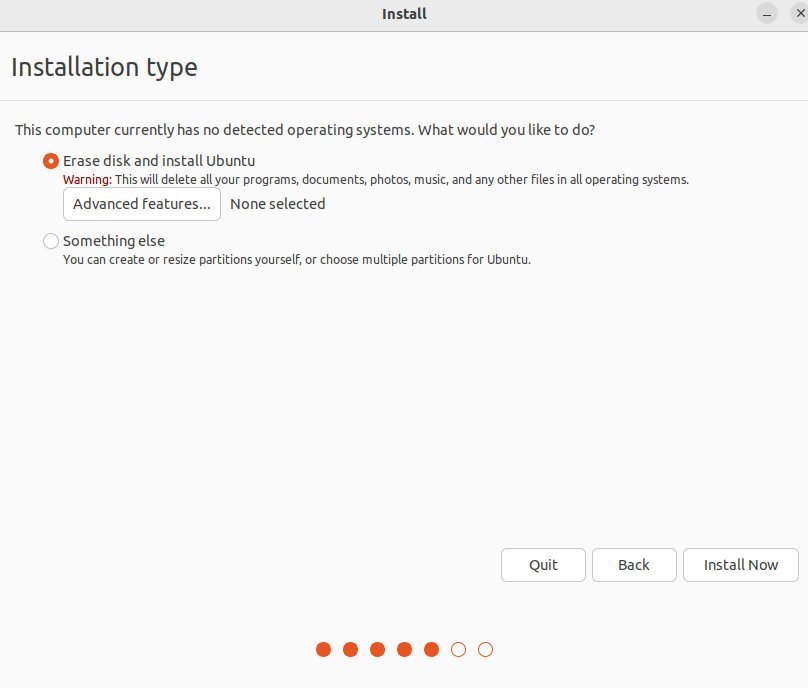
- The Install screen provides you with the type of installation you need. Select Normal Installation, and select both options under Other options.
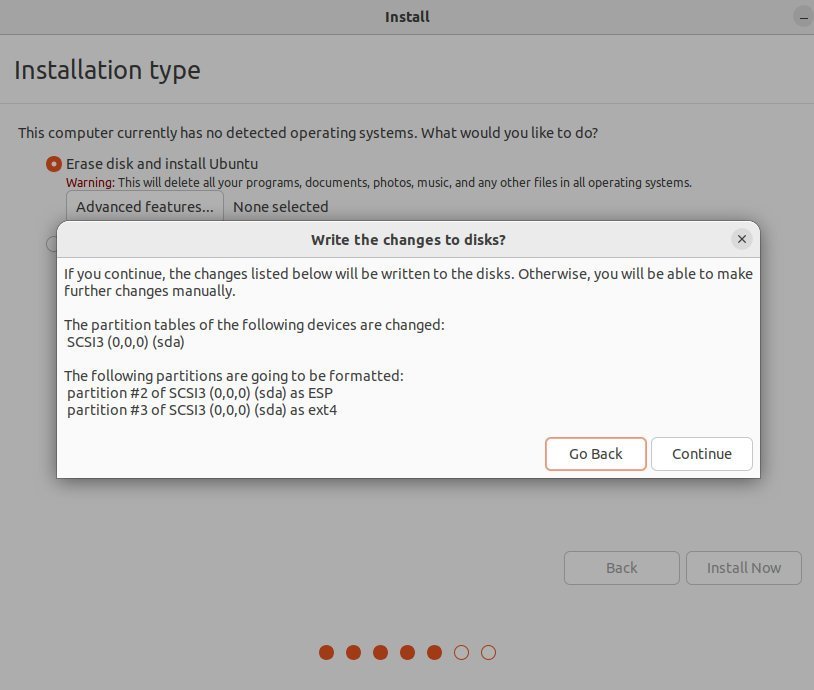
- Since you are installing in the virtual disk space, i.e. which is just a file, you can safely choose the “Erase disk and install Ubuntu” option.
- Hit Install Now and Continue.
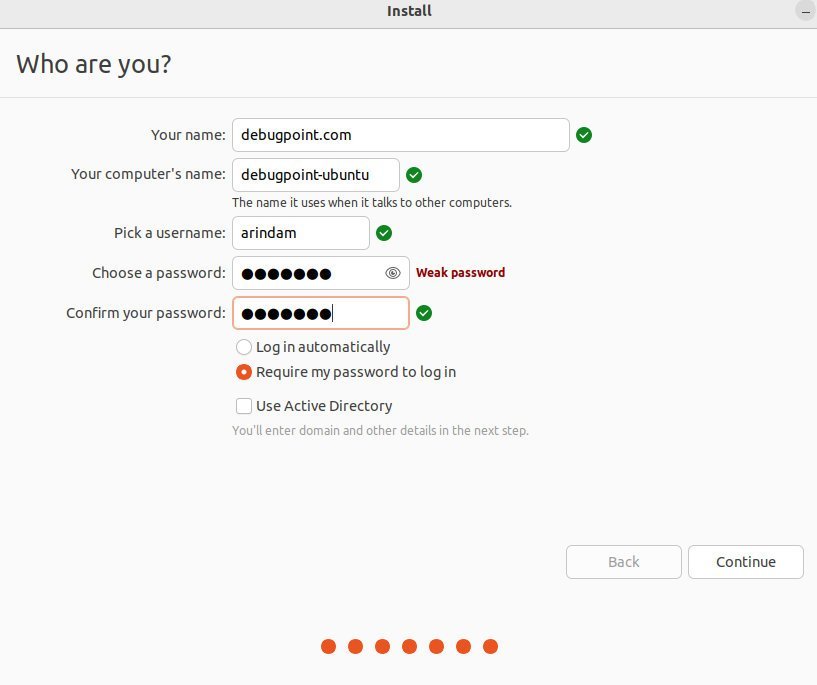
- Then select region, add name, user and password. This will be your user id and password to log on to Ubuntu after installation.
- Hit continue to start the installation. Wait until it finishes.
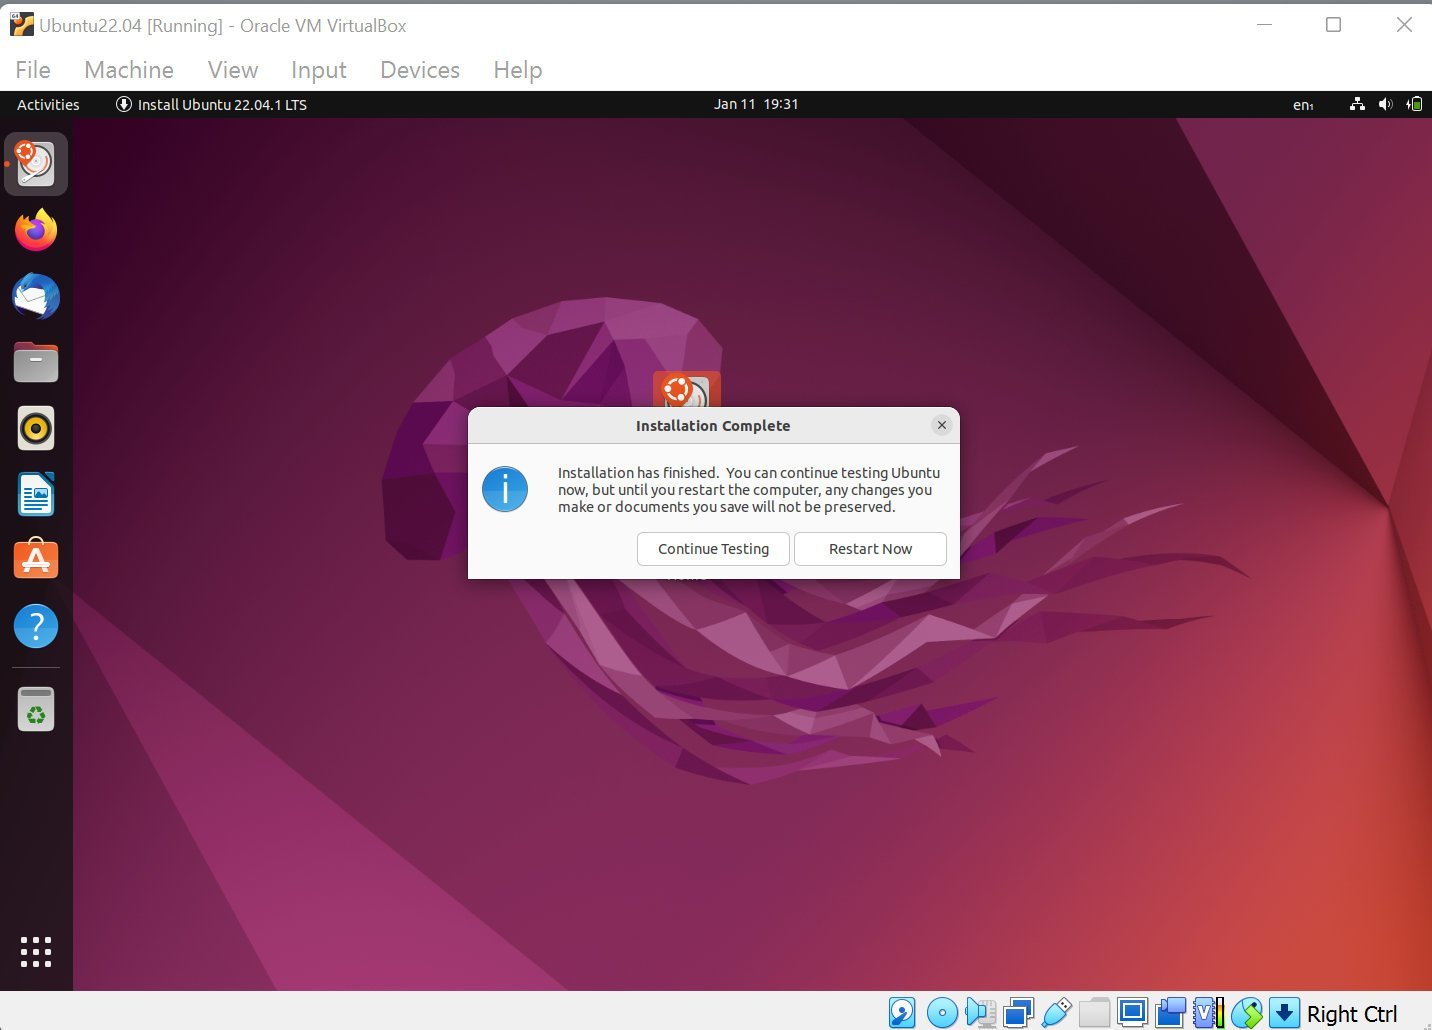
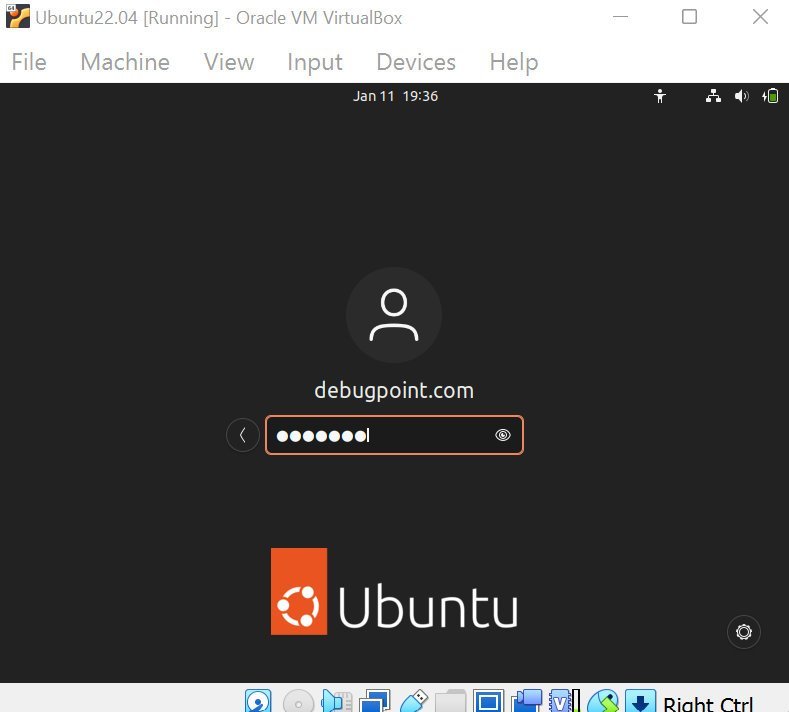
Click on Restart Now after the installation is complete. Wait for a few seconds and you should see a login screen. Use the user id and password to log in. And you should see Ubuntu desktop is running inside VirtualBox as VM in Windows.

Post-install configuration and tips (optional)
Install Guest Additions
After the successful installation, you should install the VirtualBox guest additions for Windows Host and Ubuntu Guest. The guest addition is a set of packages you need to install inside the guest VM (i.e. Ubuntu) to enable shared folders, bi-directional copy/paste, automatic resolution change, and many such features.
To install it, boot into Ubuntu. From the VirtualBox menu, select Devices > Insert Guest Additions CD Image. The necessary packages will be mounted inside Ubuntu.

Open the file manager and open the mounted folder as shown below. And then right-click > select open in terminal.
Then run the following command:
sudo ./VBoxLinuxAdditions.run


After the above command is complete, restart Ubuntu VM.
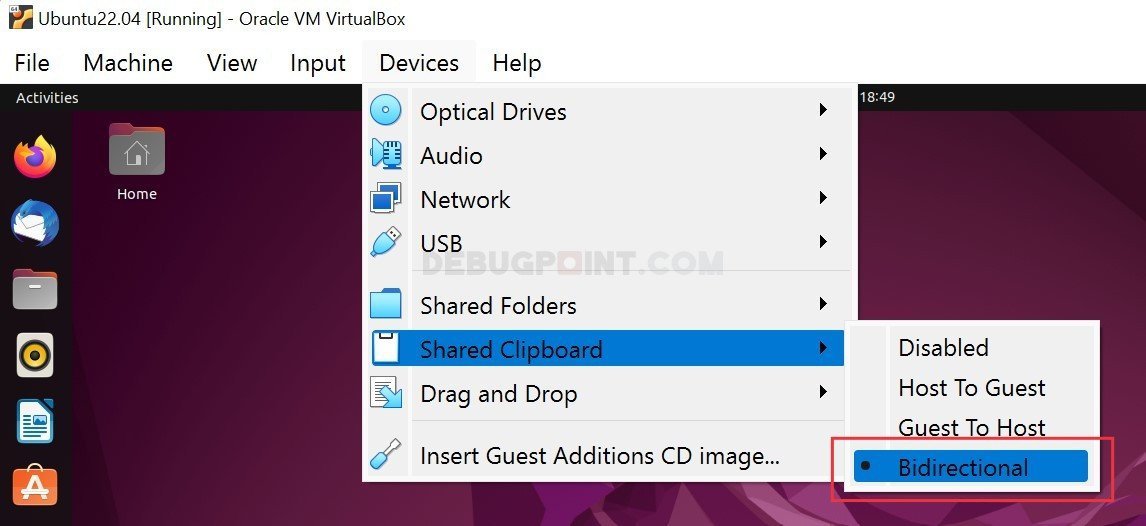
Enable Copy and paste between Windows and Ubuntu
- To enable the copy and paste between Windows and Ubuntu systems, select
Devices > Shared Clipboard > Bi-directionalfrom the menu.
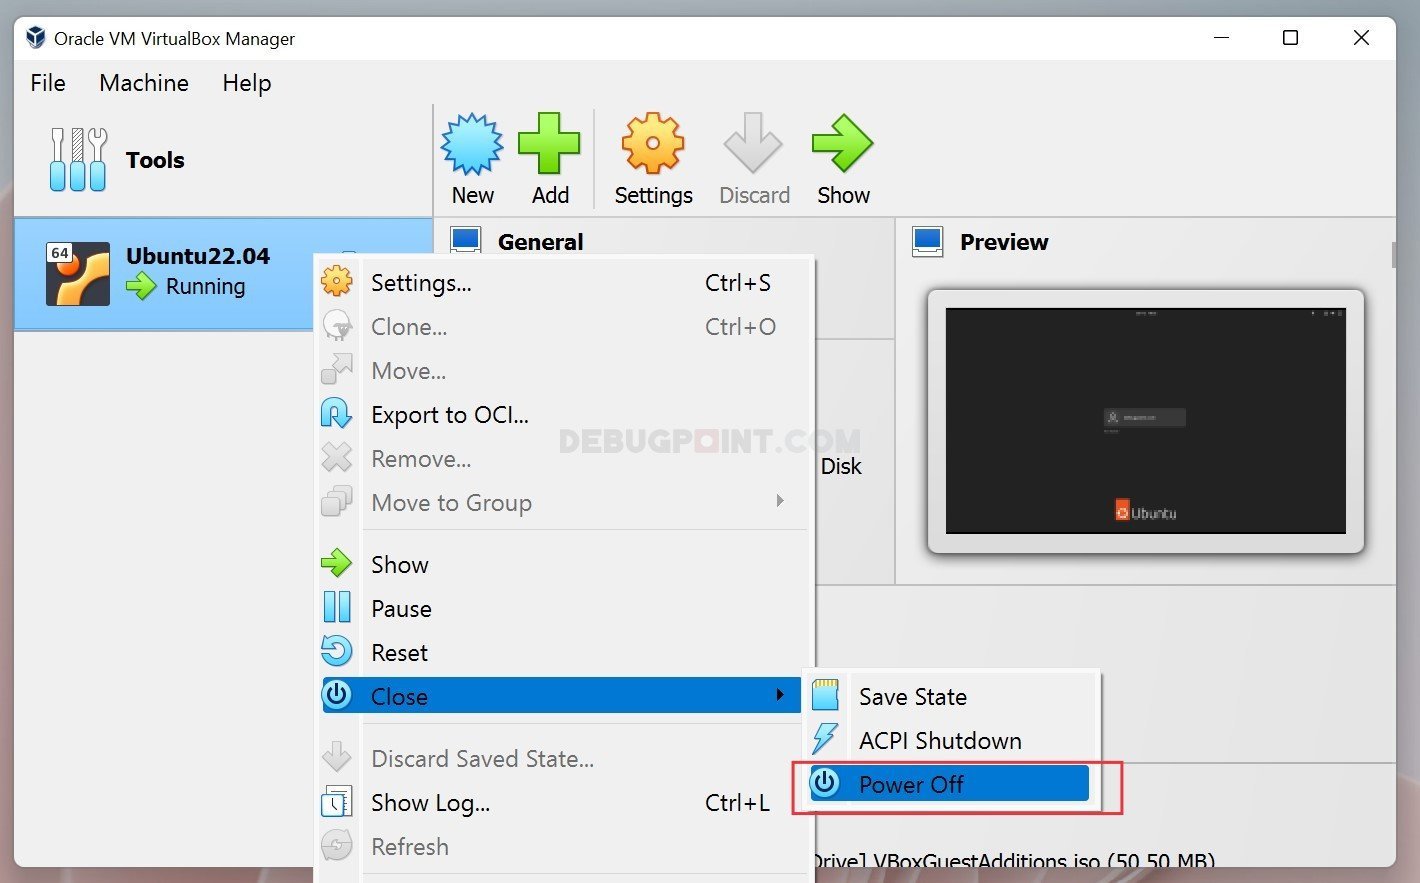
Shutting down Ubuntu VM
- Ideally, you should shut down a VM from its own power off menu. However, you can also shut down from the main VirtualBox window. Right-click on the VM name and select
Close > Poweroff.
How to delete Ubuntu and remove all data
- If you want to delete the Virtual machine entirely (.e.g. Ubuntu) and its data, select
Removeanddelete all files.


Close notes
In this tutorial, you learned the easiest way to install Ubuntu on Windows (10 or 11) using VirtualBox. Also, you learned several post-install basic steps to configure the Ubuntu VM. You can use the above steps for any other Linux distributions in VirtualBox.
Feel free to comment below if you have any problems or questions.
Next:How to Install Python on Windows [Beginner’s Guide]
Using Mastodon? Follow us at floss.social/@debugpoint
via: https://www.debugpoint.com/install-ubuntu-windows-virtualbox/