6.4 KiB
Neofetch – Display Linux system Information In Terminal
Neofetch is a simple, yet useful command line system information utility written in Bash. It gathers information about your system’s software and hardware and displays the result in the Terminal. By default, the system information will be displayed alongside your operating system’s logo. However, you can further customize it to use an ascii image or any image of your choice instead of the OS logo. You can also configure Neofetch to display which information, where and when that information should be displayed. Neofetch is mainly developed to be used in screenshots of your system information. It supports Linux, BSD, Mac OS X, iOS, and Windows operating systems. In this brief tutorial, let us see how to display Linux system information using Neofetch.
Install Neofetch
Neofetch is available in the default repositories of most Linux distributions.
On Arch Linux and its variants, install it using command:
$ sudo pacman -S netofetch
On Debian (Stretch / Sid):
$ sudo apt-get install neofetch
On Fedora 27:
$ sudo dnf install neofetch
On RHEL, CentOS:
Enable EPEL Repository:
# yum install epel-relase
Fetch the neofetch repository:
# curl -o /etc/yum.repos.d/konimex-neofetch-epel-7.repo
https://copr.fedorainfracloud.org/coprs/konimex/neofetch/repo/epel-7/konimex-neofetch-epel-7.repo
Then, install Neofetch:
# yum install neofetch
On Ubuntu 17.10 and newer versions:
$ sudo apt-get install neofetch
On Ubuntu 16.10 and lower versions:
$ sudo add-apt-repository ppa:dawidd0811/neofetch

$ sudo apt update

$ sudo apt install neofetch
On NixOS:
$ nix-env -i neofetch
Display Linux system Information Using Neofetch
Neofetch is pretty easy and straightforward. Let us see some examples.
Open up your Terminal, and run the following command:
$ neofetch
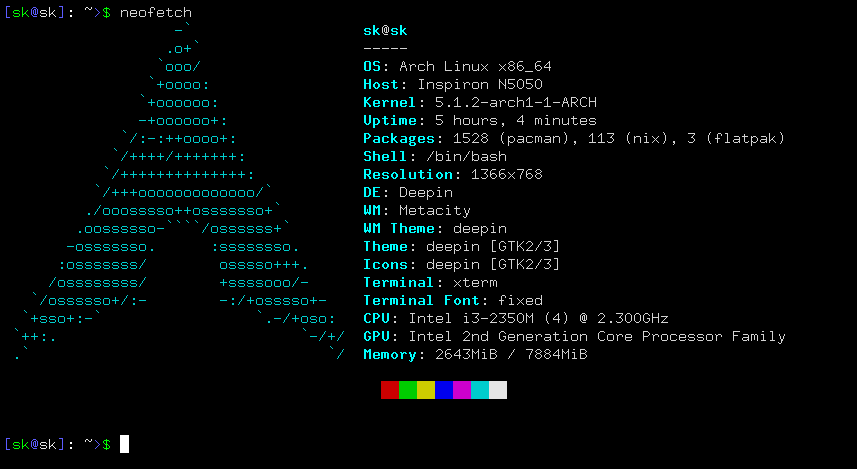
Sample output:
Display Linux system Information Using Neofetch
As you can see in the above output, Neofetch is displaying the following details of my Arch Linux system:
- Name of the installed operating system,
- Laptop model,
- Kernel details,
- System uptime,
- Number of installed packages by default and other package managers,
- Default Shell,
- Screen resolution,
- Desktop environment,
- Window manager,
- Window manager’s theme,
- System theme,
- System Icons,
- Default Terminal,
- CPU type,
- GPU type,
- Installed memory.
Neofetch has plenty of other options too. We will see some of them.
How to use custom imagess in Neofetch output?
By default, Neofetch will display your OS logo along with the system information. You can, of course, change the image as you wish.
In order to display images, your Linux system should have the following dependencies installed:
- w3m-img (It is required to display images. w3m-img is sometimes bundled together with w3m package),
- Imagemagick (required for thumbnail creation),
- A terminal that supports \033[14t or xdotool or xwininfo + xprop or xwininfo + xdpyinfo.
W3m-img and ImageMagick packages are available in the default repositories of most Linux distributions. So you can install them using your distribution’s default package manager.
For instance, run the following command to install w3m-img and ImageMagick on Debian, Ubuntu, Linux Mint:
$ sudo apt install w3m-img imagemagick
Here is the list of Terminal Emulators with w3m-img support:
- Gnome-terminal,
- Konsole,
- st,
- Terminator,
- Termite,
- URxvt,
- Xfce4-Terminal,
- Xterm
If you have kitty , Terminology and iTerm terminal emulators on your system, you don’t need to install w3m-img.
Now, run the following command to display your system’s information with a custom image:
$ neofetch --w3m /home/sk/Pictures/image.png
Or,
$ neofetch --w3m --source /home/sk/Pictures/image.png
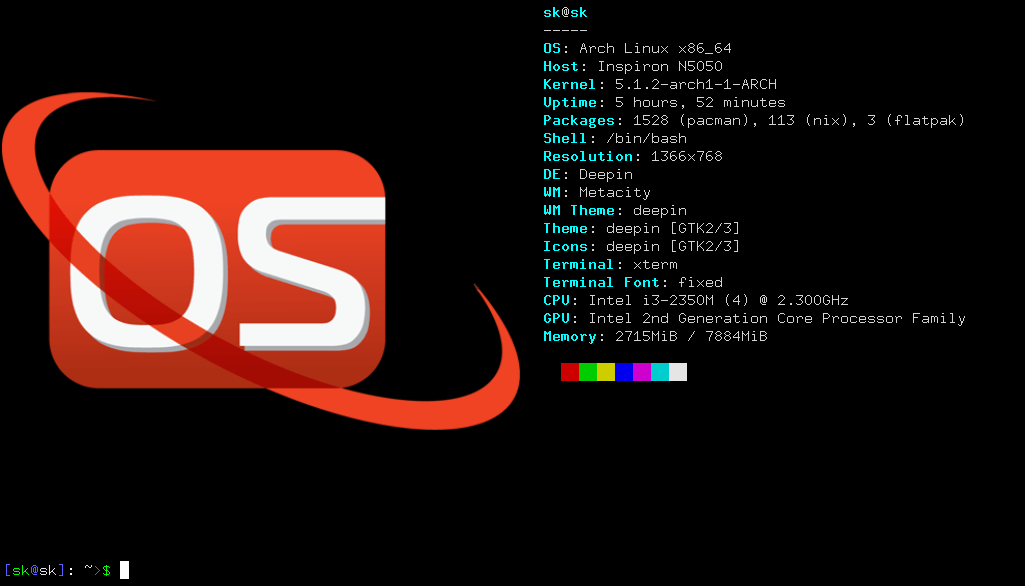
Sample output:
Neofetch output with custom logo
Replace the image path in the above command with your own.
Alternatively, you can point a directory that contains the images like below.
$ neofetch --w3m <path-to-directory>
Configure Neofetch
When we run the Neofetch for the first time, It will create a per-user configuration file at $HOME/.config/neofetch/config.conf by default. It also creates a system-wide neofetch config file at $HOME/.config/neofetch/config. You can tweak this file to tell Neofetch which details should be displayed, removed and/or modified.
You can also keep this configuration file between versions. Meaning – just customize it once as per your liking and use the same settings after upgrading to newer version. You can even share this file to your friends and colleagues to have the same settings as yours.
To view Neofetch help section, run:
$ neofetch --help
As far as I tested Neofetch, It worked perfectly in my Arch Linux system as expected. It is a nice handy tool to easily and quickly print the details of your system in the Terminal.
Related read:
Resource:
via: https://www.ostechnix.com/neofetch-display-linux-systems-information/


