mirror of
https://github.com/LCTT/TranslateProject.git
synced 2025-01-22 23:00:57 +08:00
@geekrainy @yangjiaqiang @voidpainter @hkurj @runningwater @S9mtAt
@HankChow @erlinux @laujinseoi
201 lines
13 KiB
Markdown
201 lines
13 KiB
Markdown
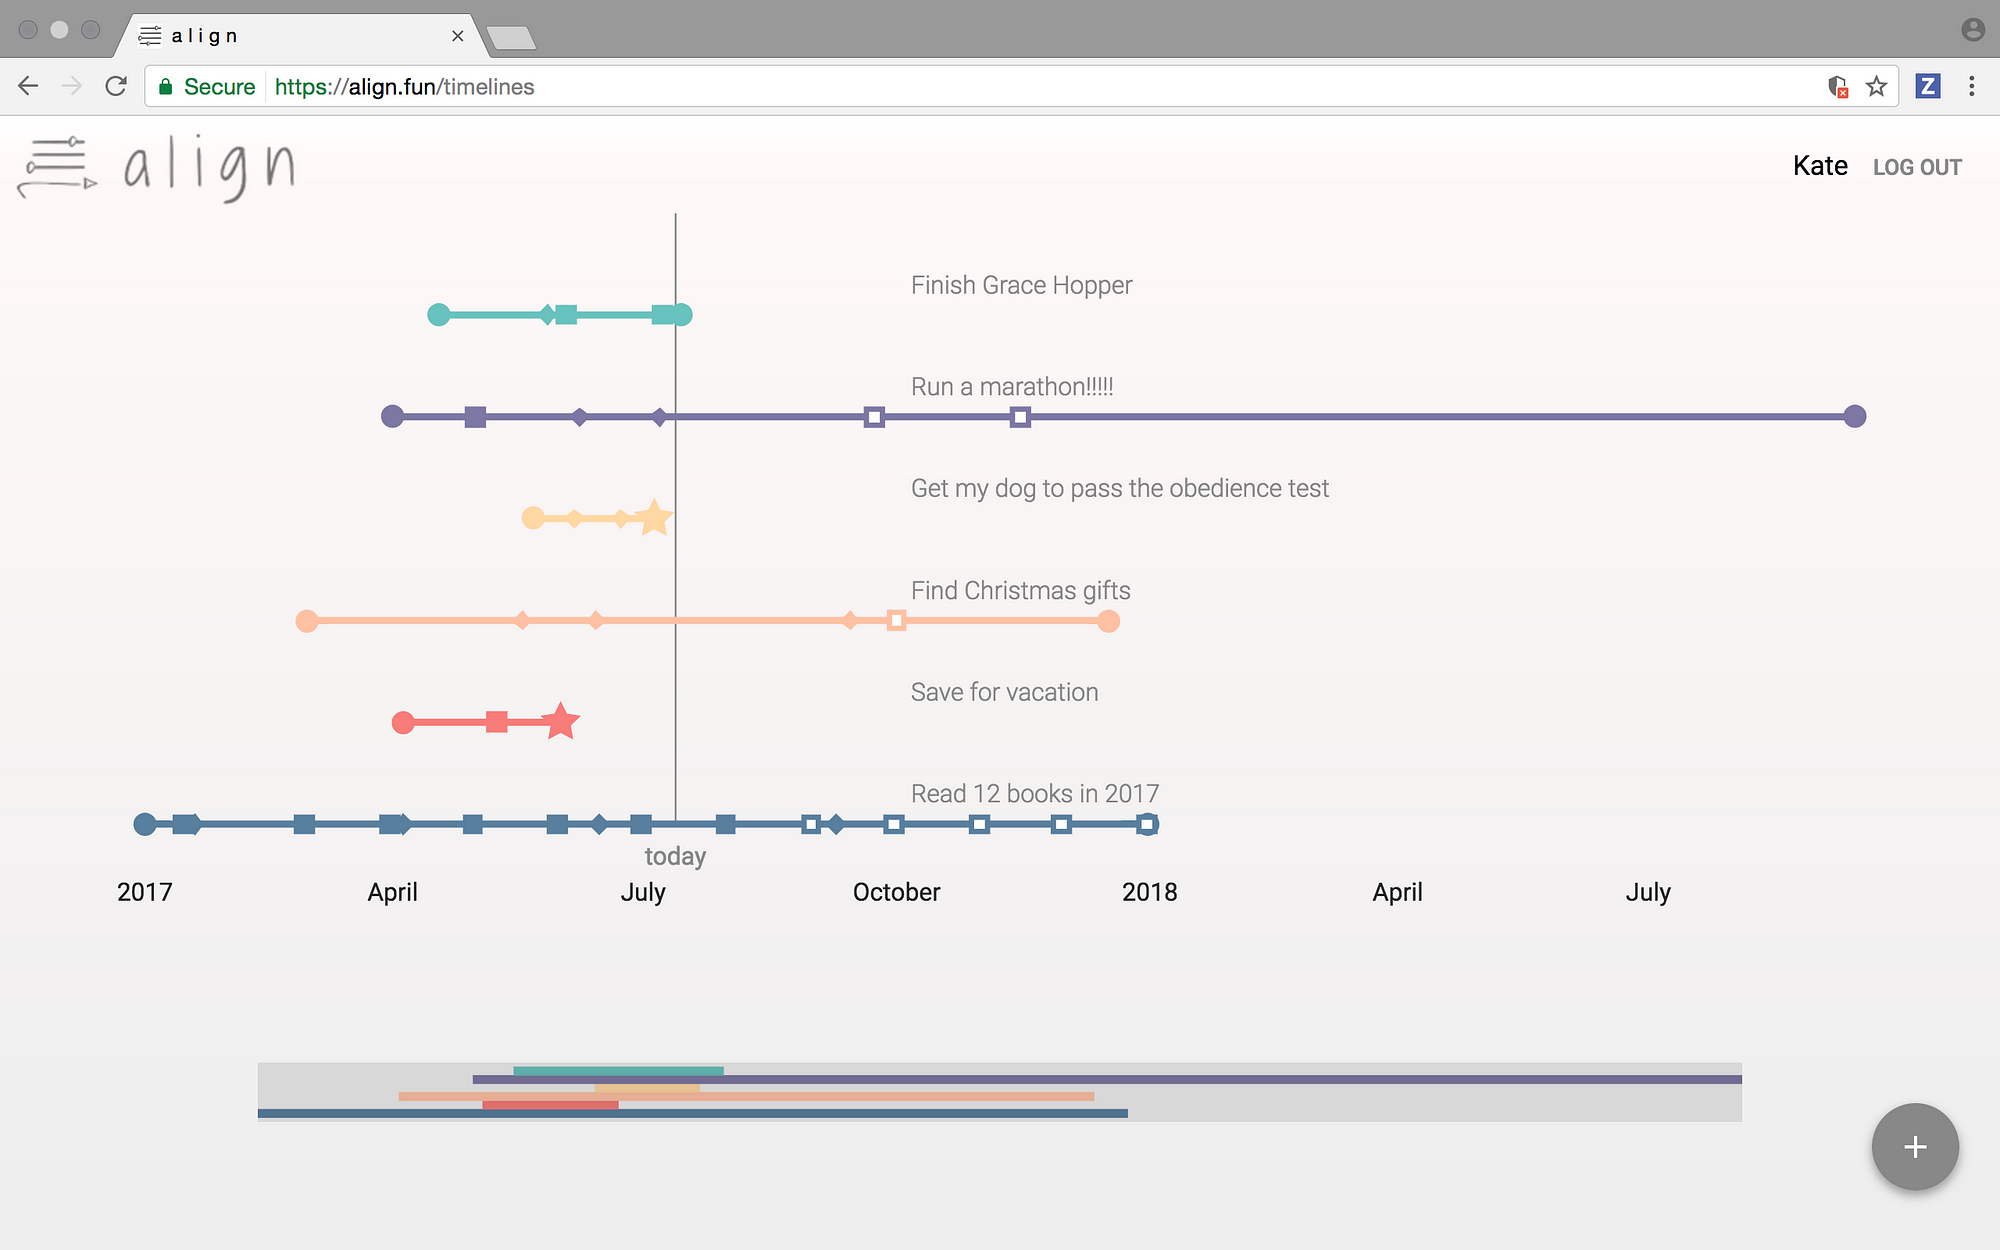
The user’s home dashboard in our app, AlignHow we built our first full-stack JavaScript web app in three weeks
|
||
============================================================
|
||
|
||
|
||
|
||
### A simple step-by-step guide to go from idea to deployed app
|
||
|
||
My three months of coding bootcamp at the Grace Hopper Program have come to a close, and the title of this article is actually not quite true — I’ve now built _three_ full-stack apps: [an e-commerce store from scratch][3], a [personal hackathon project][4] of my choice, and finally, a three-week capstone project. That capstone project was by far the most intensive— a three week journey with two teammates — and it is my proudest achievement from bootcamp. It is the first robust, complex app I have ever fully built and designed.
|
||
|
||
As most developers know, even when you “know how to code”, it can be really overwhelming to embark on the creation of your first full-stack app. The JavaScript ecosystem is incredibly vast: with package managers, modules, build tools, transpilers, databases, libraries, and decisions to be made about all of them, it’s no wonder that so many budding coders never build anything beyond Codecademy tutorials. That’s why I want to walk you through a step-by-step guide of the decisions and steps my team took to create our live app, Align.
|
||
|
||
* * *
|
||
|
||
First, some context. Align is a web app that uses an intuitive timeline interface to help users set long-term goals and manage them over time.Our stack includes Firebase for back-end services and React on the front end. My teammates and I explain more in this short video:
|
||
|
||
[video](https://youtu.be/YacM6uYP2Jo)
|
||
|
||
Demoing Align @ Demo Day Live // July 10, 2017
|
||
|
||
So how did we go from Day 1, when we were assigned our teams, to the final live app? Here’s a rundown of the steps we took:
|
||
|
||
* * *
|
||
|
||
### Step 1: Ideate
|
||
|
||
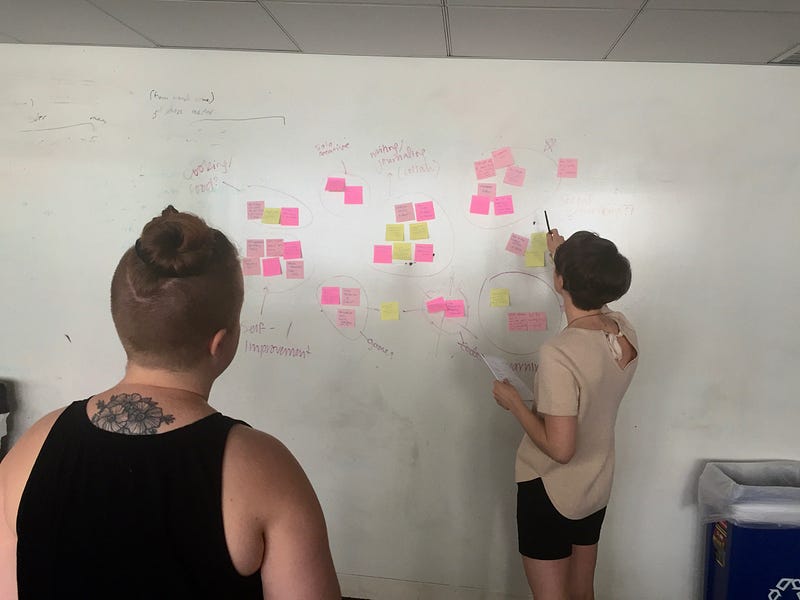
The first step was to figure out what exactly we wanted to build. In my past life as a consultant at IBM, I led ideation workshops with corporate leaders. Pulling from that, I suggested to my group the classic post-it brainstorming strategy, in which we all scribble out as many ideas as we can — even ‘stupid ones’ — so that people’s brains keep moving and no one avoids voicing ideas out of fear.
|
||
|
||
|
||
|
||
After generating a few dozen app ideas, we sorted them into categories to gain a better understanding of what themes we were collectively excited about. In our group, we saw a clear trend towards ideas surrounding self-improvement, goal-setting, nostalgia, and personal development. From that, we eventually honed in on a specific idea: a personal dashboard for setting and managing long-term goals, with elements of memory-keeping and data visualization over time.
|
||
|
||
From there, we created a set of user stories — descriptions of features we wanted to have, from an end-user perspective — to elucidate what exactly we wanted our app to do.
|
||
|
||
### Step 2: Wireframe UX/UI
|
||
|
||
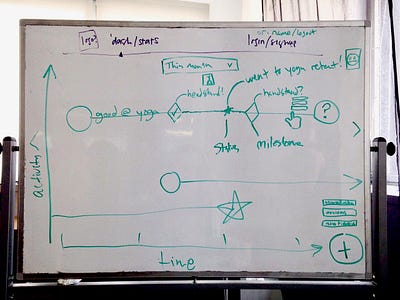
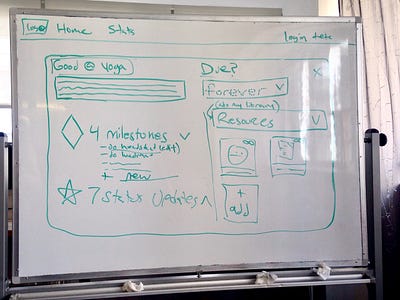
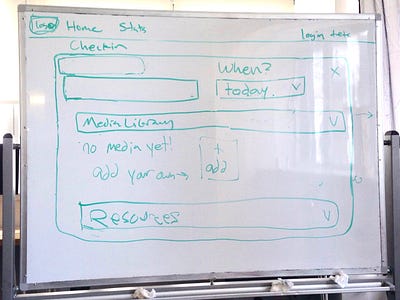
Next, on a white board, we drew out the basic views we envisioned in our app. We incorporated our set of user stories to understand how these views would work in a skeletal app framework.
|
||
|
||
|
||
|
||
|
||
|
||
|
||
|
||
|
||
|
||
|
||
|
||
|
||
These sketches ensured we were all on the same page, and provided a visual blueprint going forward of what exactly we were all working towards.
|
||
|
||
### Step 3: Choose a data structure and type of database
|
||
|
||
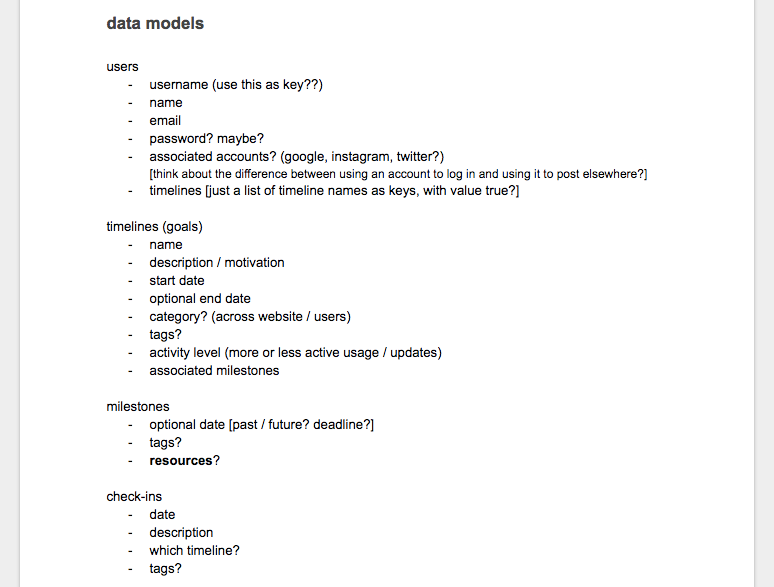
It was now time to design our data structure. Based on our wireframes and user stories, we created a list in a Google doc of the models we would need and what attributes each should include. We knew we needed a ‘goal’ model, a ‘user’ model, a ‘milestone’ model, and a ‘checkin’ model, as well as eventually a ‘resource’ model, and an ‘upload’ model.
|
||
|
||
|
||
|
||
Our initial sketch of our data models
|
||
|
||
After informally sketching the models out, we needed to choose a _type _ of database: ‘relational’ vs. ‘non-relational’ (a.k.a. ‘SQL’ vs. ‘NoSQL’). Whereas SQL databases are table-based and need predefined schema, NoSQL databases are document-based and have dynamic schema for unstructured data.
|
||
|
||
For our use case, it didn’t matter much whether we used a SQL or a No-SQL database, so we ultimately chose Google’s cloud NoSQL database Firebasefor other reasons:
|
||
|
||
1. It could hold user image uploads in its cloud storage
|
||
|
||
2. It included WebSocket integration for real-time updating
|
||
|
||
3. It could handle our user authentication and offer easy OAuth integration
|
||
|
||
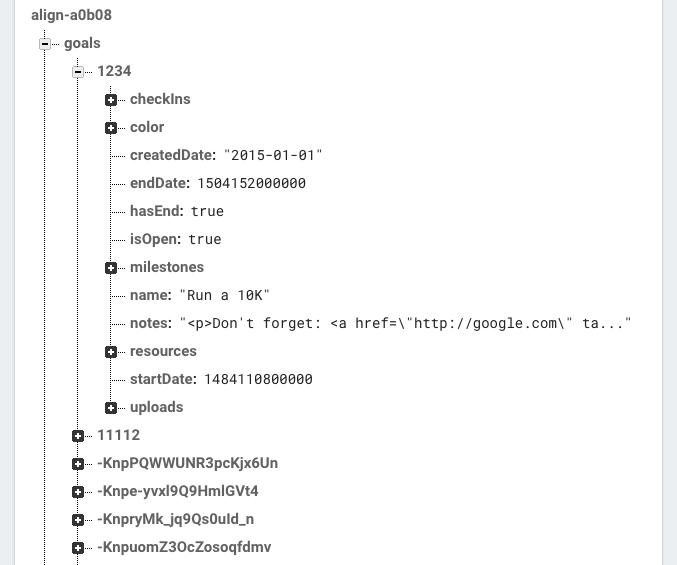
Once we chose a database, it was time to understand the relations between our data models. Since Firebase is NoSQL, we couldn’t create join tables or set up formal relations like _“Checkins belongTo Goals”_ . Instead, we needed to figure out what the JSON tree would look like, and how the objects would be nested (or not). Ultimately, we structured our model like this:
|
||
|
||
** 此处有Canvas,请手动处理 **
|
||
|
||
|
||
Our final Firebase data scheme for the Goal object. Note that Milestones & Checkins are nested under Goals.
|
||
|
||
_(Note: Firebase prefers shallow, normalized data structures for efficiency, but for our use case, it made most sense to nest it, since we would never be pulling a Goal from the database without its child Milestones and Checkins.)_
|
||
|
||
### Step 4: Set up Github and an agile workflow
|
||
|
||
We knew from the start that staying organized and practicing agile development would serve us well. We set up a Github repo, on which weprevented merging to master to force ourselves to review each other’s code.
|
||
|
||
|
||

|
||
|
||
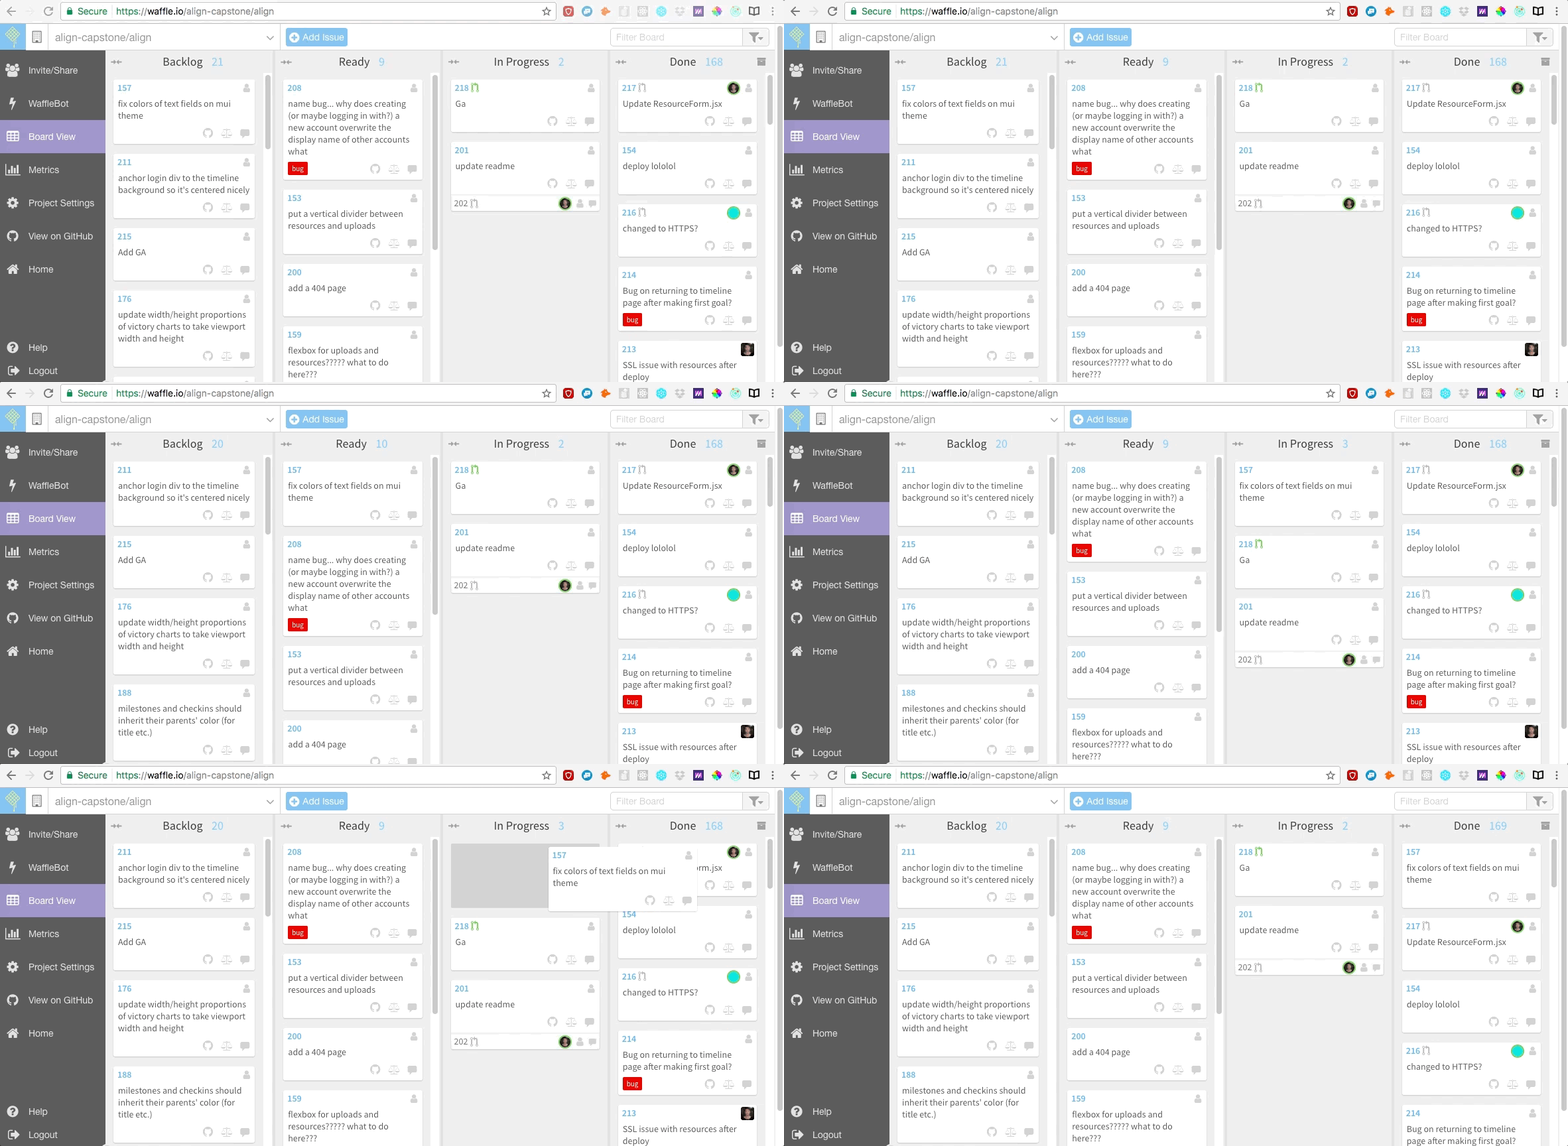
We also created an agile board on [Waffle.io][5], which is free and has easy integration with Github. On the Waffle board, we listed our user stories as well as bugs we knew we needed to fix. Later, when we started coding, we would each create git branches for the user story we were currently working on, moving it from swim lane to swim lane as we made progress.
|
||
|
||
|
||
|
||
|
||
We also began holding “stand-up” meetings each morning to discuss the previous day’s progress and any blockers each of us were encountering. This meeting often decided the day’s flow — who would be pair programming, and who would work on an issue solo.
|
||
|
||
I highly recommend some sort of structured workflow like this, as it allowed us to clearly define our priorities and make efficient progress without any interpersonal conflict.
|
||
|
||
### Step 5: Choose & download a boilerplate
|
||
|
||
Because the JavaScript ecosystem is so complicated, we opted not to build our app from absolute ground zero. It felt unnecessary to spend valuable time wiring up our Webpack build scripts and loaders, and our symlink that pointed to our project directory. My team chose the [Firebones][6] skeleton because it fit our use case, but there are many open-source skeleton options available to choose from.
|
||
|
||
### Step 6: Write back-end API routes (or Firebase listeners)
|
||
|
||
If we weren’t using a cloud-based database, this would have been the time to start writing our back-end Express routes to make requests to our database. But since we were using Firebase, which is already in the cloud and has a different way of communicating with code, we just worked to set up our first successful database listener.
|
||
|
||
To ensure our listener was working, we coded out a basic user form for creating a Goal, and saw that, indeed, when we filled out the form, our database was live-updating. We were connected!
|
||
|
||
### Step 7: Build a “Proof Of Concept”
|
||
|
||
Our next step was to create a “proof of concept” for our app, or a prototype of the most difficult fundamental features to implement, demonstrating that our app _could _ eventuallyexist. For us, this meant finding a front-end library to satisfactorily render timelines, and connecting it to Firebase successfully to display some seed data in our database.
|
||
|
||
|
||

|
||
Basic Victory.JS timelines
|
||
|
||
We found Victory.JS, a React library built on D3, and spent a day reading the documentation and putting together a very basic example of a _VictoryLine_ component and a _VictoryScatter_ component to visually display data from the database. Indeed, it worked! We were ready to build.
|
||
|
||
### Step 8: Code out the features
|
||
|
||
Finally, it was time to build out all the exciting functionality of our app. This is a giant step that will obviously vary widely depending on the app you’re personally building. We looked at our wireframes and started coding out the individual user stories in our Waffle. This often included touching both front-end and back-end code (for example, creating a front-end form and also connecting it to the database). Our features ranged from major to minor, and included things like:
|
||
|
||
* ability to create new goals, milestones, and checkins
|
||
|
||
* ability to delete goals, milestones, and checkins
|
||
|
||
* ability to change a timeline’s name, color, and details
|
||
|
||
* ability to zoom in on timelines
|
||
|
||
* ability to add links to resources
|
||
|
||
* ability to upload media
|
||
|
||
* ability to bubble up resources and media from milestones and checkins to their associated goals
|
||
|
||
* rich text editor integration
|
||
|
||
* user signup / authentication / OAuth
|
||
|
||
* popover to view timeline options
|
||
|
||
* loading screens
|
||
|
||
For obvious reasons, this step took up the bulk of our time — this phase is where most of the meaty code happened, and each time we finished a feature, there were always more to build out!
|
||
|
||
### Step 9: Choose and code the design scheme
|
||
|
||
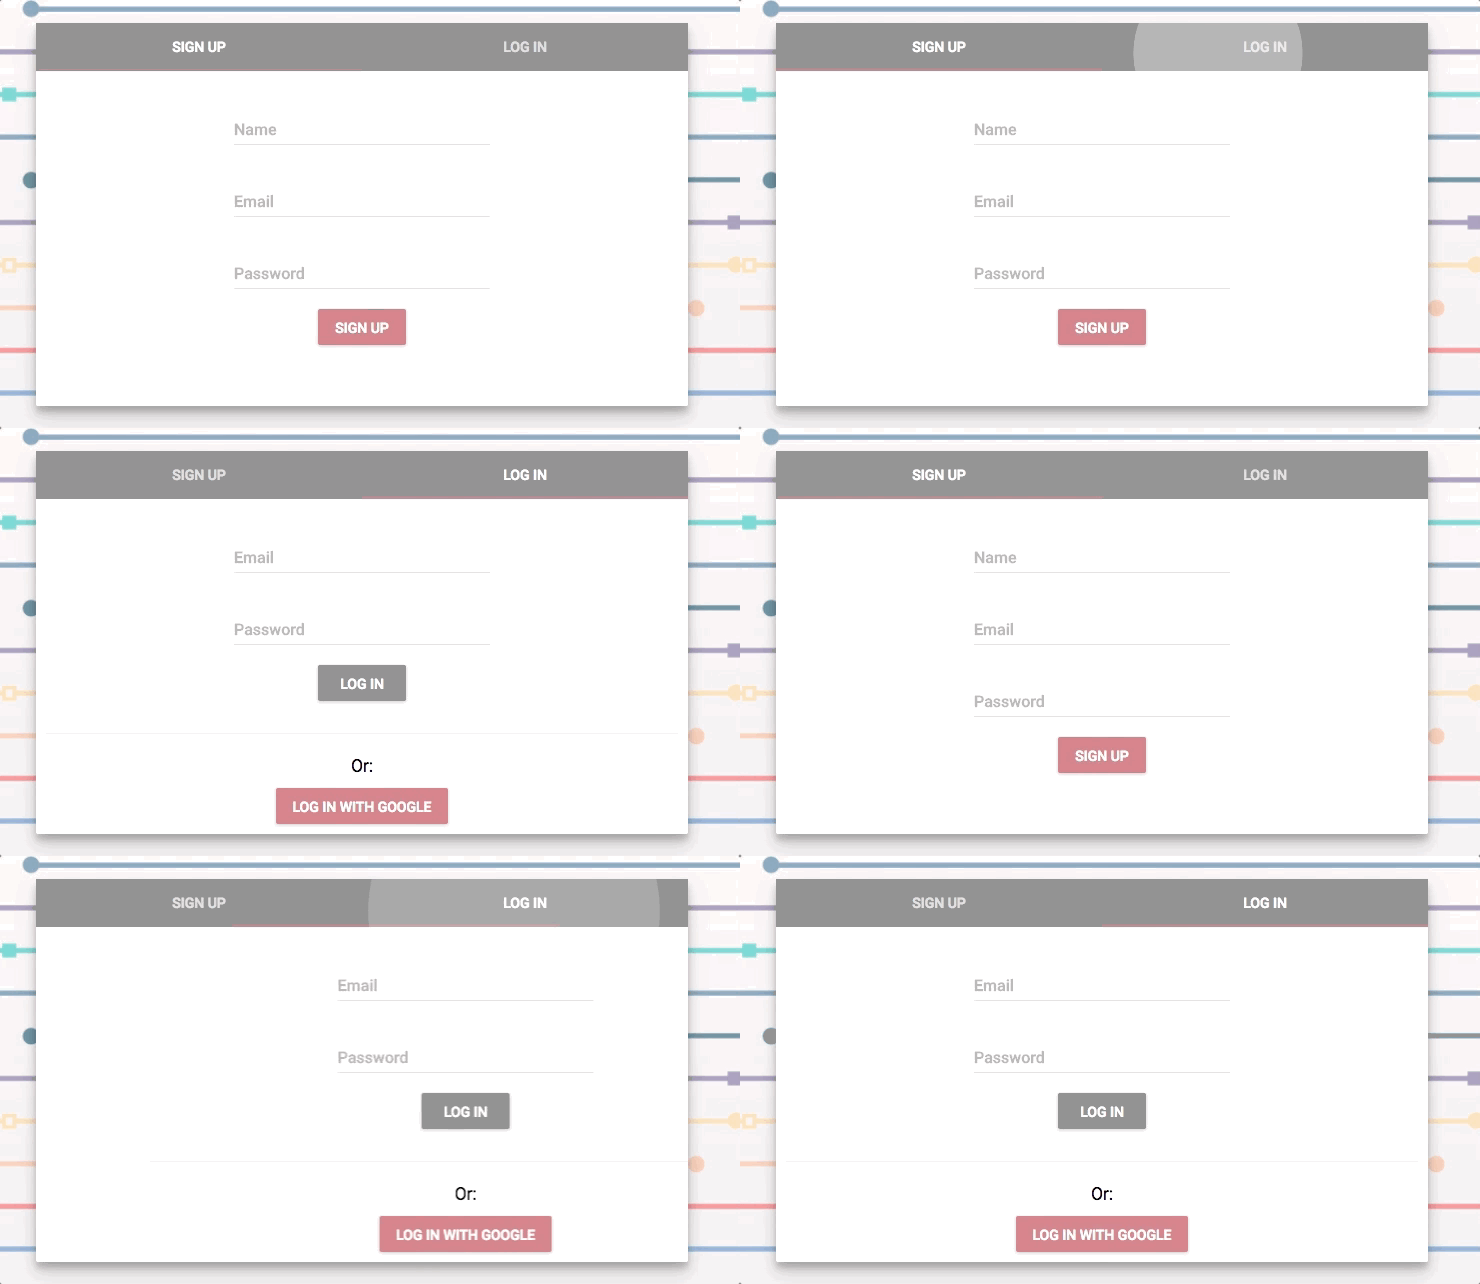
Once we had an MVP of the functionality we desired in our app, it was time to clean it up and make it pretty. My team used Material-UI for components like form fields, menus, and login tabs, which ensured everything looked sleek, polished, and coherent without much in-depth design knowledge.
|
||
|
||
|
||
|
||
This was one of my favorite features to code out. Its beauty is so satisfying!
|
||
|
||
We spent a while choosing a color scheme and editing the CSS, which provided us a nice break from in-the-trenches coding. We also designed alogo and uploaded a favicon.
|
||
|
||
### Step 10: Find and squash bugs
|
||
|
||
While we should have been using test-driven development from the beginning, time constraints left us with precious little time for anything but features. This meant that we spent the final two days simulating every user flow we could think of and hunting our app for bugs.
|
||
|
||
|
||

|
||
|
||
This process was not the most systematic, but we found plenty of bugs to keep us busy, including a bug in which the loading screen would last indefinitely in certain situations, and one in which the resource component had stopped working entirely. Fixing bugs can be annoying, but when it finally works, it’s extremely satisfying.
|
||
|
||
### Step 11: Deploy the live app
|
||
|
||
The final step was to deploy our app so it would be available live! Because we were using Firebase to store our data, we deployed to Firebase Hosting, which was intuitive and simple. If your back end uses a different database, you can use Heroku or DigitalOcean. Generally, deployment directions are readily available on the hosting site.
|
||
|
||
We also bought a cheap domain name on Namecheap.com to make our app more polished and easy to find.
|
||
|
||

|
||
|
||
* * *
|
||
|
||
And that was it — we were suddenly the co-creators of a real live full-stack app that someone could use! If we had a longer runway, Step 12 would have been to run A/B testing on users, so we could better understand how actual users interact with our app and what they’d like to see in a V2.
|
||
|
||
For now, however, we’re happy with the final product, and with the immeasurable knowledge and understanding we gained throughout this process. Check out Align [here][7]!
|
||
|
||
|
||
|
||
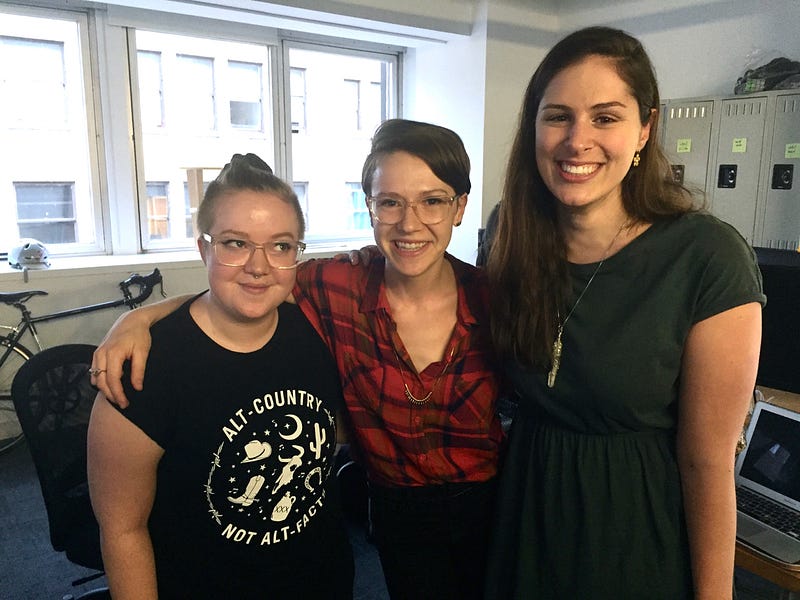
Team Align: Sara Kladky (left), Melanie Mohn (center), and myself.
|
||
|
||
--------------------------------------------------------------------------------
|
||
|
||
via: https://medium.com/ladies-storm-hackathons/how-we-built-our-first-full-stack-javascript-web-app-in-three-weeks-8a4668dbd67c?imm_mid=0f581a&cmp=em-web-na-na-newsltr_20170816
|
||
|
||
作者:[Sophia Ciocca ][a]
|
||
译者:[译者ID](https://github.com/译者ID)
|
||
校对:[校对者ID](https://github.com/校对者ID)
|
||
|
||
本文由 [LCTT](https://github.com/LCTT/TranslateProject) 原创编译,[Linux中国](https://linux.cn/) 荣誉推出
|
||
|
||
[a]:https://medium.com/@sophiaciocca?source=post_header_lockup
|
||
[1]:https://medium.com/@sophiaciocca?source=post_header_lockup
|
||
[2]:https://medium.com/@sophiaciocca?source=post_header_lockup
|
||
[3]:https://github.com/limitless-leggings/limitless-leggings
|
||
[4]:https://www.youtube.com/watch?v=qyLoInHNjoc
|
||
[5]:http://www.waffle.io/
|
||
[6]:https://github.com/FullstackAcademy/firebones
|
||
[7]:https://align.fun/
|
||
[8]:https://github.com/align-capstone/align
|
||
[9]:https://github.com/sophiaciocca
|
||
[10]:https://github.com/Kladky
|
||
[11]:https://github.com/melaniemohn
|