7.6 KiB
Open source photo processing with Darktable
If you're taking photos good enough to process, you owe it to yourself
to see what Darktable offers you.

It's hard to say how good photographs happen. You have to be in the right place at just the right moment. You have to have a camera at the ready and an eye for composition. And that's just the part that happens in the camera. There's a whole other stage to great photography that many people don't think about. It used to happen with lights and chemicals in a darkroom, but with today's digital tools, post-production happens in darkroom software. One of the best photo processors is Darktable, and I wrote an intro to Darktable article back in 2016. It's been five years since that article, so I thought I'd revisit the application to write about one of its advanced features: masks.
Darktable hasn't changed much since I originally wrote about it, which to my mind, is one of the hallmarks of a truly great application. A consistent interface and continued great performance is all one can ask of software, and Darktable remains familiar and powerful. If you're new to Darktable, read my introductory article to learn the basics.
What is a mask?
A mask in photograph processing gets used to limit adjustments you make to an image to just one area of the image.
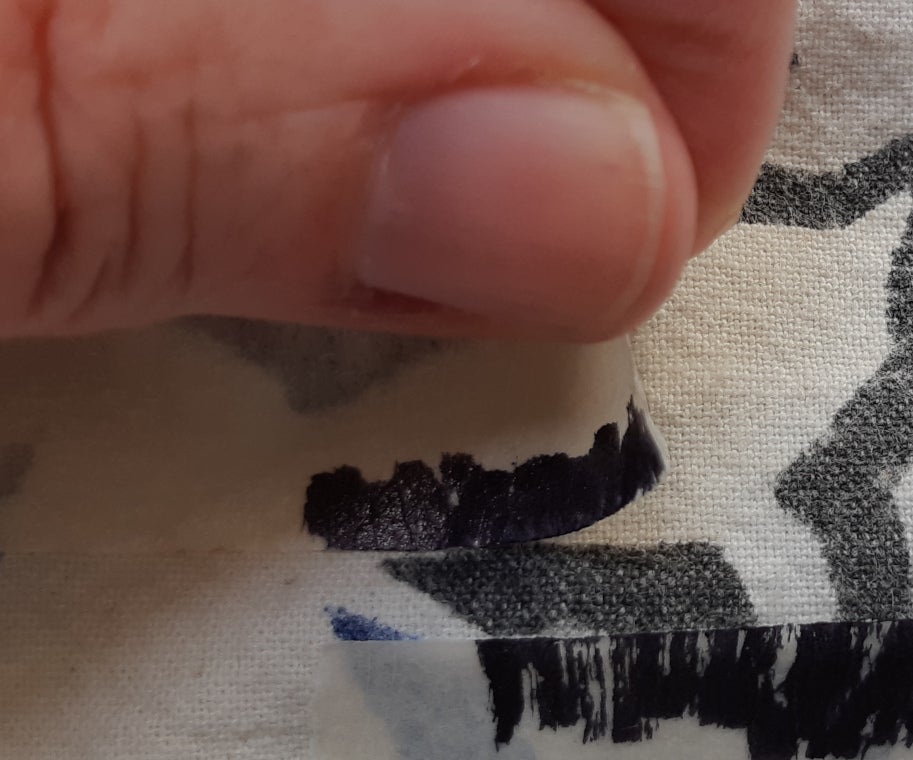
A mask, intuitively enough, is a technique in visual art that uses one material to block out another. If you've ever painted a wall in your apartment or house, you may have used masking tape (also called painter's tape) to guard adjoining walls or molding from stray brush strokes. When finished, you peel off the masking tape, and you have nice straight lines of paint.
A stencil is also a form of masking.
(Seth Kenlon, CC BY-SA 4.0)
It's a technique used in photography for a century, so it makes sense that digital photography tools have an equivalent.
Using masks in Darktable
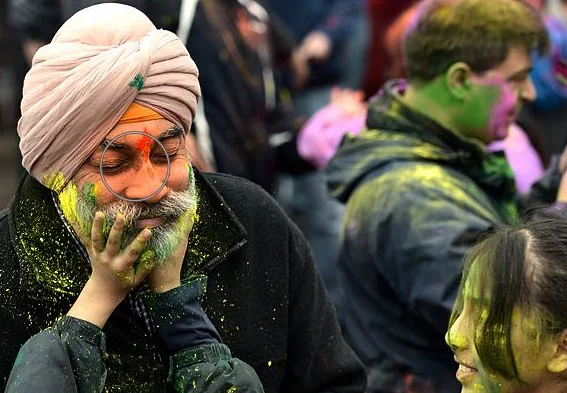
For this example, I'm using a Creative Commons photograph by Flickr user bcnewdemocrats. It's a great photo because of its charming subject matter (two kids applying Holi powder to their very patient father's face). Because it's about the Indian festival of colors, it's got some great splashes of color throughout.
(bcnewdemocrats, CC BY-SA 4.0)
This is a photo that needs no improvement, but not all adjustments need to be drastic to have a significant effect.
The color correction filter provides a particularly noticeable adjustment. A common correction in color photography, especially those of people, is the addition of amber (a reddish-orange). Human skin tone benefits from the amber because we associate that color with warmth and life.
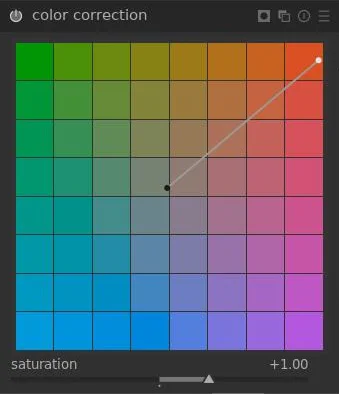
Click the On button to activate the color correction adjustment panel on the right of the Darktable window. Drag the center point up and to the right to add amber to the photo.
(Seth Kenlon, CC BY-SA 4.0)
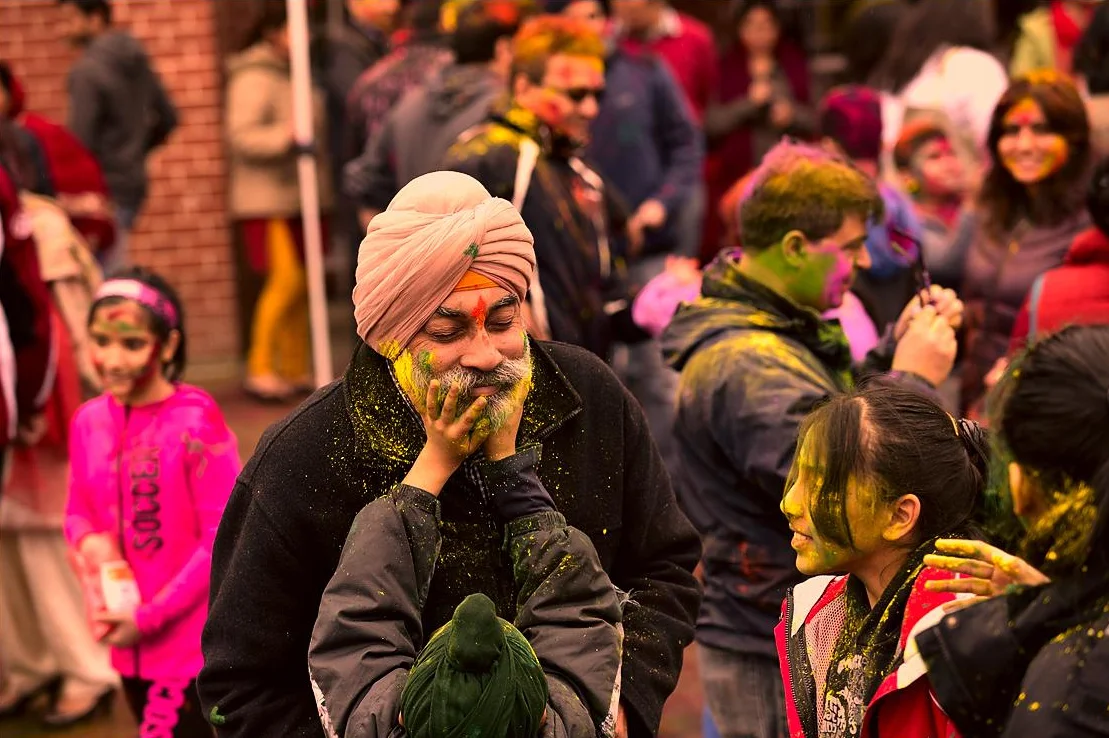
After you do this, the entire photograph gets drenched in amber.
(Seth Kenlon, CC BY-SA 4.0)
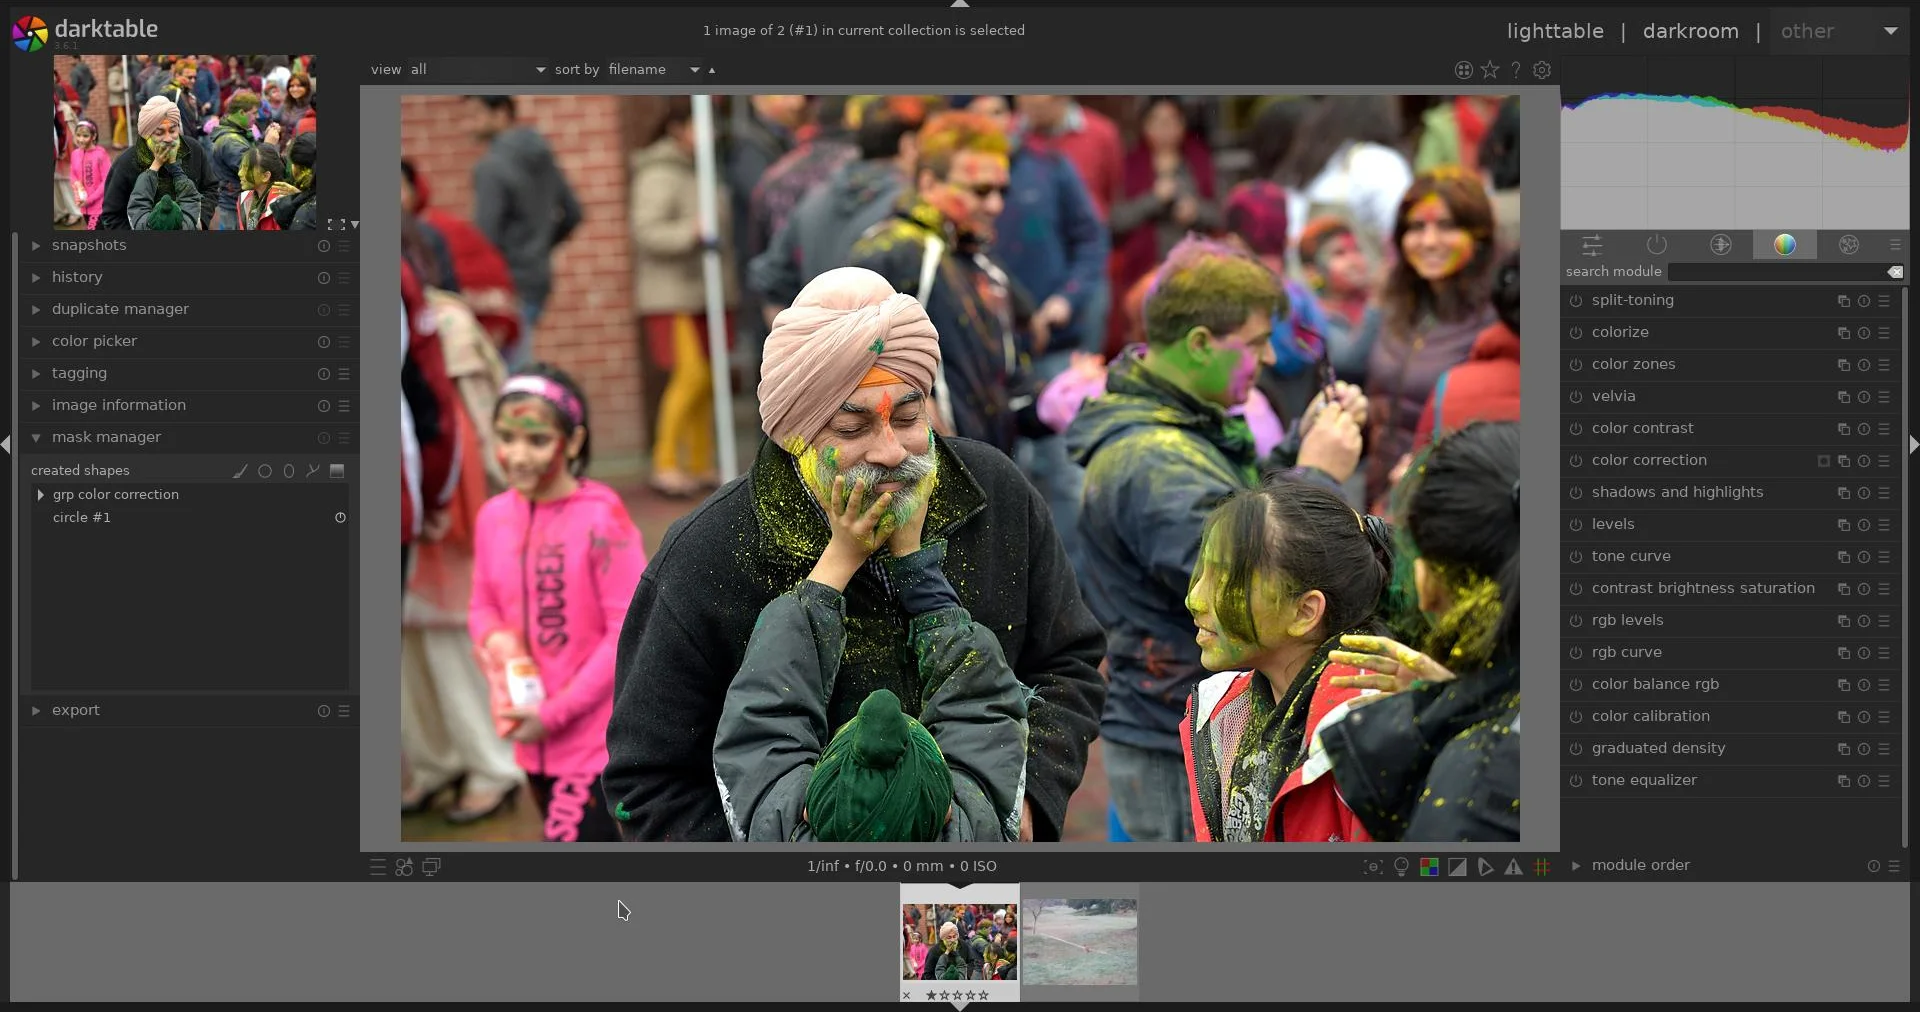
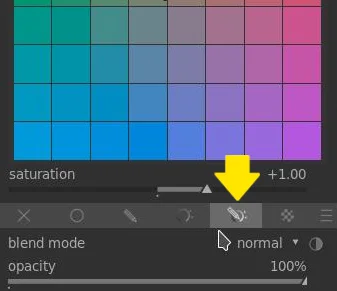
At the bottom of the color correction panel, click the drawn & parametric mask button.
(Seth Kenlon, CC BY-SA 4.0)
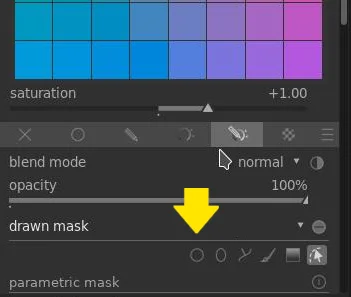
In the toolbar that gets revealed, you have several mask shapes to choose from. There's a circle and an ellipse, path, brush, gradient, and an option to edit an existing mask. For simplicity's sake, select the circle and click on your subject's face.
(Seth Kenlon, CC BY-SA 4.0)
Your color correction filter is immediately constrained to the area of your circle mask, giving your main subject a pleasant amber tone while sparing the background.
(Seth Kenlon, CC BY-SA 4.0)
You can see the difference by toggling the color correction filter off and on.
Reusing masks
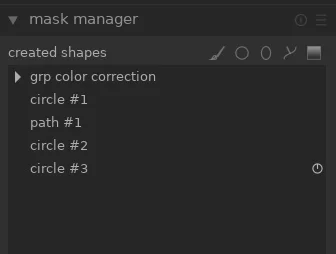
If you want to apply another filter to just the subject's face, you don't have to create another mask, especially for that new filter. When you create a mask, it's added to the mask manager panel, located on the left of the Darktable interface. The default names are pretty generic, but you can double-click on each mask name to rename it.
(Seth Kenlon, CC BY-SA 4.0)
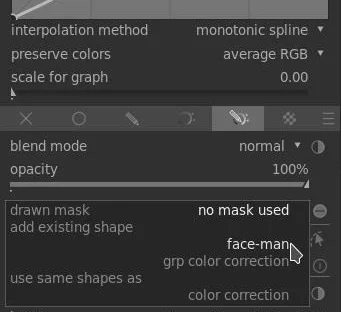
When you apply a new filter, instead of choosing a new mask shape to create, click the no mask used drop-down menu to see a list of existing masks, as well as automatically grouped masks that have been used together on the same filter previously. Select the mask or mask group you want to use for your new filter.
(Seth Kenlon, CC BY-SA 4.0)
More masks
There are lots of other types of masks and mask features in Darktable to explore. You can create complex shapes with the path and brush tools. You can abandon the use of shapes altogether and constrain filters to regions of an image based on chroma and luma values. You can adjust the fuzziness and spread of a mask and much more. One of the best things about all the adjustments you make in Darktable is that they're all dynamic and nondestructive. You can always turn them off if you change your mind, and you're never actually affecting the image data itself. It's no surprise because Darktable truly is a powerful photography tool, and if you're taking photos good enough to process, you owe it to yourself to see what Darktable offers you.
We explain how to get started with Darktable, an open source, feature-packed, cross-platform...
via: https://opensource.com/article/21/12/open-source-photo-processing-darktable
作者:Seth Kenlon 选题:lujun9972 译者:译者ID 校对:校对者ID
