8.9 KiB
Build your website with Jekyll
Jekyll is an open source static site generator. You can write your
content in Markdown, use HTML/CSS for structure and presentation, and
Jekyll compiles it all into static HTML.

Static website generators and JAMStack have taken off in recent years. And with good reason. There is no need for complex backends with only static HTML, CSS, and Javascript to serve. Not having backends means better security, lower operational overhead, and cheaper hosting. A win-win-win!
In this article, I'm going to talk about Jekyll. As of this writing, my personal website uses Jekyll. Jekyll uses a Ruby engine to convert articles written in Markdown to generate HTML. Sass allows merging complex CSS rules into flat files. Liquid allows some programmatic control over otherwise static content.
Install Jekyll
The Jekyll website has installation instructions for Linux, MacOS, and Windows. After installation, the Quickstart guide will set up a basic Hello-World project.
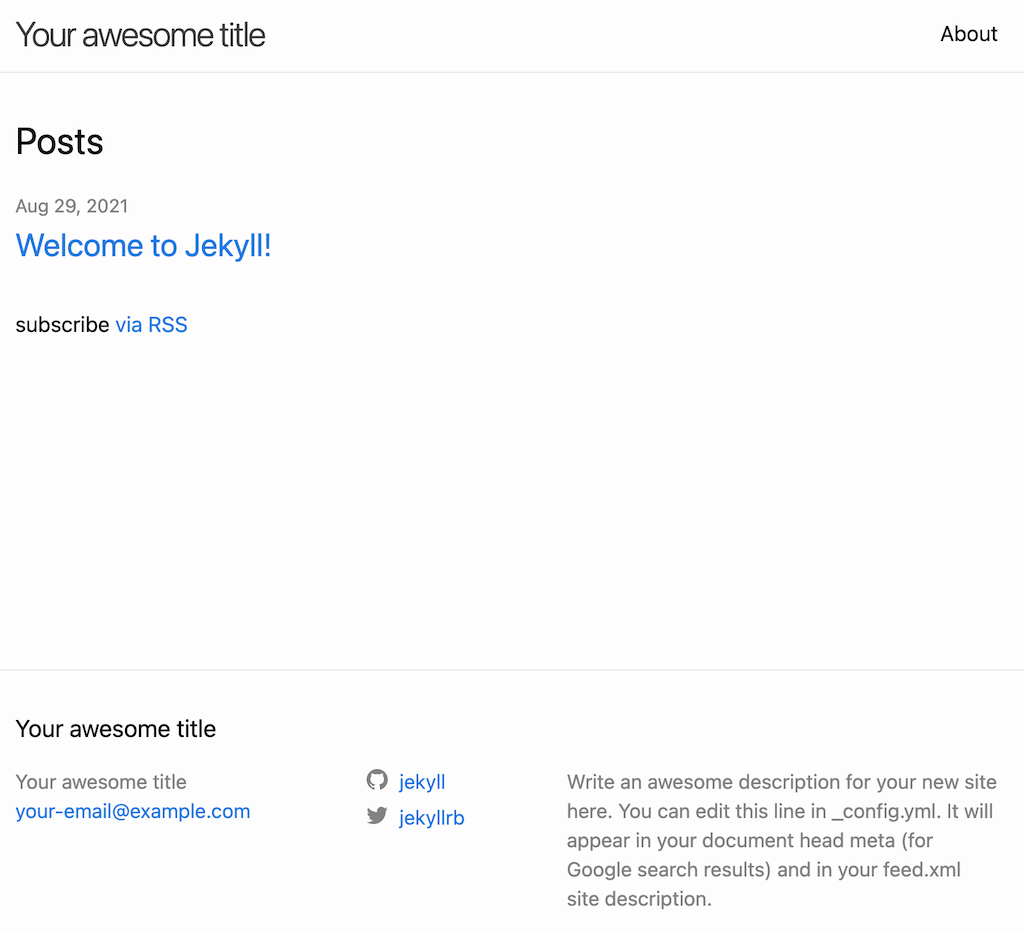
Now visit http://localhost:4000 in your browser. You should see your default "awesome" blog.
Screenshot by Ayush Sharma, CC BY-SA 4.0
Directory structure
The default site contains the following files and folders:
_posts: Your blog entries._site: The final compiled static website.about.markdown: Content for the about page.index.markdown: Content for the home page.404.html: Content for the 404 page._config.yml: Site-wide configuration for Jekyll.
Creating new blog entries
Creating posts is simple. All you need to do is create a new file under _posts with the proper format and extension, and you’re all set.
A valid file name is 2021-08-29-welcome-to-jekyll.markdown. A post file must contain what Jekyll calls the YAML Front Matter. It’s a special section at the beginning of the file with the metadata. If you see the default post, you’ll see the following:
\---
layout: post
title: "Welcome to Jekyll!"
date:  2021-08-29 11:28:12 +0530
categories: jekyll update
\---
Jekyll uses the above metadata, and you can also define custom key: value pairs. If you need some inspiration, have a look at my website's front matter. Aside from the front matter, you can use in-built Jekyll variables to customize your website.
Let’s create a new post. Create 2021-08-29-ayushsharma.markdown in the _posts folder. Add the following content:
\---
layout: post
title:  "Check out ayushsharma.in!"
date:   2021-08-29 12:00:00 +0530
categories: mycategory
\---
This is my first post.

# This is a heading.

## This is another heading.

This is a [link](<http://notes.ayushsharma.in>)

This is my category:
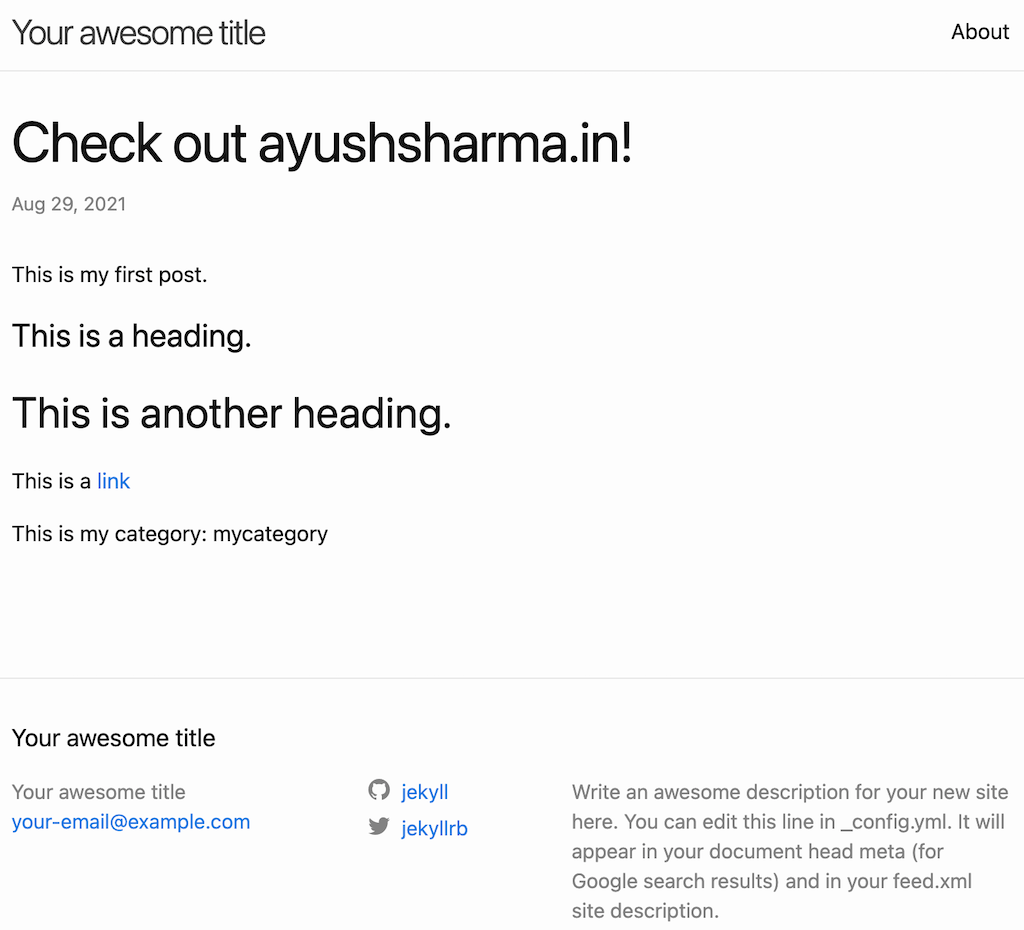
If the jekyll serve command is still running, refresh the page, and you'll see the new entry below.
Screenshot by Ayush Sharma, CC BY-SA 4.0
Congrats on creating your first article! The process may seem simple, but there's a lot you can do with Jekyll. Using simple markdown, you can generate an archive of posts, syntax highlighting for code snippets, and separate pages for posts in one category.
Drafts
If you're not ready to publish your content yet, you can create a new _drafts folder. Markdown files in this folder are only rendered by passing the --drafts argument.
Layouts and Includes
Note the front matter of the two articles in our _posts folder, and you'll see layout: post in the Front Matter. The _layout folder contains all the layouts. You won't find them in your source code because Jekyll loads them by default. The default source code used by Jekyll is here. If you follow the link, you'll see that the post layout uses the default layout. The default layout contains the code {{ content }} which is where content is injected. The layout files will also contain include directives. These load files from the includes folder and allow composing a page using different components.
Overall, this is how layouts work—you define them in the front matter and inject your content within them. Includes provide other sections of the page to compose a whole page. This is a standard web-design technique—defining header, footer, aside, and content elements and then injecting content within them. This is the real power of static site generators—full programmatic control over assembling your website with final compilation into static HTML.
Pages
Not all content on your website will be an article or a blog post. You'll need about pages, contact pages, project pages, or portfolio pages. This is where Pages come in. They work exactly like Posts do, meaning they're markdown files with front matter. But they don't go in the _posts directory. They either stay in your project root or in folders of their own. For Layouts and Includes, you can use the same ones as you do for your Posts or create new ones. Jekyll is very flexible and you can be as creative as you want! Your default blog already has index.markdown and about.markdown. Feel free to customize them as you wish.
Data files
Data files live in the _data directory, and can be .yml, .json, or .csv. For example, a _data/members.yml file may contain:
\- name: A
 github: a@a

\- name: B
 github: b@b

\- name: C
 github: c@c
Jekyll reads these during site generation. You can access them using site.data.members.
<ul>
{ % for member in site.data.members %}
 <li>
 <a href="[https://github.com/"\>][15]
      { { member.name }}
 </a>
 </li>
{ % endfor %}
</ul>
Permalinks
Your _config.yml file defines the format of your permalinks. You can use a variety of default variables to assemble your own custom permalink.
Building your final website
The command jekyll serve is great for local testing. But once you're done with local testing, you'll want to build the final artifact to publish. The command jekyll build --source source_dir --destination destination_dir builds your website into the _site folder. Note that this folder is cleaned up before every build, so don't place important things in there. Once you have the content, you can host it on a static hosting service of your choosing.
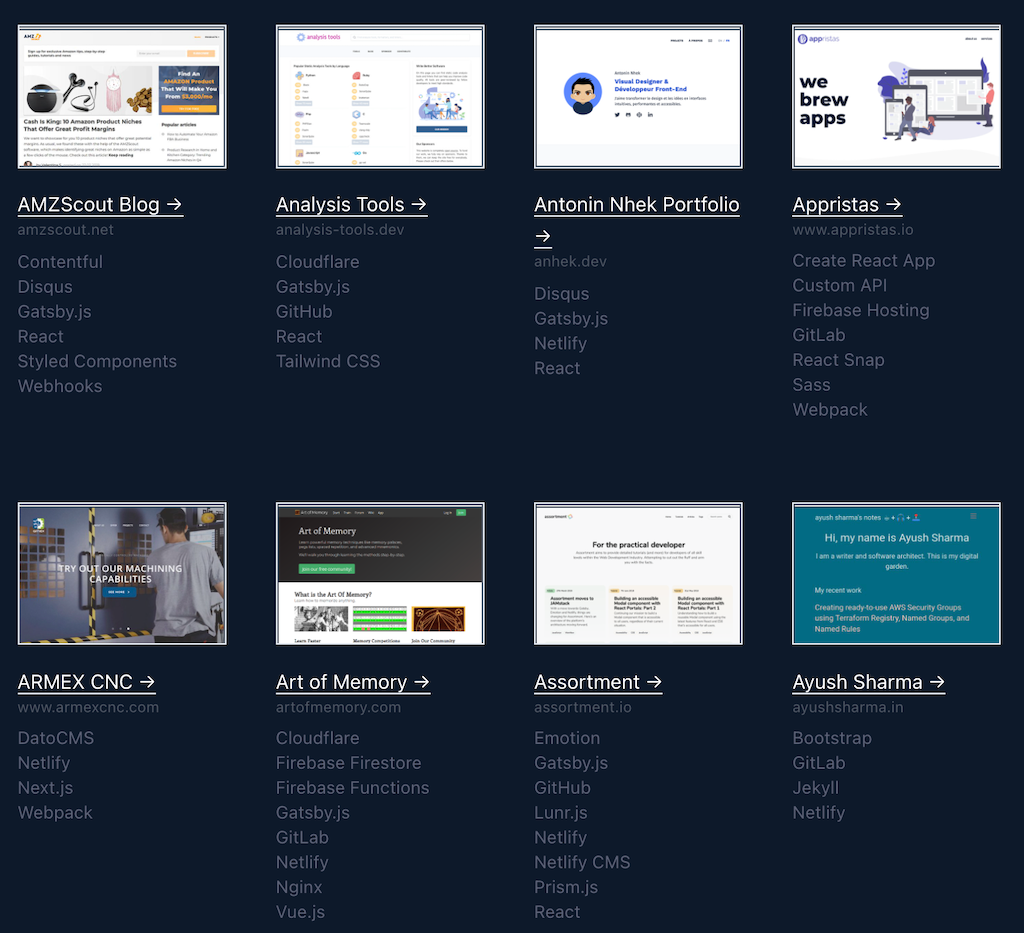
You should now have a decent overall grasp of what Jekyll is capable of and what the main bits and pieces do. If you’re looking for inspiration, the official JAMStack website has some amazing examples.
Screenshot by Ayush Sharma, CC BY-SA 4.0
Happy coding :)
This article was originally published on the author's personal blog and has been adapted with permission.
See how Jekyll, an open source generator of static HTML files, makes running a blog as easy as...
via: https://opensource.com/article/21/9/build-website-jekyll
作者:Ayush Sharma 选题:lujun9972 译者:译者ID 校对:校对者ID


