11 KiB
Getting started with shaders: signed distance functions!
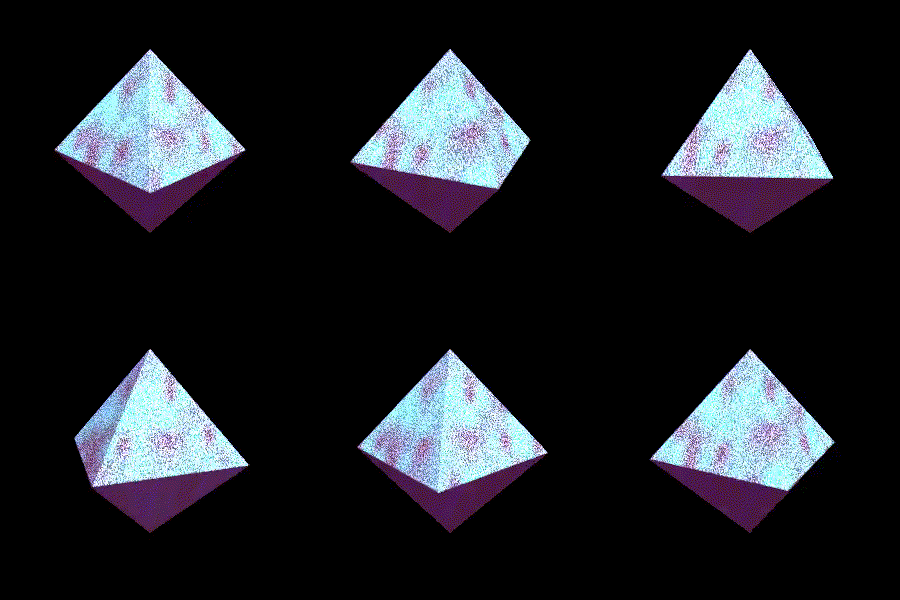
Hello! A while back I learned how to make fun shiny spinny things like this using shaders:
My shader skills are still extremely basic, but this fun spinning thing turned out to be a lot easier to make than I thought it would be to make (with a lot of copying of code snippets from other people!).
The big idea I learned when doing this was something called “signed distance functions”, which I learned about from a very fun tutorial called Signed Distance Function tutorial: box & balloon.
In this post I’ll go through the steps I used to learn to write a simple shader and try to convince you that shaders are not that hard to get started with!
examples of more advanced shaders
If you haven’t seen people do really fancy things with shaders, here are a couple:
- this very complicated shader that is like a realistic video of a river: https://www.shadertoy.com/view/Xl2XRW
- a more abstract (and shorter!) fun shader with a lot of glowing circles: https://www.shadertoy.com/view/lstSzj
step 1: my first shader
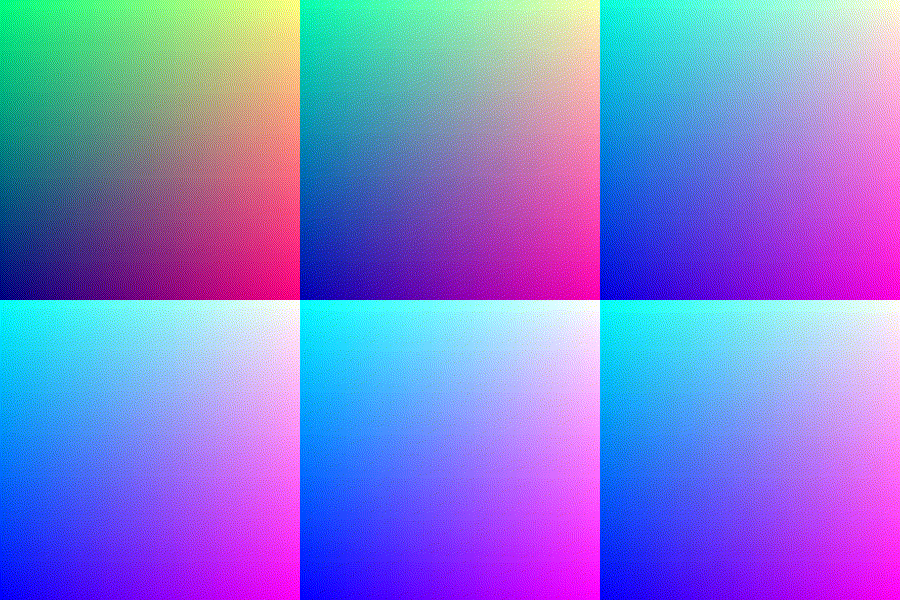
I knew that you could make shaders on shadertoy, and so I went to https://www.shadertoy.com/new. They give you a default shader to start with that looks like this:
Here’s the code:
void mainImage( out vec4 fragColor, in vec2 fragCoord )
{
    // Normalized pixel coordinates (from 0 to 1)
    vec2 uv = fragCoord/iResolution.xy;

    // Time varying pixel color
    vec3 col = 0.5 + 0.5*cos(iTime+uv.xyx+vec3(0,2,4));

    // Output to screen
    fragColor = vec4(col,1.0);
}
This doesn’t do anythign that exciting, but it already taught me the basic structure of a shader program!
the idea: map a pair of coordinates (and time) to a colour
The idea here is that you get a pair of coordinates as an input (fragCoord) and you need to output a RGBA vector with the colour of that. The function can also use the current time (iTime), which is how the picture changes over time.
The neat thing about this programming model (where you map a pair of coordinates and the time to) is that it’s extremely trivially parallelizable. I don’t understand a lot about GPUs but my understanding is that this kind of task (where you have 10000 trivially parallelizable calculations to do at once) is exactly the kind of thing GPUs are good at.
step 2: iterate faster with shadertoy-render
After a while of playing with shadertoy, I got tired of having to click “recompile” on the Shadertoy website every time I saved my shader.
I found a command line tool that will watch a file and update the animation in real time every time I save called shadertoy-render. So now I can just run:
shadertoy-render.py circle.glsl
and iterate way faster!
step 3: draw a circle
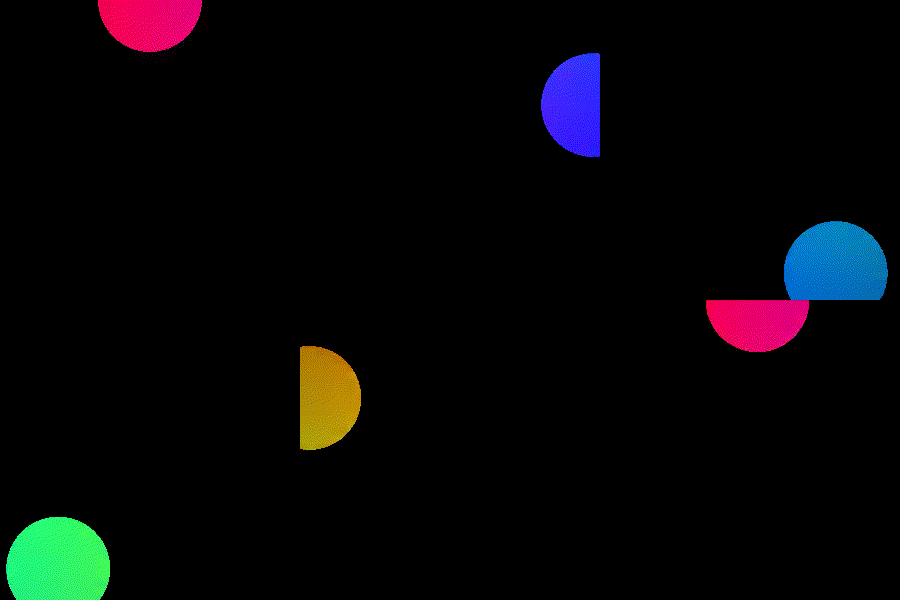
Next I thought – I’m good at math! I can use some basic trigonometry to draw a bouncing rainbow circle!
I know the equation for a circle (x**2 + y**2 = whatever!), so I wrote some code to do that:
Here’s the code: (which you can also see on shadertoy)
void mainImage( out vec4 fragColor, in vec2 fragCoord )
{
    // Normalized pixel coordinates (from 0 to 1)
    vec2 uv = fragCoord/iResolution.xy;
    // Draw a circle whose center depends on what time it is
    vec2 shifted = uv - vec2((sin(iGlobalTime) + 1)/2, (1 + cos(iGlobalTime)) / 2);
    if (dot(shifted, shifted) < 0.03) {
        // Varying pixel colour
        vec3 col = 0.5 + 0.5*cos(iGlobalTime+uv.xyx+vec3(0,2,4));
        fragColor = vec4(col,1.0);
    } else {
        // make everything outside the circle black
        fragColor = vec4(0,0,0,1.0);
    }
}
This takes the dot product of the coordinate vector fragCoord with itself, which is the same as calculating x^2 + y^2. I played with the center of the circle a little bit in this one too – I made the center vec2((sin(iGlobalTime) + 1)/2, (1 + cos(faster)) / 2), which means that the center of the circle also goes in a circle depending on what time it is.
shaders are a fun way to play with math!
One thing I think is fun about this already (even though we haven’t done anything super advanced!) is that these shaders give us a fun visual way to play with math – I used sin and cos to make something go in a circle, and if you want to get some better intuition about how trigonometric work, maybe writing shaders would be a fun way to do that!
I love that you get instant visual feedback about your math code – if you multiply something by 2, things get bigger! or smaller! or faster! or slower! or more red!
but how do we do something really fancy?
This bouncing circle is nice but it’s really far from the super fancy things I’ve seen other people do with shaders. So what’s the next step?
idea: instead of using if statements, use signed distance functions!
In my circle code above, I basically wrote:
if (dot(uv, uv) < 0.03) {
    // code for inside the circle
} else {
    // code for outside the circle
}
But the problem with this (and the reason I was feeling stuck) is that it’s not clear how it generalizes to more complicated shapes! Writing a bajillion if statements doesn’t seem like it would work well. And how do people render those 3d shapes anyway?
So! Signed distance functions are a different way to define a shape. Instead of using a hardcoded if statement, instead you define a function that tells you, for any point in the world, how far away that point is from your shape. For example, here’s a signed distance function for a sphere.
float sdSphere( vec3 p, float center )
{
  return length(p)-center;
}
Signed distance functions are awesome because they’re:
- simple to define!
- easy to compose! You can take a union / intersection / difference with some simple math if you want a sphere with a chunk taken out of it.
- easy to rotate / stretch / bend!
the steps to making a spinning top
When I started out I didn’t understand what code I needed to write to make a shiny spinning thing. It turns out that these are the basic steps:
- Make a signed distance function for the shape I want (in my case an octahedron)
- Raytrace the signed distance function so you can display it in a 2D picture (or raymarch? The tutorial I used called it raytracing and I don’t understand the difference between raytracing and raymarching yet)
- Write some code to texture the surface of your shape and make it shiny
I’m not going to explain signed distance functions or raytracing in detail in this post because I found this AMAZING tutorial on signed distance functions that is very friendly and honestly it does a way better job than I could do. It explains how to do the 3 steps above and the code has a ton of comments and it’s great.
- The tutorial is called “SDF Tutorial: box & balloon” and it’s here: https://www.shadertoy.com/view/Xl2XWt
- Here are tons of signed distance functions that you can copy and paste into your code http://www.iquilezles.org/www/articles/distfunctions/distfunctions.htm (and ways to compose them to make other shapes)
step 4: copy the tutorial code and start changing things
Here I used the time honoured programming practice here of “copy the code and change things in a chaotic way until I get the result I want”.
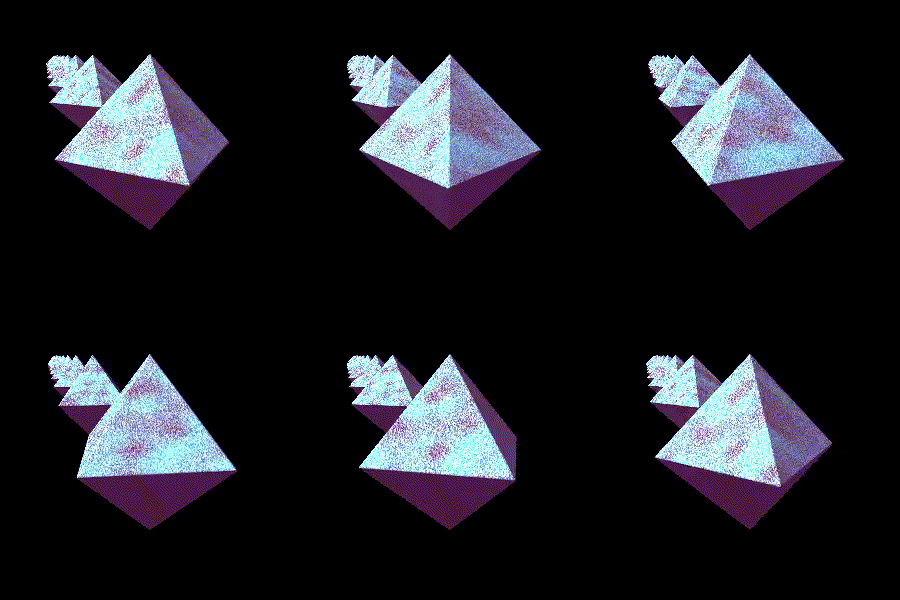
My final shader of a bunch of shiny spinny things is here: https://www.shadertoy.com/view/wdlcR4
The animation comes out looking like this:
Basically to make this I just copied the tutorial on signed distance functions that renders the shape based on the signed distance function and:
- changed
sdfBalloontosdfOctahedronand made the octahedron spin instead of staying still in my signed distance function - changed the
doBalloonColorcolouring function to make it shiny - made there be lots of octahedrons instead of just one
making the octahedron spin!
Here’s some the I used to make the octahedron spin! This turned out to be really simple: first copied an octahedron signed distance function from this page and then added a rotate to make it rotate based on time and then suddenly it’s spinning!
vec2 sdfOctahedron( vec3 currentRayPosition, vec3 offset ){
    vec3 p = rotate((currentRayPosition), offset.xy, iTime * 3.0) - offset;
    float s = 0.1; // what is s?
    p = abs(p);
    float distance = (p.x+p.y+p.z-s)*0.57735027;
    float id = 1.0;
    return vec2( distance,  id );
}
making it shiny with some noise
The other thing I wanted to do was to make my shape look sparkly/shiny. I used a noise funciton that I found in this github gist to make the surface look textured.
Here’s how I used the noise function. Basically I just changed parameters to the noise function mostly at random (multiply by 2? 3? 1800? who knows!) until I got an effect I liked.
float x = noise(rotate(positionOfHit, vec2(0, 0), iGlobalTime * 3.0).xy * 1800.0);
float x2 = noise(lightDirection.xy * 400.0);
float y = min(max(x, 0.0), 1.0);
float y2 = min(max(x2, 0.0), 1.0) ;
vec3 balloonColor = vec3(y , y  + y2, y  + y2);
writing shaders is fun!
That’s all! I had a lot of fun making this thing spin and be shiny. If you also want to make fun animations with shaders, I hope this helps you make your cool thing!
As usual with subjects I don’t know tha well, I’ve probably said at least one wrong thing about shaders in this post, let me know what it is!
Again, here are the 2 resources I used:
- “SDF Tutorial: box & balloon”: https://www.shadertoy.com/view/Xl2XWt (which is really fun to modify and play around with)
- Tons of signed distance functions that you can copy and paste into your code http://www.iquilezles.org/www/articles/distfunctions/distfunctions.htm
via: https://jvns.ca/blog/2020/03/15/writing-shaders-with-signed-distance-functions/
作者:Julia Evans 选题:lujun9972 译者:译者ID 校对:校对者ID


