23 KiB
How To Securely Transfer Files With SCP In Linux
File transfer over a network can be done in various ways and using different protocols. The most commonly used protocols for copying files remotely are Rsync, SCP and SFTP. In this guide, we will look at what is SCP and how to securely transfer files between local and remote computers with SCP in Linux and Unix-like operating systems.
What is SCP?
SCP, stands for Secure Copy, is a command line program to copy files and directories between a local and a remote system or between two remote systems in a secure way in Linux and Unix-like operating systems.
Using scp command, you can securely copy a file or a directory,
- from your local system to a remote system,
- from a remote system to your local system,
- between remote systems from your local system.
When transferring data with the scp command, the files and directories are both encrypted. So even if your network is compromised, the perpetrators can't get any meaningful data.
SCP is a component of the openSSH program and it uses the SSH protocol to securely transfer files. OpenSSH comes pre-installed with almost all modern Linux and Unix distributions, so don't bother installing it.
A word of caution:
According to the official announcement from the openSSH developers,
The scp protocol is outdated, inflexible and not readily fixed. We recommend the use of more modern protocols like sftp and rsync for file transfer instead.
Link - https://lists.mindrot.org/pipermail/openssh-unix-dev/2019-March/037672.html
However, the majority of the users still prefer SCP over other protocols. Because, SCP handles remote-to-remote file transfers more efficiently than its counterparts such as SFTP and Rsync.
And also, SCP works exactly like cp command, while rsync changes its behavior based on whether the source directory has a trailing slash or not. Take a look at the following commands:
rsync source destination/- would copy the source into the destination folder.rsync source/ destination/- would copy the contents of the source folder into the destination folder.
So you must always double check if you've put the trailing slash in the path.
I personally use Rsync for copying large size files between two hosts and SCP for copying single files over a network.
SCP Command Syntax
The general syntax for SCP command is given below:
scp [-346ABCpqrTv] [-c cipher] [-F ssh_config] [-i identity_file] [-J destination] [-l limit] [-o ssh_option] [-P port] [-S program] source ... target
Depending upon the file transfer path, the syntax will differ. Here I have included some example syntax format.
Copy a file from your local system to a remote system:
scp <options> SourceFile User@RemoteHost:RemotePath
Similarly, to copy a directory from your local system to a remote system, use -r flag:
scp -r SourceDirectory User@RemoteHost:RemotePath
Copy multiple files to a remote system:
scp <options> SourceFile1 SourceFile2 User@RemoteHost:RemotePath
Copy a file from remote system to your local system:
scp <options> User@RemoteHost:RemoteFilePath DestinationFile
Copy a directory from remote system to local system:
scp -r User@RemoteHost:RemoteDirectoryPath DestinationDirectory
Copy a file from one remote system to another remote system from your local system:
scp <options> User@RemoteHost1:RemoteFile1 User@RemoteHost2:RemotePath
Please note that when you copy files between two remote systems, the traffic will not pass through the local system. The operation takes place directly between two remote systems. You can, however, pass the traffic from the system on which you run scp command using -3 option.
Copy a directory from one remote system to another remote system from your local system:
scp -r User@RemoteHost1:RemoteDirectory User@RemoteHost2:DestinationPath
SCP Command Options
The most commonly used options of SCP command are:
-C: Enable compression. Here, C stands for Compression. When you use this option, the data transfer speed will be faster, because the data is compressed. SCP will automatically enable the compression at the source system and decompression at the destination system.-c <cipher>: c stands for cipher. By default, SCP uses 'AES-128' encryption method for encrypting data. You can change the encryption method using-coption.-i <identity_file>: i stands for Identity file or Private key. As you already know, there are password-based and key-based authentication used in SSH. If you want to use key-based authentication while transferring files, you can use the -i option to specify the Identity file or Private key.-l limit: l stands for limit bandwidth. Using this option, you can set the maximum bandwidth used for transferring data. The limit should be specified inKbit/s.-F <ssh_config>: Some times, you may need to use different networks to connect to your Linux systems. Or you may be behind a proxy server. In such situations, you can use differentssh_configfile using-Foption.-P port- P stands for Port. Please note that it is uppercase P. By default, SSH uses port number 22. You might have changed the port number in the destination host for security reasons. In that case, you should explicitly mention the new port number using-Poption.-p: if you want to preserve modification times, access times, and modes from the original file, you need to use -p option while copying files. Please note that it is lowercase p.-r: Recursively copy entire directories.-B: B stands for batch mode. It is used for selecting batch mode while transferring files. It prevents asking for passwords or passphrases.-S program: Name of the program to use for the encrypted connection.-v: v stands for verbose. When using the-voption, the command will print the progress in your Terminal screen. So, you will see the what exactly is going on when the files are being transferred. It is useful in debugging connection, authentication, and configuration problems.
SCP has so many options. You can check the man pages of SCP command to learn about other options. Let us see some useful scp command examples.
Important Notes to Remember before You Begin
- The
scpcommand relies onsshfor secure file transfer. So you must have either a ssh key or password to authenticate to the remote systems. - To be able to transfer files, you must have read permission on the source files and write permission on the destination location.
- The
scpcommand will not check the destination location before writing. Any files in the destination with the same name will be overwritten without notification. - To be able to distinguish between local and remote locations, use a colon (
:). - When transferring large files, it is recommended to start the task inside a Screen or Tmux session.
Transfer Files With SCP in Linux
As I already mentioned, we can use scp command to copy a file or a directory from a local system to a remote system and vice versa and copy files and folders between one remote computer to another remote computer.
1 Copy Files with SCP from Local System to Remote System
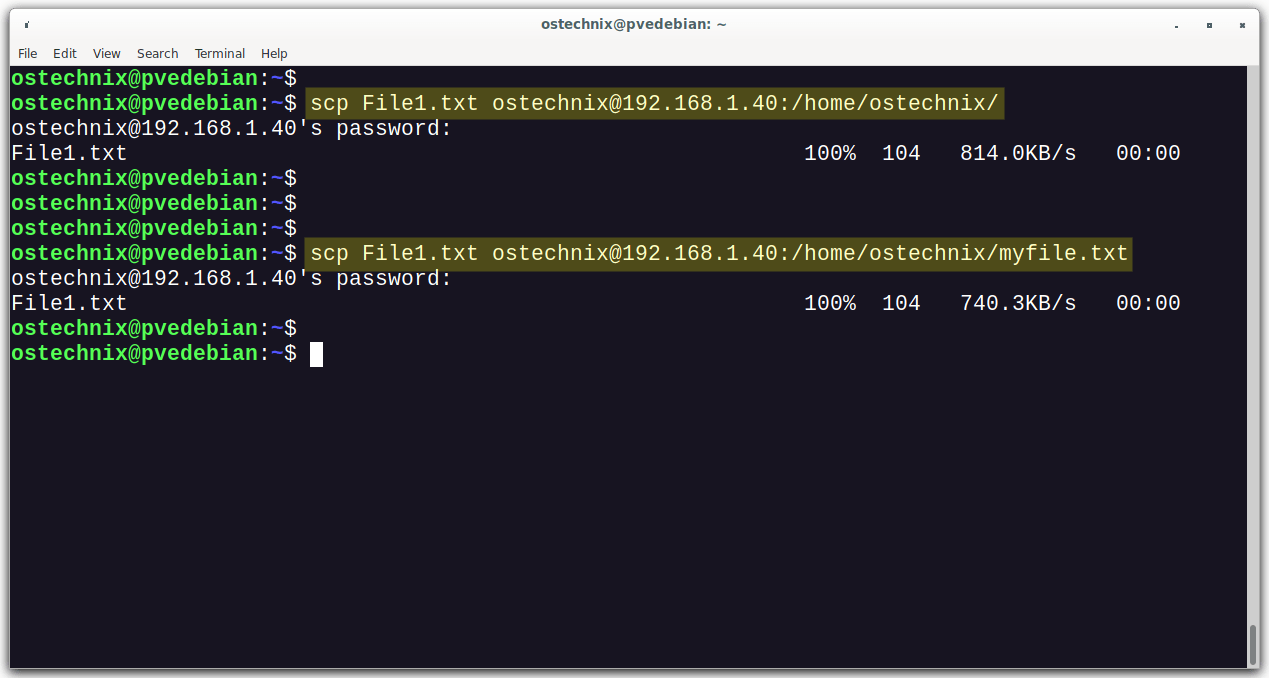
To copy a file from a local system to a remote system using scp command, run:
$ scp File1.txt ostechnix@192.168.1.40:/home/ostechnix/
Sample Output:
ostechnix@192.168.1.40's password:
File1.txt                                                    100%  104   814.0KB/s   00:00
Let us break down the above command and see what each option does.
**File1.txt**- The source file to be copied to the destination.**ostechnix**- The username of the remote system.**192.168.1.40**- The IP address of the remote system.**/home/ostechnix/**- The destination directory in the remote system. This is the absolute path where we want to transfer the source file i.e.File.txt.
You can also copy the file and rename it as well. The following command transfers the File1.txt to the destination and saves the file with different name myfile.txt.
$ scp File1.txt ostechnix@192.168.1.40:/home/ostechnix/myfile.txt
Copy Files from Local System to Remote System
2. Copy Multiple Files with SCP from Local System to Remote System
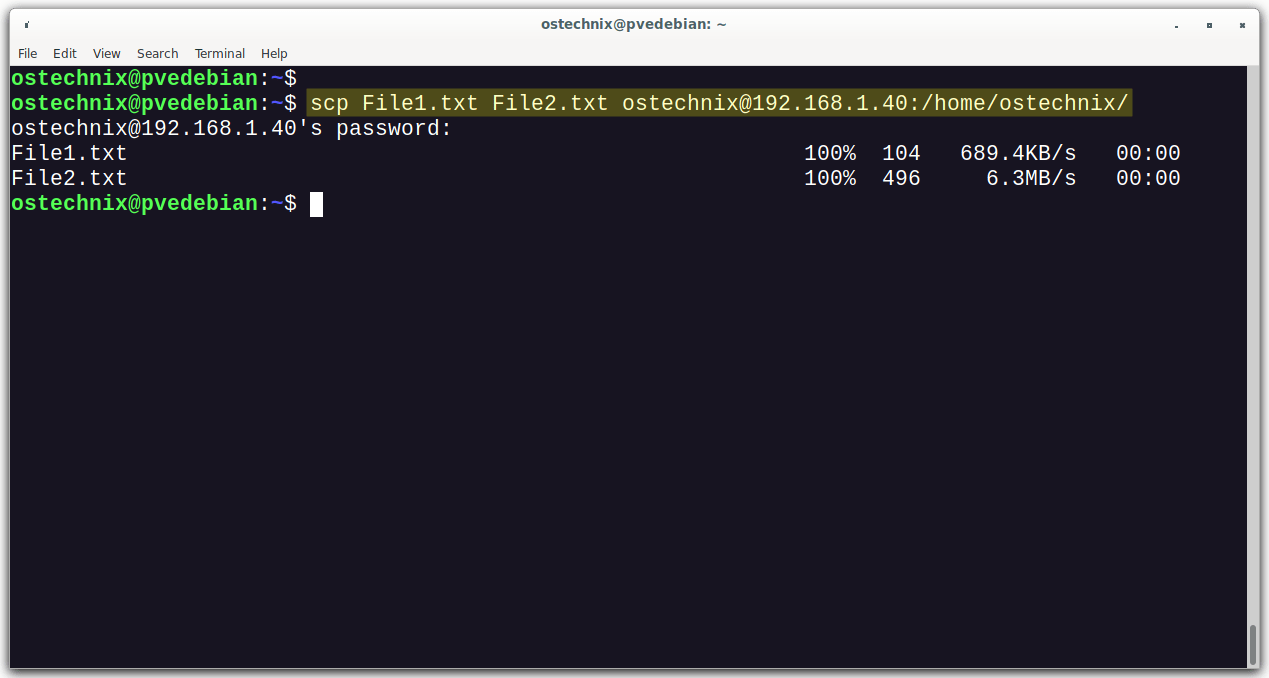
To transfer multiple files from a local system to a remote system with scp command, run:
$ scp File1.txt File2.txt ostechnix@192.168.1.40:/home/ostechnix/
Sample Output:
ostechnix@192.168.1.40's password:
File1.txt                                                    100%  104   689.4KB/s   00:00
File2.txt                                                    100%  496     6.3MB/s   00:00
Copy Multiple Files from Local System to Remote System
Here,
**File1.txt**andFile2.txt- The name of the sources that will be copied to the specified destination.**ostechnix@192.168.1.40**- The username and IP address of the remote system.**/home/ostechnix**- The destination path where we want to put the copied files.
If the files have same extension, you can use the following alternative commands to achieve the same goal.
$ scp {File1,File2}.txt ostechnix@192.168.1.40:/home/ostechnix/
Or,
$ scp *.txt ostechnix@192.168.1.40:/home/ostechnix/
3. Recursively Copy Directories with SCP from Local System to Remote System
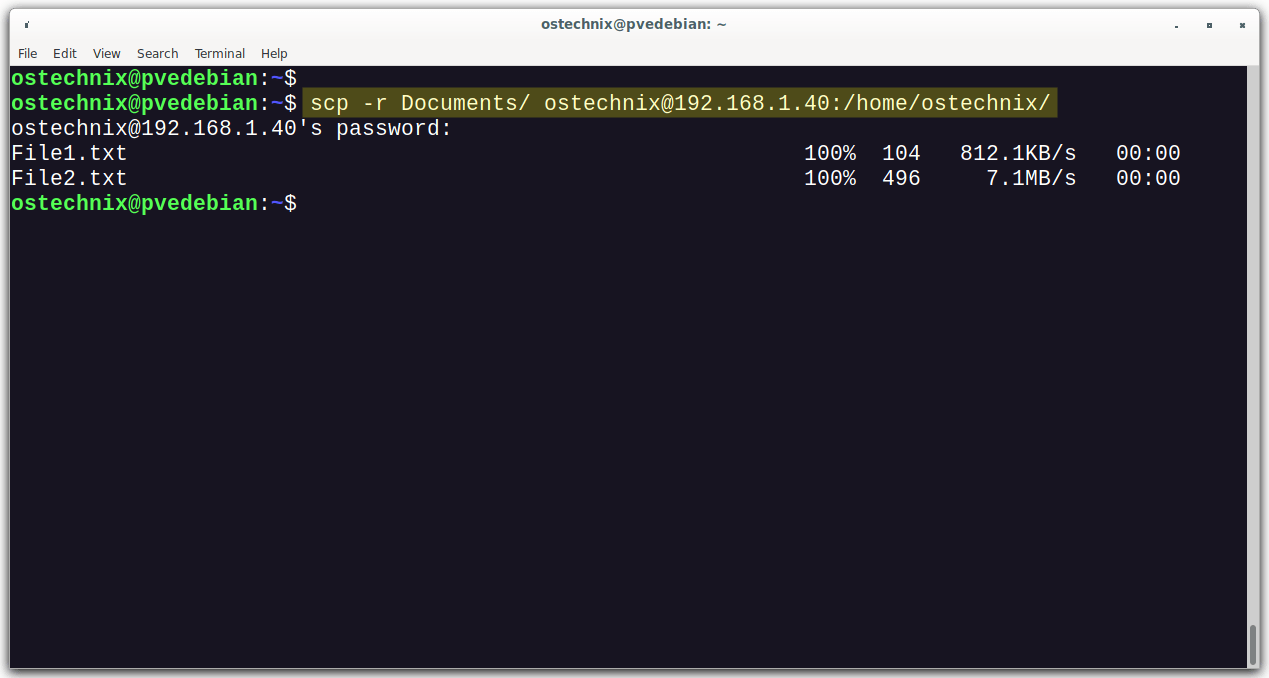
To recursively copy an entire directory including the sub-directories and its contents from your local system to a remote system, use -r flag like below.
$ scp -r Documents/ ostechnix@192.168.1.40:/home/ostechnix/
Copy a Directory from Local System to Remote System
The above command will copy the entire directory 'Documents' including its contents to the destination system.
Here,
-r: Copy files and directories recursively including the sub-directories and its contents.Documents: The name of the source directory that we want to copy to the destination.**ostechnix@192.168.1.40**: The username and IP address of the remote system.**/home/ostechnix**: The destination path where we want to put the copied directory.
4. Transfer Files with SCP from Remote System to Local System
Remember we copied FIle1.txt to the remote system from our local system. Let us copy it back to the local system.
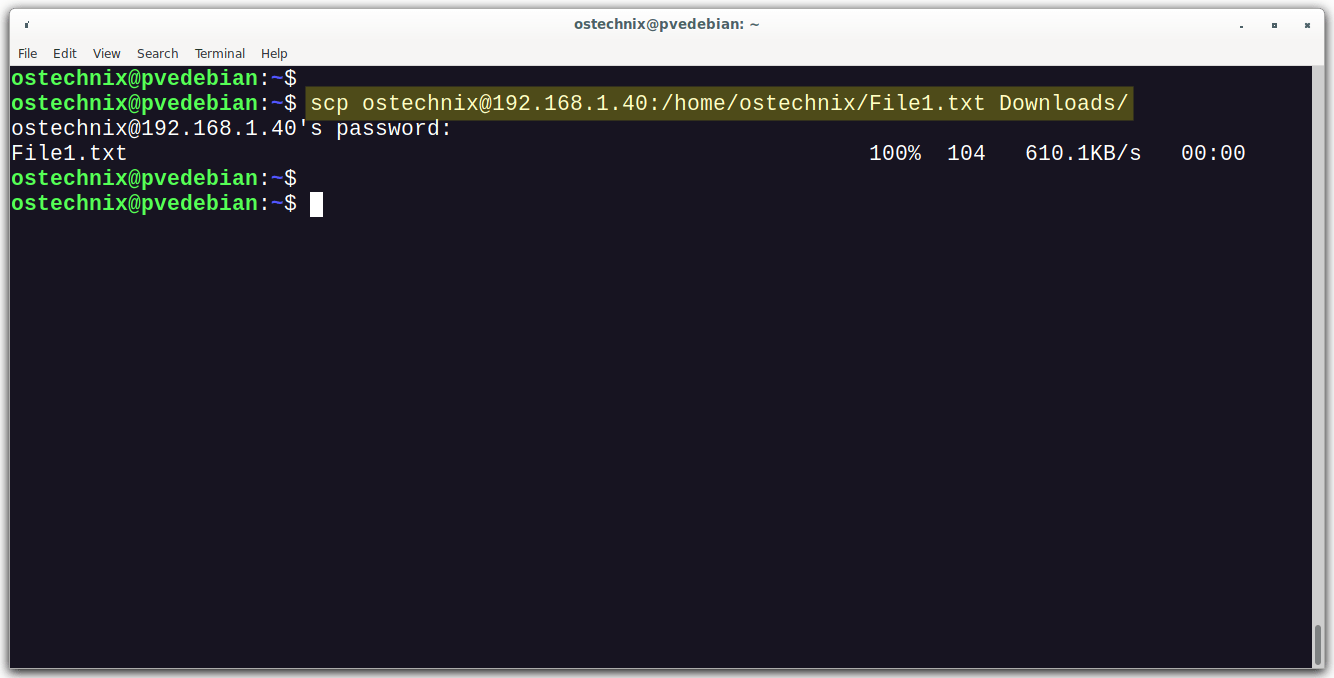
To copy a file from a remote system to your local system with scp, run:
$ scp ostechnix@192.168.1.40:/home/ostechnix/File1.txt Downloads/
Here,
**ostechnix@192.168.1.40**: The username and IP address of the remote system./home/ostechnix/File.txt: The absolute path of file that we want to copy to the local system.Downloads- The location where to save the copied file.
Transfer Files from Remote System to Local System
5. Transfer Multiple Files using SCP from Remote System to Local System
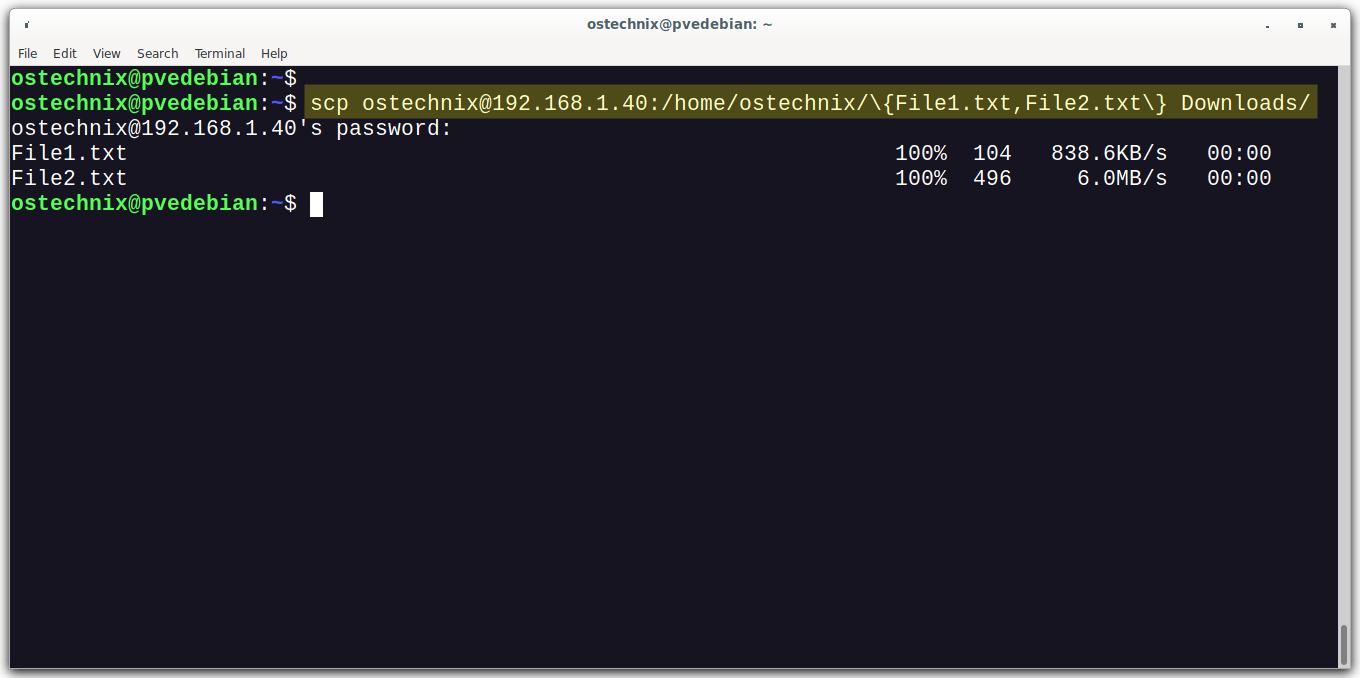
To copy multiple files from a remote system to your local system, mention the absolute path of the files that you want to copy within the curly braces as shown below.
$ scp ostechnix@192.168.1.40:/home/ostechnix/\{File1.txt,File2.txt\} Downloads/
Transfer Multiple Files from Remote System to Local System
The above command will copy the File1.txt and File2.txt from the /home/ostechnix/ directory of the remote system to the Downloads directory of the local system.
Please note that there is no spaces after the commas within the curly braces.
6. Recursively Copy Directories from Remote System to Local System
To copy an entire directory including the sub-directories and its contents recursively from a remote computer to your local system using scp, use -r flag.
$ scp -r ostechnix@192.168.1.40:/home/ostechnix/Documents Downloads/
The above command will copy the entire Documents from the remote system to the Downloads directory in your local system.
7. Copy Files using SCP between Two Remote Computers
To copy files directly from one remote system to another remote system with scp, run:
$ scp senthil@192.168.1.40:/home/senthil/File1.txt kumar@192.168.1.20:/home/kumar/
You will be asked to enter the password of the both remote systems.
Here,
senthil@192.168.1.40- The username and IP address of the remote system from the file is currently located./home/senthil/File1.txt- The name the file1 that is being copied and its location.**kumar@192.168.1.20**- The username and IP address of the remote system where we want to copy the file./home/kumar- The location where to save the copied file on the remote system.
The above command will copy the /home/senthil/File1.txt from the remote host 192.168.1.40 to /home/kumar/ directory on the remote host 192.168.1.20.
In this method, the data will be transferred directly from one remote system to another remote system. If you want to route the traffic through the machine on which the command is run, use **-3** flag like below.
$ scp -3 senthil@192.168.1.40:/home/senthil/File1.txt kumar@192.168.1.20:/home/kumar/
8. Enable Compression while Copying Files with SCP
So far we have transferred files without compressing them. Now we will enable compression while transferring files using -C flag.
$ scp -C File1.txt ostechnix@192.168.1.40:/home/ostechnix/
The -C flag will enable compression of data at the source and automatically decompress the data at destination side.
By enabling compression, you can increase the file copy or transfer speed significantly.
9. Limit Bandwidth while Transferring Files using SCP
We can limit the bandwidth while copying files with SCP using -l flag. Please note that the maximum bandwidth is specified in Kbits/s. 1 byte=8 bits. So if you want to limit bandwidth to 200 KB/s, the value for -l would be 1600 (200*8).
$ scp -l 1600 File1.txt ostechnix@192.168.1.40:/home/ostechnix/
This is useful when transferring large files to prevent SCP from throttling the bandwidth.
10. Use Different Port while Copying Files using SCP
As a system admin, you might have changed the default port of your SSH protocol on the remote servers for security reasons. In such cases, you can specify the port number with -P flag when transferring files. Please note that this is uppercase P.
$ scp -P 2022 File1.txt ostechnix@192.168.1.40:/home/ostechnix/
11. Use Different Cipher while Copying Files with SCP
By default, SCP uses 'AES-128' for encrypting files. If you want to use different cipher, use -c flag followed by the cipher name.
For example, if you want to use '3des-cbc' cipher, the command would be like below:
$ scp -c 3des-cbc File1.txt ostechnix@192.168.1.40:/home/ostechnix/
To view the list of supported ciphers, run:
$ ssh -Q cipher localhost | paste -d, -s -
Sample Output:
3des-cbc,aes128-cbc,aes192-cbc,aes256-cbc,rijndael-cbc@lysator.liu.se,aes128-ctr,aes192-ctr,aes256-ctr,aes128-gcm@openssh.com,aes256-gcm@openssh.com,chacha20-poly1305@openssh.com
12. Copying Files with SCP in Verbose Mode
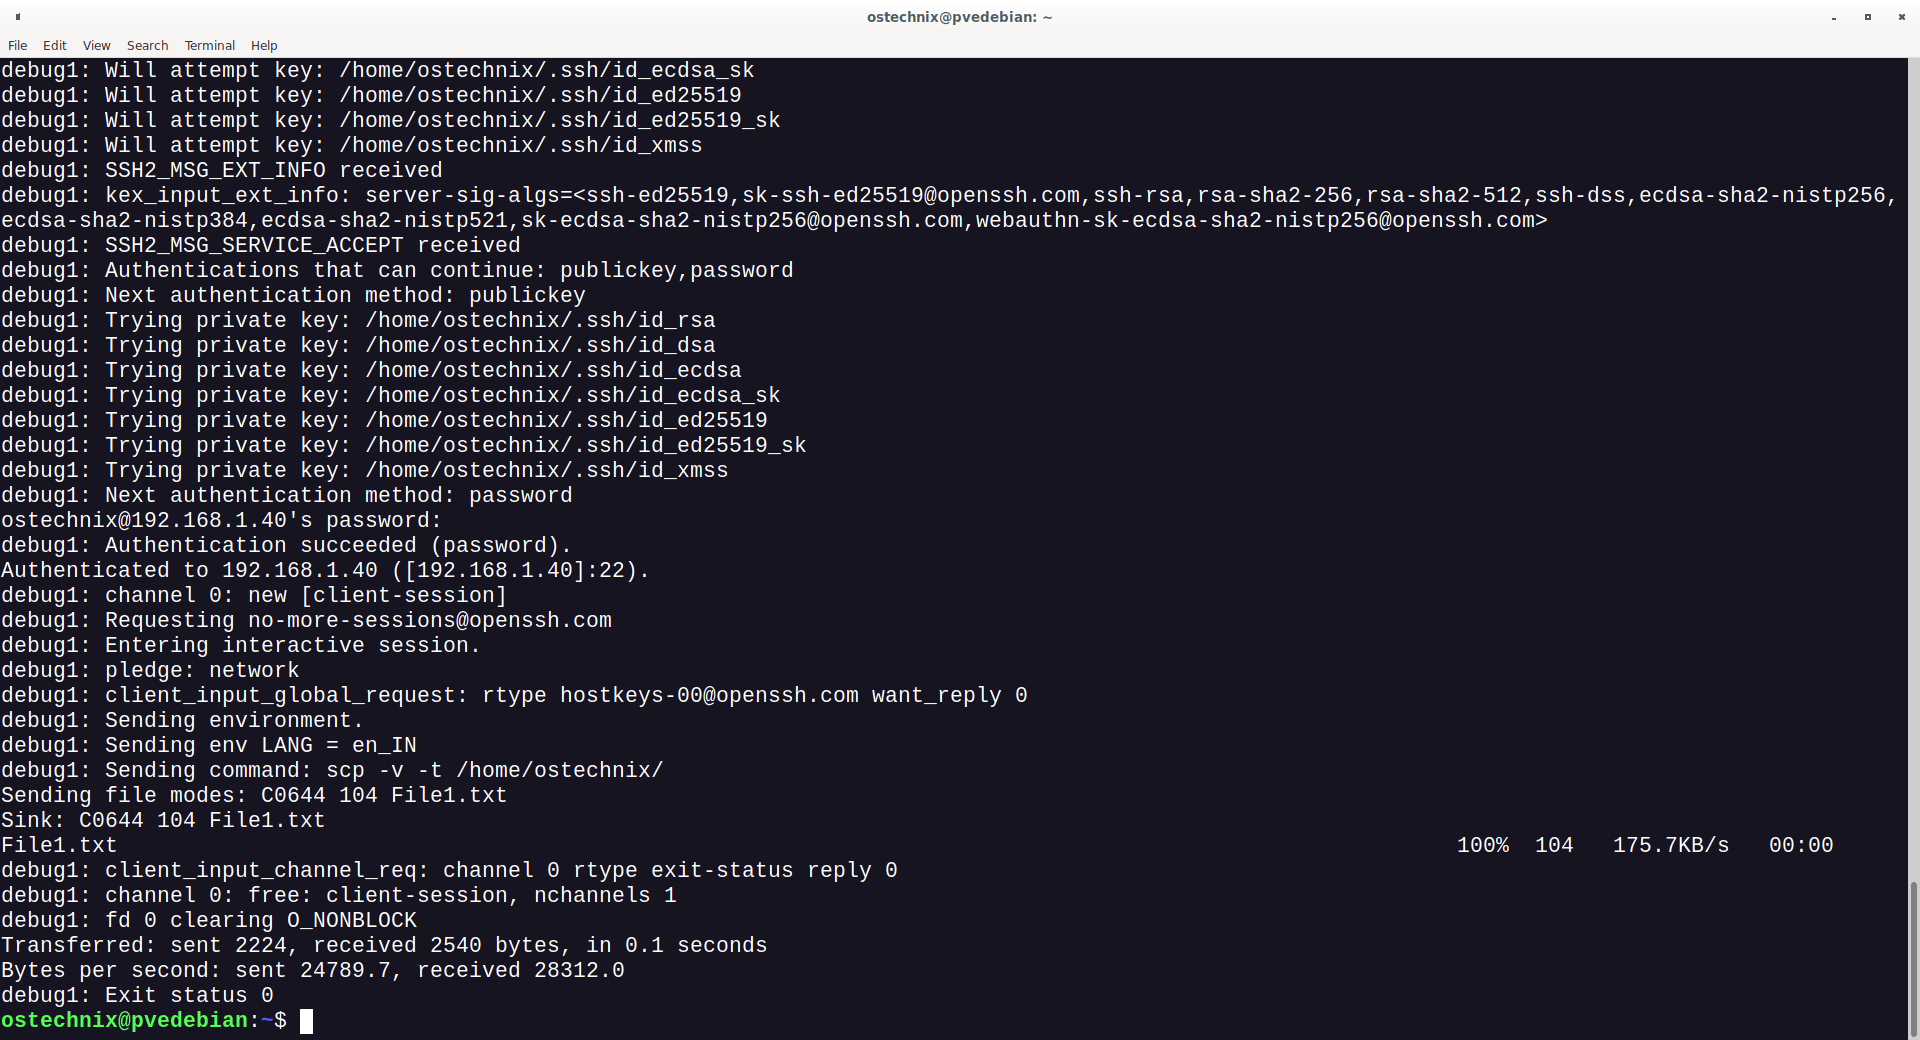
if you want to know what's going on behind the scenes while copying files with scp, you can use **-v** flag. When transferring files with SCP in Verbose mode, the step by step process of the SCP command execution will be displayed in the terminal. This comes in handy when troubleshooting times.
$ scp -v File1.txt ostechnix@192.168.1.40:/home/ostechnix/
You will see a whole lot of output when sending files in Verbose mode as shown in the following output.
Copying Files with SCP in Verbose Mode
13. Transferring Files with SCP in Quiet Mode
We can transfer files in quiet mode with -q flag. When sharing files in quiet mode, it will not show the copy progress, warning or diagnostic message in the output.
$ scp -q File1.txt ostechnix@192.168.1.40:/home/ostechnix/
14. Preserve File Attributes when Transferring Files with SCP
To preserve file attributes such as file modification times, access times, and modes when copying files with SCP, use -p flag. Please note that this is lowercase p.
$ scp -p File1.txt ostechnix@192.168.1.40:/home/ostechnix/
15. Use Identity File when Copying Files with SCP
SSH supports both password-based and key-based authentication. Key-based authentication is most widely used authentication method in Linux environments.
If you want to use key-based authentication while transferring files, use the -i option to specify the Identity file or Private key.
$ scp -i my_private_key.pem File1.txt ostechnix@192.168.1.40:/home/ostechnix/
16. Use Different ssh_config File when Transferring Files with SCP
There are situations where you need to use different networks to connect to your Linux systems. Or you may be behind a proxy server. In such situations, you can use different ssh_config file using **-F** option.
$ scp -F /home/ostechnix/my_ssh_config File1.txt ostechnix@192.168.1.40:/home/ostechnix/
17. Copy files with SCP using IPv4 or IPv6
We can force SCP to only use IPv4 or IPv6 addresses when copying files. This can be achieved by adding -4 for IPv4 networks and -6 for IPv6 networks.
$ scp -6 File1.txt ostechnix@192.168.1.40:/home/ostechnix/
Frequently Asked Questions
Question 1: What is SCP?
Answer: SCP is a command line program to securely transfer files and directories from a local system to a remote system and vice versa, or between two remote systems directly.
Question 2: How to copy a file from the local computer to remote computer using SCP?
To copy a file from your local system to a remote system, the command would be:
scp SourceFile.txt User@RemoteHost:/some/remote/directory
Question 3: How to copy recursively copy files and directories?
To recursively copy a directory including the sub-directories, use -r flag.
scp -r /some/local/directory User@RemoteHost:/some/remote/directory
Question 4: Can I transfer multiple files using SCP?
Yes, you can. Just mention the source file names with space separated.
Copy multiple files from local to remote:
scp file1.txt file2.txt file3.txt User@RemoteHost:/some/remote/directory
scp {file1,file2,file3}.txt User@RemoteHost:/some/remote/directory
scp *.txt User@RemoteHost:/some/remote/directory
Copy multiple files from remote to local:
scp User@RemoteHost:/some/remote/directory/\{file1.txt,file2.txt,file3.txt\} /some/local/directory
Copy multiple files from remote to remote:
$ scp User@RemoteHost1:/some/remote/directory/\{file1.txt,file2.txt,file3.txt\} User@RemoteHost2:/some/remote/directory/
Question 5: How to transfer all files in a directory?
To transfer all files in a directory, switch to that directory:
cd dir_name
scp *.txt User@RemoteHost:/some/remote/directory
Question 6: Can I compress files?
Yes, you can. Use -C to compress files. The files are compressed at source and decompress at destination automatically.
scp -C /some/large/file User@RemoteHost:/some/remote/directory
Question 7: Can I preserve file attributes?
To preserve file attributes such as modification times, access times, and modes from the original file, use -p flag.
scp -p file.txt User@RemoteHost:/some/remote/directory
Question 8: Can I use different port?
Yes. SCP allows you to use different port with -P flag.
scp -P 2022 file.txt User@RemoteHost:/some/remote/directory
Question 9: Can I use different cipher?
Yes, you can. Use -c flag to use different cipher.
scp -c 3des-cbc User@RemoteHost:/some/remote/directory
Question 10: How do I list the supported ciphers by SSH?
To view the list of supported ciphers by SSH and SCP, use the following command
ssh -Q cipher localhost | paste -d, -s -
Question 11: Is SCP really secure?
Yes, it is completely secure to use. SCP uses the same SSH mechanism used by openSSH. The data in transit is encrypted at the source side and decrypted at destination.
Question 12: Can I transfer files from a Windows system to a Linux system?
Yes, you can. Use either PSCP program to transfer files from windows platform to Linux platform. You can also use WinSCP.
Conclusion
In this comprehensive guide, we learned what is SCP, and how to securely transfer files with SCP in Linux. We provided 17 SCP command examples. We also looked at the commonly asked questions about SCP.
Whether you're a Linux Admin, or a Developer or a Regular user, you will have to copy files to and from a remote system at some point. Knowing how to use SCP to securely copy files will be definitely useful.
via: https://ostechnix.com/securely-transfer-files-with-scp-in-linux/
