mirror of
https://github.com/LCTT/TranslateProject.git
synced 2024-12-29 21:41:00 +08:00
289 lines
9.4 KiB
Markdown
289 lines
9.4 KiB
Markdown
[#]: collector: (lujun9972)
|
||
[#]: translator: (robsean)
|
||
[#]: reviewer: (wxy)
|
||
[#]: publisher: (wxy)
|
||
[#]: url: (https://linux.cn/article-11178-1.html)
|
||
[#]: subject: (Top 8 Things to do after Installing Debian 10 (Buster))
|
||
[#]: via: (https://www.linuxtechi.com/things-to-do-after-installing-debian-10/)
|
||
[#]: author: (Pradeep Kumar https://www.linuxtechi.com/author/pradeep/)
|
||
|
||
Debian 10(Buster)安装后要做的前 8 件事
|
||
======
|
||
|
||
Debian 10 的代号是 Buster,它是来自 Debian 家族的最新 LTS 发布版本,并包含大量的特色功能。因此,如果你已经在你的电脑上安装了 Debian 10,并在思考接下来该做什么,那么,请继续阅读这篇文章直到结尾,因为我们为你提供在安装 Debian 10 后要做的前 8 件事。对于还没有安装 Debian 10 的人们,请阅读这篇指南 [图解 Debian 10 (Buster) 安装步骤][1]。 让我们继续这篇文章。
|
||
|
||

|
||
|
||
### 1) 安装和配置 sudo
|
||
|
||
在设置完成 Debian 10 后,你需要做的第一件事是安装 sudo 软件包,因为它能够使你获得管理员权限来安装你需要的软件包。为安装和配置 sudo,请使用下面的命令:
|
||
|
||
变成 root 用户,然后使用下面的命令安装 sudo 软件包,
|
||
|
||
```
|
||
root@linuxtechi:~$ su -
|
||
Password:
|
||
root@linuxtechi:~# apt install sudo -y
|
||
```
|
||
|
||
添加你的本地用户到 sudo 组,使用下面的 [usermod][2] 命令,
|
||
|
||
```
|
||
root@linuxtechi:~# usermod -aG sudo pkumar
|
||
root@linuxtechi:~#
|
||
```
|
||
|
||
现在验证是否本地用户获得 sudo 权限:
|
||
|
||
```
|
||
root@linuxtechi:~$ id
|
||
uid=1000(pkumar) gid=1000(pkumar) groups=1000(pkumar),27(sudo)
|
||
root@linuxtechi:~$ sudo vi /etc/hosts
|
||
[sudo] password for pkumar:
|
||
root@linuxtechi:~$
|
||
```
|
||
|
||
### 2) 校正日期和时间
|
||
|
||
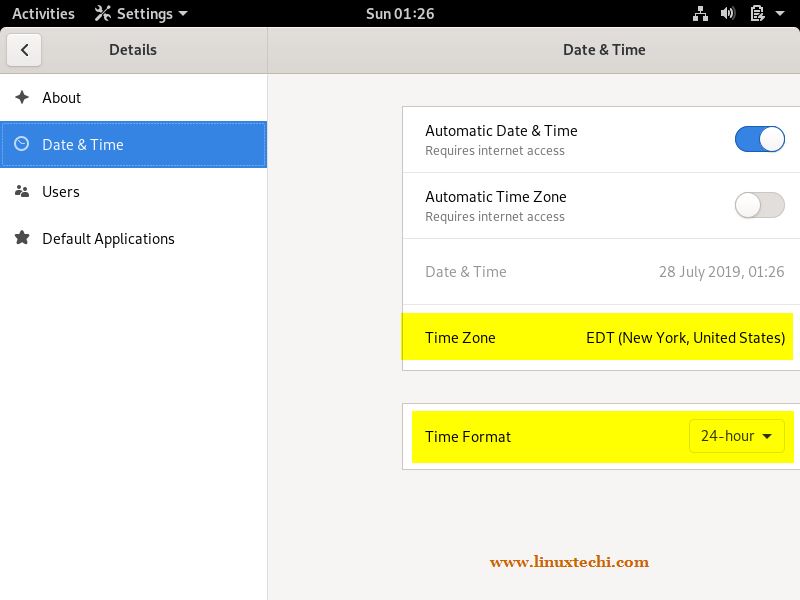
在你成功配置 sudo 软件包后,接下来,你需要根据你的位置来校正日期和时间。为了校正日期和时间,
|
||
|
||
转到系统 **设置** –> **详细说明** –> **日期和时间** ,然后更改为适合你的位置的时区。
|
||
|
||
|
||
|
||
一旦时区被更改,你可以看到时钟中的时间自动更改。
|
||
|
||
### 3) 应用所有更新
|
||
|
||
在 Debian 10 安装后,建议安装所有 Debian 10 软件包存储库中可用的更新,执行下面的 `apt` 命令:
|
||
|
||
```
|
||
root@linuxtechi:~$ sudo apt update
|
||
root@linuxtechi:~$ sudo apt upgrade -y
|
||
```
|
||
|
||
**注意:** 如果你是 vi 编辑器的忠实粉丝,那么使用下面的 `apt` 命令安装 `vim`:
|
||
|
||
```
|
||
root@linuxtechi:~$ sudo apt install vim -y
|
||
```
|
||
|
||
### 4) 安装 Flash 播放器插件
|
||
|
||
默认情况下,Debian 10(Buster)存储库不包含 Flash 插件,因此,用户需要遵循下面的介绍来在他们的系统中查找和安装 flash 播放器。
|
||
|
||
为 Flash 播放器配置存储库:
|
||
|
||
```
|
||
root@linuxtechi:~$ echo "deb http://ftp.de.debian.org/debian buster main contrib" | sudo tee -a /etc/apt/sources.list
|
||
deb http://ftp.de.debian.org/debian buster main contrib
|
||
root@linuxtechi:~
|
||
```
|
||
|
||
现在使用下面的命令更新软件包索引:
|
||
|
||
```
|
||
root@linuxtechi:~$ sudo apt update
|
||
```
|
||
|
||
使用下面的 `apt` 命令安装 Flash 插件:
|
||
|
||
```
|
||
root@linuxtechi:~$ sudo apt install pepperflashplugin-nonfree -y
|
||
```
|
||
|
||
一旦软件包被成功安装,接下来,尝试播放 YouTube 中的视频:
|
||
|
||

|
||
|
||
### 5) 安装软件,如 VLC、Skype、FileZilla 和截图工具
|
||
|
||
如此,现在我们已经启用 Flash 播放器,是时候在我们的 Debian 10 系统中安装所有其它的软件,如 VLC、Skype,Filezilla 和截图工具(flameshot)。
|
||
|
||
#### 安装 VLC 多媒体播放器
|
||
|
||
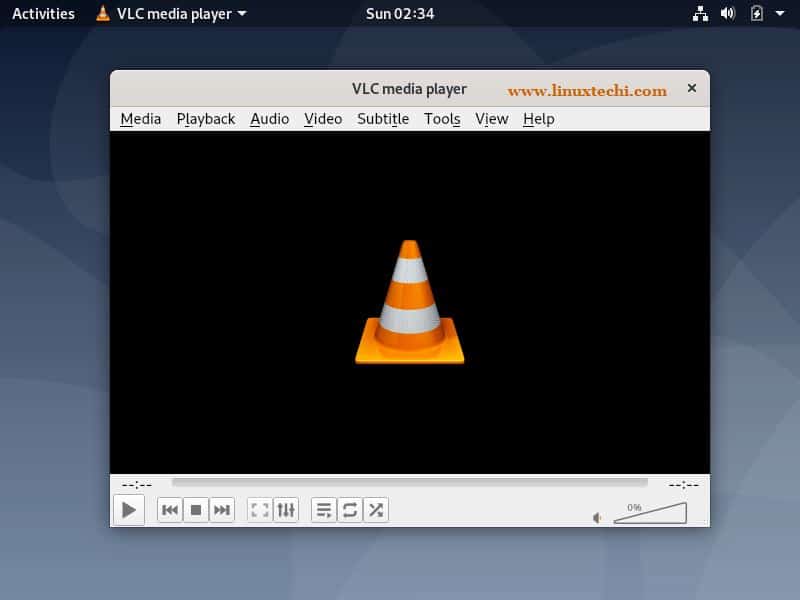
为在你的系统中安装 VLC 播放器,使用下面的 `apt` 命令:
|
||
|
||
```
|
||
root@linuxtechi:~$ sudo apt install vlc -y
|
||
```
|
||
|
||
在成功安装 VLC 播放器后,尝试播放你喜欢的视频。
|
||
|
||
|
||
|
||
#### 安装 Skype
|
||
|
||
首先,下载最新的 Skype 软件包:
|
||
|
||
```
|
||
root@linuxtechi:~$ wget https://go.skype.com/skypeforlinux-64.deb
|
||
```
|
||
|
||
接下来,使用 `apt` 命令安装软件包:
|
||
|
||
```
|
||
root@linuxtechi:~$ sudo apt install ./skypeforlinux-64.deb
|
||
```
|
||
|
||
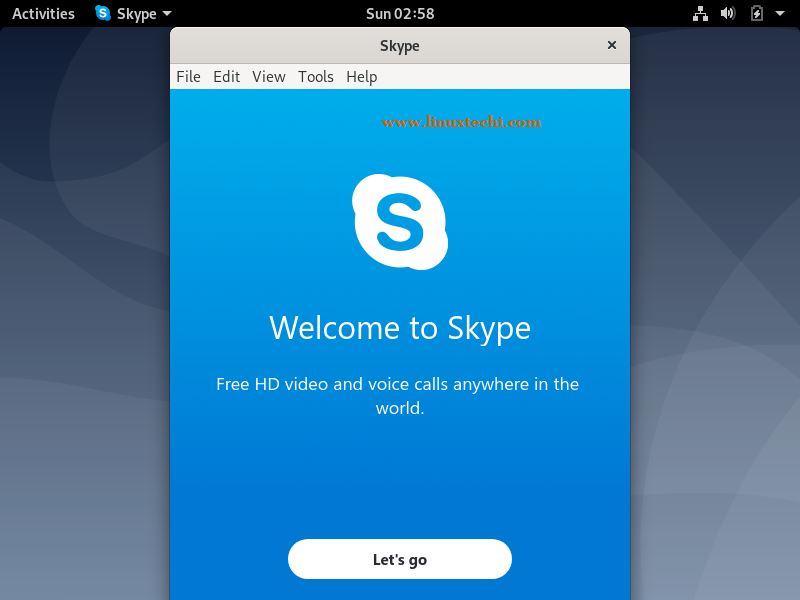
在成功安装 Skype 后,尝试访问它,并输入你的用户名和密码。
|
||
|
||
|
||
|
||
#### 安装 Filezilla
|
||
|
||
为在你的系统中安装 Filezilla,使用下面的 `apt` 命令,
|
||
|
||
```
|
||
root@linuxtechi:~$ sudo apt install filezilla -y
|
||
```
|
||
|
||
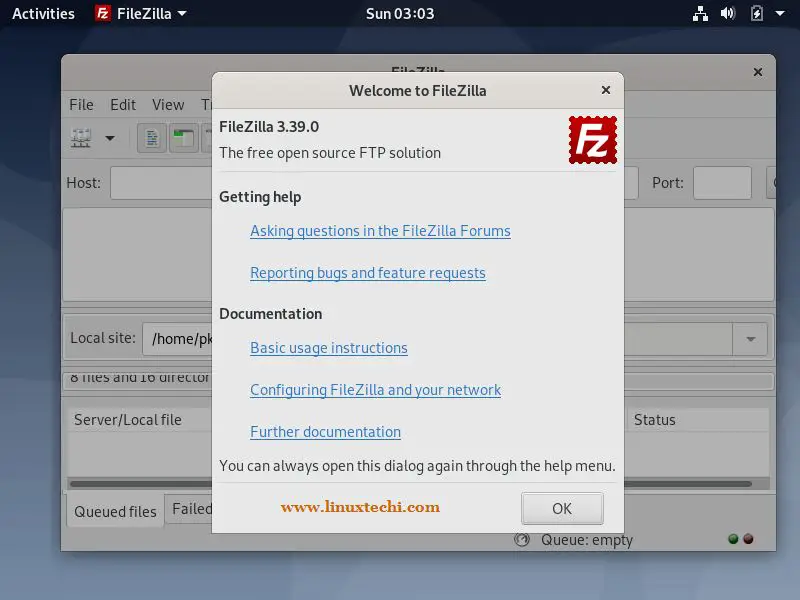
一旦 FileZilla 软件包被成功安装,尝试访问它。
|
||
|
||
|
||
|
||
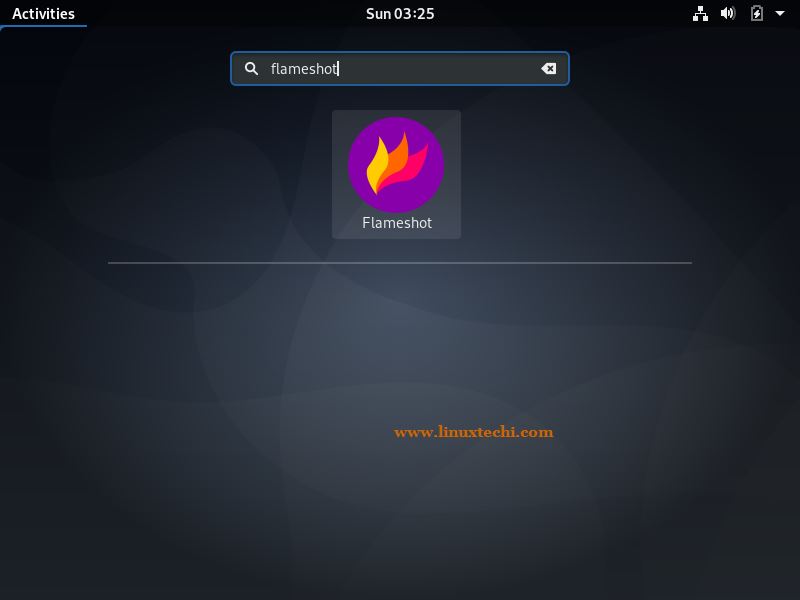
#### 安装截图工具(flameshot)
|
||
|
||
使用下面的命令来安装截图工具:flameshot,
|
||
|
||
```
|
||
root@linuxtechi:~$ sudo apt install flameshot -y
|
||
```
|
||
|
||
**注意:** Shutter 工具在 Debian 10 中已被移除。
|
||
|
||
|
||
|
||
### 6) 启用和启动防火墙
|
||
|
||
总是建议启动防火墙来使你的网络安全。如果你希望在 Debian 10 中启用防火墙, **UFW**(简单的防火墙)是最好的控制防火墙的工具。UFW 在 Debian 存储库中可用,它非常容易安装,如下:
|
||
|
||
```
|
||
root@linuxtechi:~$ sudo apt install ufw
|
||
```
|
||
|
||
在你安装 UFW 后,接下来的步骤是设置防火墙。因此,设置防火墙,通过拒绝端口来禁用所有的传入流量,并且只允许需要的端口传出,像 ssh、http 和 https。
|
||
|
||
```
|
||
root@linuxtechi:~$ sudo ufw default deny incoming
|
||
Default incoming policy changed to 'deny'
|
||
(be sure to update your rules accordingly)
|
||
root@linuxtechi:~$ sudo ufw default allow outgoing
|
||
Default outgoing policy changed to 'allow'
|
||
(be sure to update your rules accordingly)
|
||
root@linuxtechi:~$
|
||
```
|
||
|
||
允许 SSH 端口:
|
||
|
||
```
|
||
root@linuxtechi:~$ sudo ufw allow ssh
|
||
Rules updated
|
||
Rules updated (v6)
|
||
root@linuxtechi:~$
|
||
```
|
||
|
||
假使你在系统中已经安装 Web 服务器,那么使用下面的 `ufw` 命令来在防火墙中允许它们的端口:
|
||
|
||
```
|
||
root@linuxtechi:~$ sudo ufw allow 80
|
||
Rules updated
|
||
Rules updated (v6)
|
||
root@linuxtechi:~$ sudo ufw allow 443
|
||
Rules updated
|
||
Rules updated (v6)
|
||
root@linuxtechi:~$
|
||
```
|
||
|
||
最后,你可以使用下面的命令启用 UFW:
|
||
|
||
```
|
||
root@linuxtechi:~$ sudo ufw enable
|
||
Command may disrupt existing ssh connections. Proceed with operation (y|n)? y
|
||
Firewall is active and enabled on system startup
|
||
root@linuxtechi:~$
|
||
```
|
||
|
||
假使你想检查你的防火墙的状态,你可以使用下面的命令检查它:
|
||
|
||
```
|
||
root@linuxtechi:~$ sudo ufw status
|
||
```
|
||
|
||
### 7) 安装虚拟化软件(VirtualBox)
|
||
|
||
安装 Virtualbox 的第一步是将 Oracle VirtualBox 存储库的公钥导入到你的 Debian 10 系统:
|
||
|
||
```
|
||
root@linuxtechi:~$ wget -q https://www.virtualbox.org/download/oracle_vbox_2016.asc -O- | sudo apt-key add -
|
||
OK
|
||
root@linuxtechi:~$ wget -q https://www.virtualbox.org/download/oracle_vbox.asc -O- | sudo apt-key add -
|
||
OK
|
||
root@linuxtechi:~$
|
||
```
|
||
|
||
如果导入成功,你将看到一个 “OK” 显示信息。
|
||
|
||
接下来,你需要添加存储库到仓库列表:
|
||
|
||
```
|
||
root@linuxtechi:~$ sudo add-apt-repository "deb http://download.virtualbox.org/virtualbox/debian buster contrib"
|
||
root@linuxtechi:~$
|
||
```
|
||
|
||
最后,是时候在你的系统中安装 VirtualBox 6.0:
|
||
|
||
```
|
||
root@linuxtechi:~$ sudo apt update
|
||
root@linuxtechi:~$ sudo apt install virtualbox-6.0 -y
|
||
```
|
||
|
||
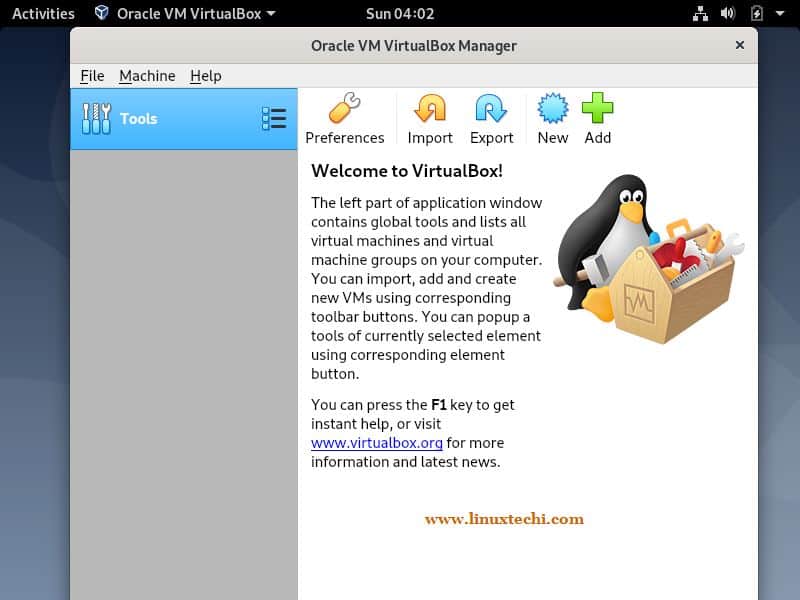
一旦 VirtualBox 软件包被成功安装,尝试访问它,并开始创建虚拟机。
|
||
|
||
|
||
|
||
### 8) 安装最新的 AMD 驱动程序
|
||
|
||
最后,你也可以安装需要的附加 AMD 显卡驱动程序(如 ATI 专有驱动)和 Nvidia 图形驱动程序。为安装最新的 AMD 驱动程序,首先,我们需要修改 `/etc/apt/sources.list` 文件,在包含 **main** 和 **contrib** 的行中添加 **non-free** 单词,示例如下显示:
|
||
|
||
```
|
||
root@linuxtechi:~$ sudo vi /etc/apt/sources.list
|
||
```
|
||
|
||
```
|
||
...
|
||
deb http://deb.debian.org/debian/ buster main non-free contrib
|
||
deb-src http://deb.debian.org/debian/ buster main non-free contrib
|
||
|
||
deb http://security.debian.org/debian-security buster/updates main contrib non-free
|
||
deb-src http://security.debian.org/debian-security buster/updates main contrib non-free
|
||
|
||
deb http://ftp.us.debian.org/debian/ buster-updates main contrib non-free
|
||
...
|
||
```
|
||
|
||
现在,使用下面的 `apt` 命令来在 Debian 10 系统中安装最新的 AMD 驱动程序。
|
||
|
||
```
|
||
root@linuxtechi:~$ sudo apt update
|
||
root@linuxtechi:~$ sudo apt install firmware-linux firmware-linux-nonfree libdrm-amdgpu1 xserver-xorg-video-amdgpu -y
|
||
```
|
||
|
||
这就是这篇文章的全部内容,我希望你了解在安装 Debian 10 后应该做什么。请在下面的评论区,分享你的反馈和评论。
|
||
|
||
--------------------------------------------------------------------------------
|
||
|
||
via: https://www.linuxtechi.com/things-to-do-after-installing-debian-10/
|
||
|
||
作者:[Pradeep Kumar][a]
|
||
选题:[lujun9972][b]
|
||
译者:[robsean](https://github.com/robsean)
|
||
校对:[wxy](https://github.com/wxy)
|
||
|
||
本文由 [LCTT](https://github.com/LCTT/TranslateProject) 原创编译,[Linux中国](https://linux.cn/) 荣誉推出
|
||
|
||
[a]: https://www.linuxtechi.com/author/pradeep/
|
||
[b]: https://github.com/lujun9972
|
||
[1]: https://linux.cn/article-11083-1.html
|
||
[2]: https://www.linuxtechi.com/linux-commands-to-manage-local-accounts/
|