12 KiB
Asciinema – Record And Share Your Terminal Sessions On The Fly
This is known topic and we had already written so many article about this topic.
Even today also we are going to discuss about the same topic.
Other tools are works locally but Asciinema works in both way like local and web.
I mean we can share the recording on the web.
By default everyone prefer history command to review/recall the previously entered commands in terminal.
But unfortunately, that shows only the commands that we ran and doesn’t shows the commands output which was performed previously.
There are many utilities available in Linux to record the terminal session activity.
Also, we had written about few utilities in the past and today also we are going to discuss about the same kind of topic.
If you would like to check other utilities to record your Linux terminal session activity then you can give a try to Script Command , Terminalizer Tool and Asciinema Tool.
But if you are looking for GIF Recorder then try Gifine , Kgif and Peek utilities.
What is Asciinema
asciinema is a free and open source solution for recording terminal sessions and sharing them on the web.
When you run asciinema rec in your terminal the recording starts, capturing all output that is being printed to your terminal while you’re issuing the shell commands.
When the recording finishes (by hitting Ctrl-D or typing exit) then the captured output is uploaded to asciinema.org website and prepared for playback on the web.
Asciinema project is built of several complementary pieces such as asciinema command line tool, API at asciinema.org and javascript player.
Asciinema was inspired by script and scriptreplay commands.
How to Install Asciinema In Linux
It was written in Python and pip installation is a recommended method to install Asciinema on Linux.
Make sure you should have installed python-pip package on your system. If no, use the following command to install it.
For Debian/Ubuntu users, use Apt Command or Apt-Get Command to install pip package.
$ sudo apt install python-pip
For Archlinux users, use Pacman Command to install pip package.
$ sudo pacman -S python-pip
For Fedora users, use DNF Command to install pip package.
$ sudo dnf install python-pip
For CentOS/RHEL users, use YUM Command to install pip package.
$ sudo yum install python-pip
For openSUSE users, use Zypper Command to install pip package.
$ sudo zypper install python-pip
Finally run the following pip command to install Asciinema tool in Linux.
$ sudo pip3 install asciinema
How to Record Your Terminal Session Using Asciinema
Once you successfully installed Asciinema. Just run the following command to start recording.
$ asciinema rec 2g-test
asciinema: recording asciicast to 2g-test
asciinema: press "ctrl-d" or type "exit" when you're done
For testing purpose run few commands and see whether it’s working fine or not.
$ free
              total        used        free      shared  buff/cache   available
Mem:          15867        2783       10537        1264        2546       11510
Swap:         17454           0       17454

$ hostnamectl
   Static hostname: daygeek-Y700
         Icon name: computer-laptop
           Chassis: laptop
        Machine ID: 31bdeb7b833547368d230a2025d475bc
           Boot ID: c84f7e6f39394d1f8fdc4bcaa251aee2
  Operating System: Manjaro Linux
            Kernel: Linux 4.19.8-2-MANJARO
      Architecture: x86-64

$ uname -a
Linux daygeek-Y700 4.19.8-2-MANJARO #1 SMP PREEMPT Sat Dec 8 14:45:36 UTC 2018 x86_64 GNU/Linux

$ lscpu
Architecture:        x86_64
CPU op-mode(s):      32-bit, 64-bit
Byte Order:          Little Endian
Address sizes:       39 bits physical, 48 bits virtual
CPU(s):              8
On-line CPU(s) list: 0-7
Thread(s) per core:  2
Core(s) per socket:  4
Socket(s):           1
NUMA node(s):        1
Vendor ID:           GenuineIntel
CPU family:          6
Model:               94
Model name:          Intel(R) Core(TM) i7-6700HQ CPU @ 2.60GHz
Stepping:            3
CPU MHz:             800.047
CPU max MHz:         3500.0000
CPU min MHz:         800.0000
BogoMIPS:            5186.00
Virtualization:      VT-x
L1d cache:           32K
L1i cache:           32K
L2 cache:            256K
L3 cache:            6144K
NUMA node0 CPU(s):   0-7
Flags:               fpu vme de pse tsc msr pae mce cx8 apic sep mtrr pge mca cmov pat pse36 clflush dts acpi mmx fxsr sse sse2 ss ht tm pbe syscall nx pdpe1gb rdtscp lm constant_tsc art arch_perfmon pebs bts rep_good nopl xtopology nonstop_tsc cpuid aperfmperf tsc_known_freq pni pclmulqdq dtes64 monitor ds_cpl vmx est tm2 ssse3 sdbg fma cx16 xtpr pdcm pcid sse4_1 sse4_2 x2apic movbe popcnt tsc_deadline_timer aes xsave avx f16c rdrand lahf_lm abm 3dnowprefetch cpuid_fault epb invpcid_single pti ssbd ibrs ibpb stibp tpr_shadow vnmi flexpriority ept vpid ept_ad fsgsbase tsc_adjust bmi1 hle avx2 smep bmi2 erms invpcid rtm mpx rdseed adx smap clflushopt intel_pt xsaveopt xsavec xgetbv1 xsaves dtherm ida arat pln pts hwp hwp_notify hwp_act_window hwp_epp flush_l1d
Once you have done, simple press CTRL+D or type exit to stop the recording. The result will be saved in the same directory.
$ exit
exit
asciinema: recording finished
asciinema: asciicast saved to 2g-test
If you would like to save the output in the different directory then mention the path where you want to save the file.
$ asciinema rec /opt/session-record/2g-test1
We can play the recorded session using the following command.
$ asciinema play 2g-test
We can play the recorded session with double speed.
$ asciinema play -s 2 2g-test
Alternatively we can play the recorded session with normal speed with idle time limited to 2 seconds.
$ asciinema play -i 2 2g-test
How To Share the Recorded Session on The Web
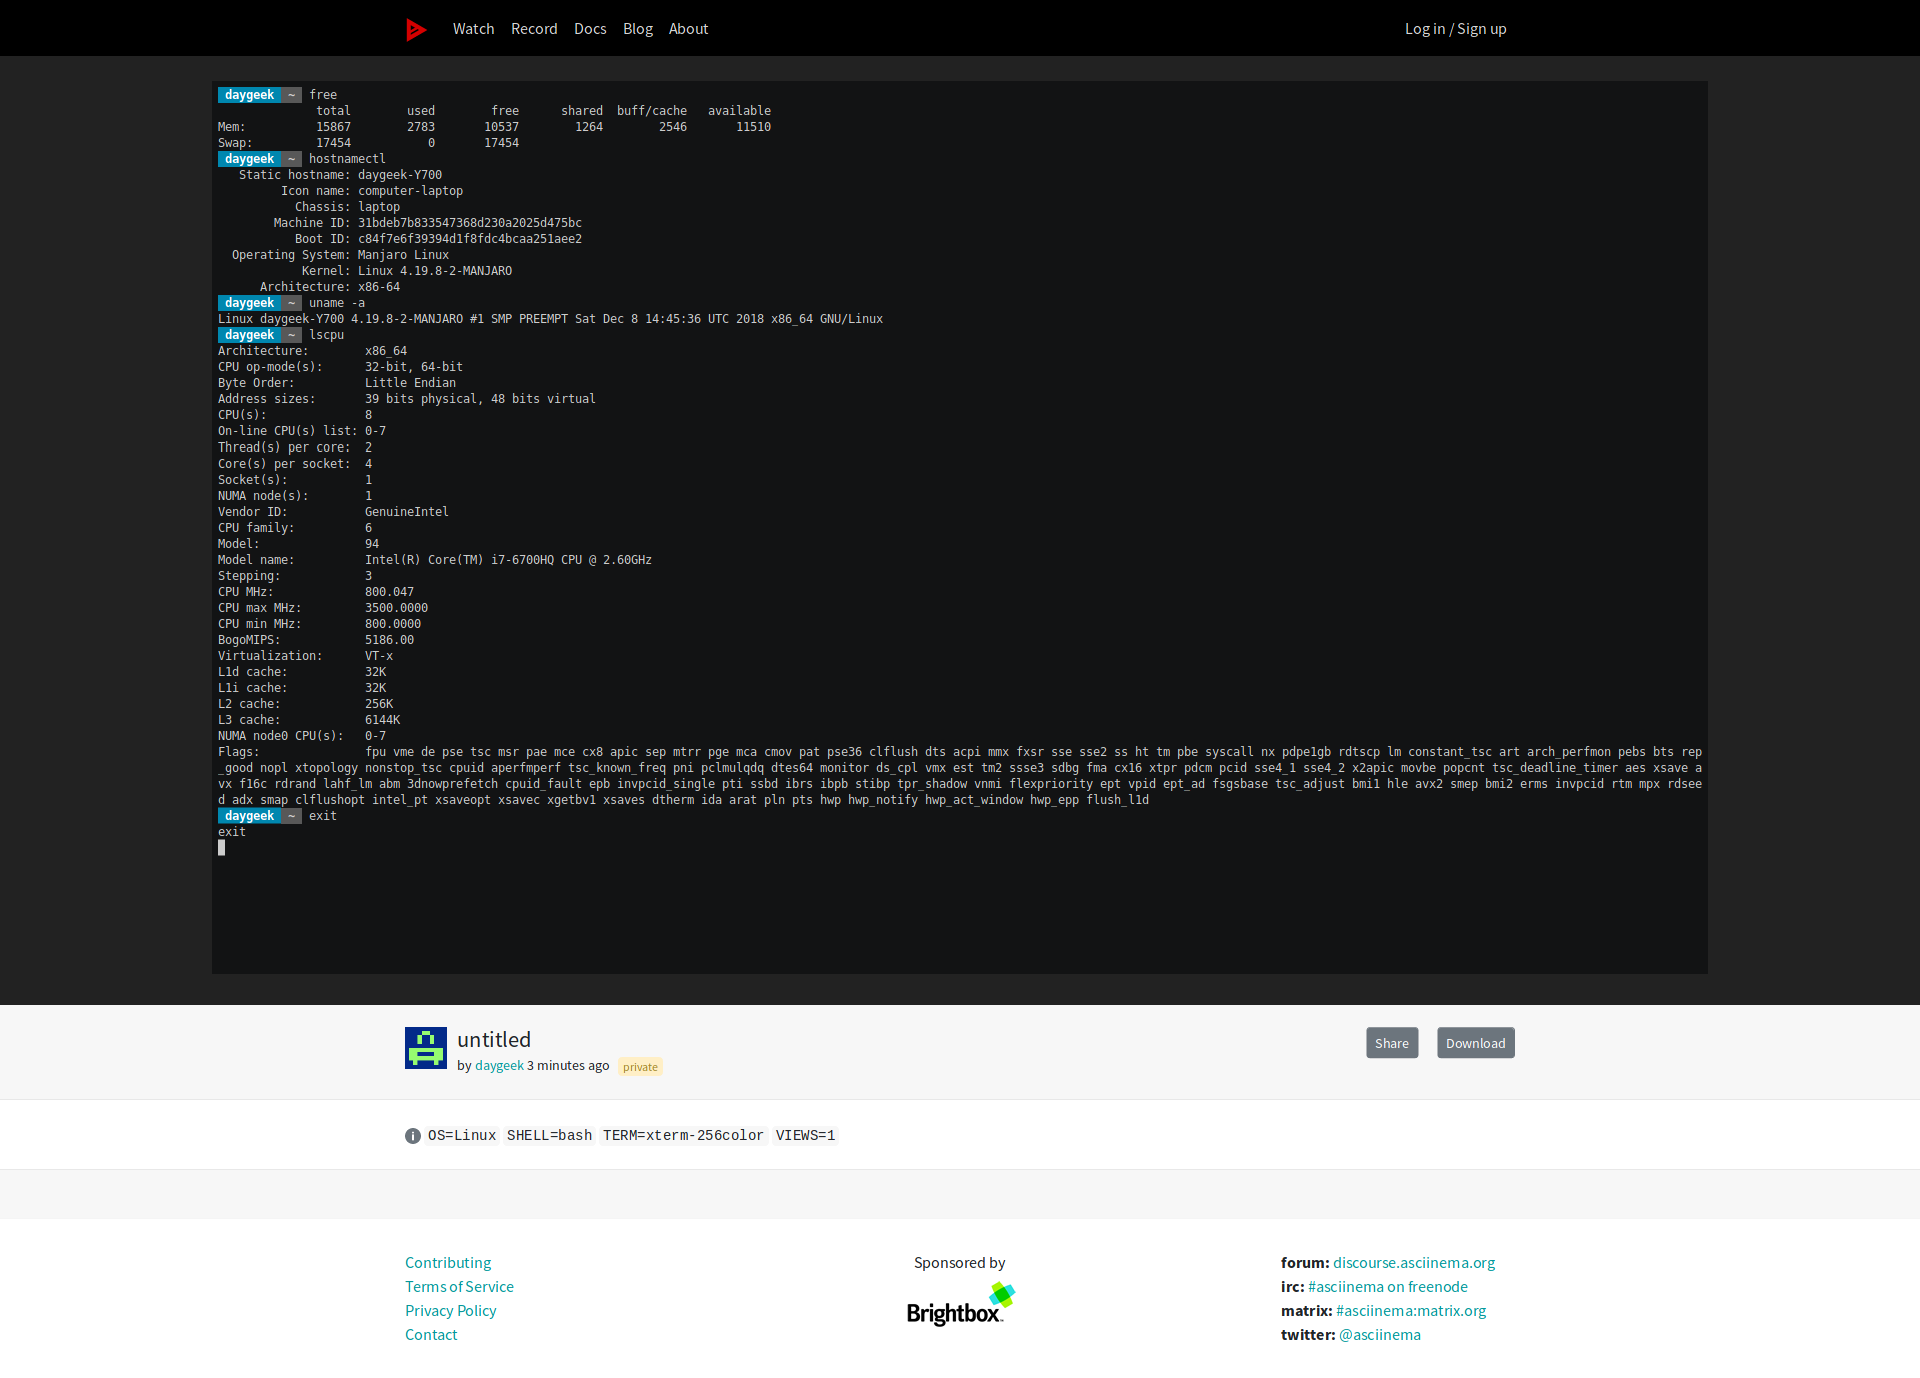
If you would like to share the recorded session with your friends, just run the following command which upload the recording to asciinema.org and provide you the unique link.
It will be automatically archived 7 days after upload.
$ asciinema upload 2g-test
View the recording at:

 https://asciinema.org/a/jdJrxhDLboeyrhzZRHsve0x8i

This installation of asciinema recorder hasn't been linked to any asciinema.org
account. All unclaimed recordings (from unknown installations like this one)
are automatically archived 7 days after upload.

If you want to preserve all recordings made on this machine, connect this
installation with asciinema.org account by opening the following link:

 https://asciinema.org/connect/10cd4f24-45b6-4f64-b737-ae0e5d12baf8
If you would like to share the recorded session on social media, just click the Share button in the bottom of the page.
If anyone wants to download this recording, just click the Download button in the bottom of the page to save on your system.
How to Manage Recording on asciinema.org Site
If you want to preserve all recordings made on this machine, connect this installation with asciinema.org account by opening the following link and follow the instructions.
https://asciinema.org/connect/10cd4f24-45b6-4f64-b737-ae0e5d12baf8
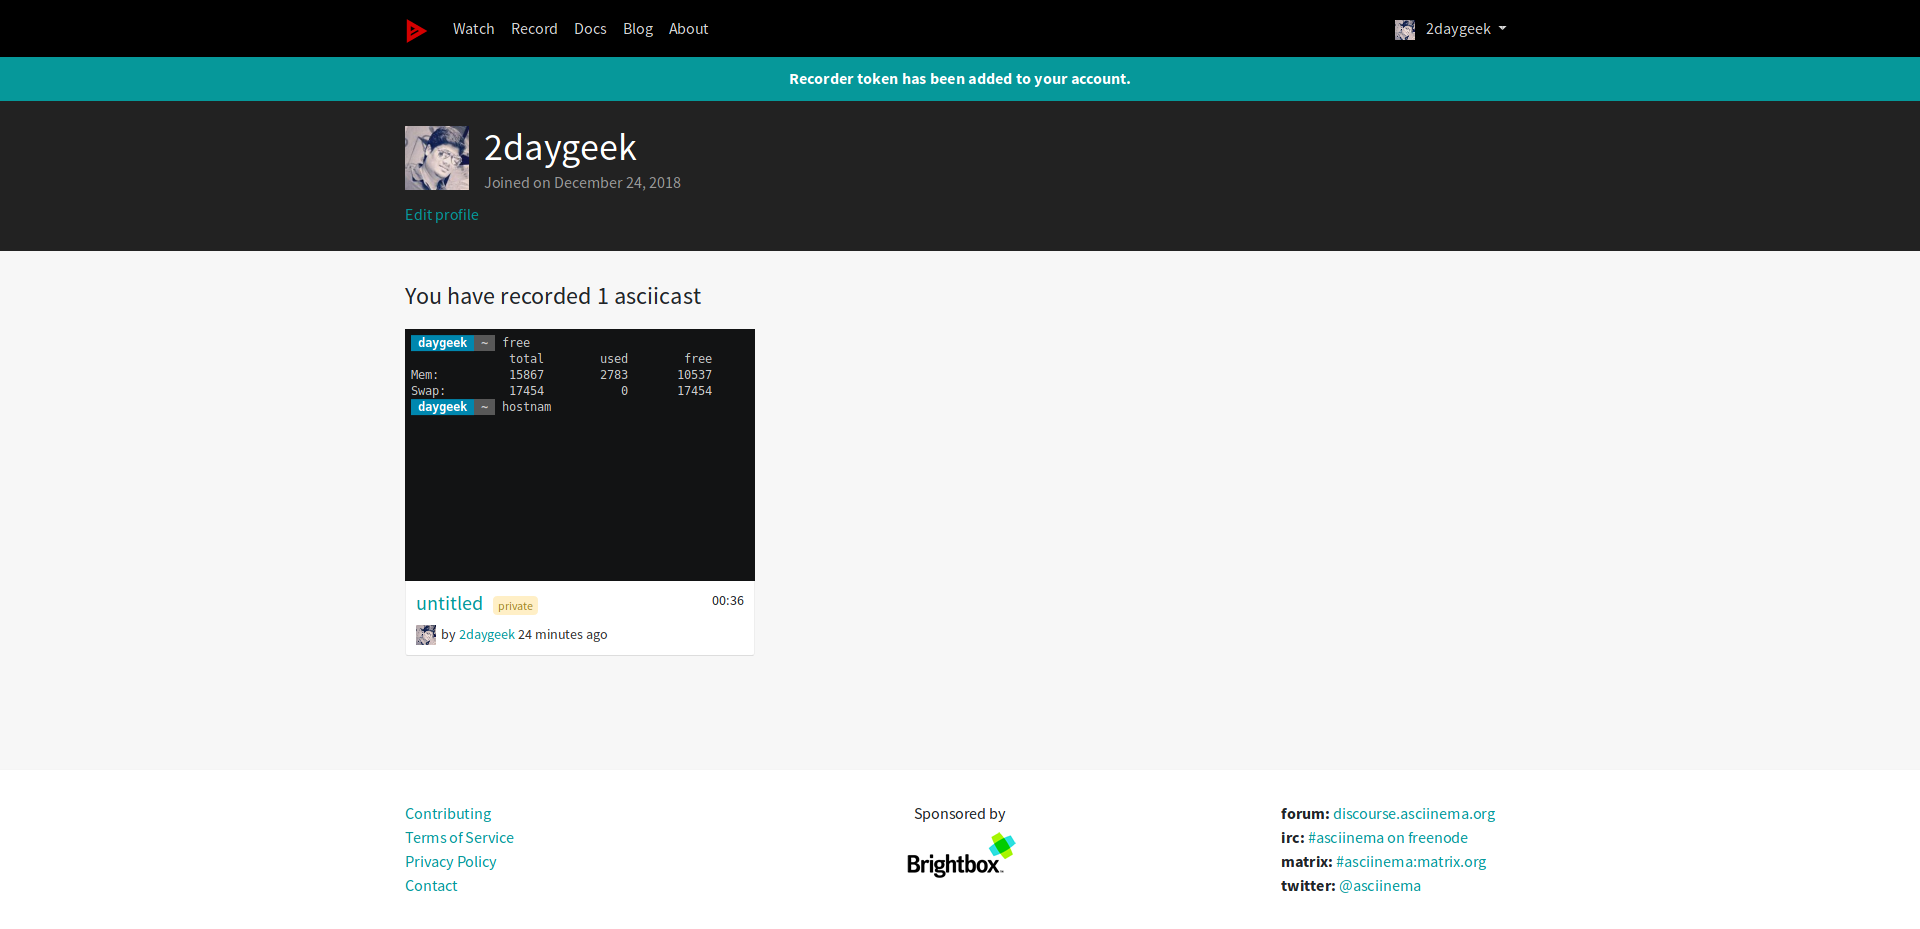
If you have already recorded an asciicast but you don’t see it on your profile on asciinema.org website. Just run the asciinema auth command in your terminal to move those.
$ asciinema auth

Open the following URL in a web browser to link your install ID with your asciinema.org user account:

https://asciinema.org/connect/10cd4f24-45b6-4f64-b737-ae0e5d12baf8

This will associate all recordings uploaded from this machine (past and future ones) to your account, and allow you to manage them (change title/theme, delete) at asciinema.org.
Run the following command if you would like to upload the file directly to asciinema.org instead of locally saving.
$ asciinema rec
asciinema: recording asciicast to /tmp/tmp6kuh4247-ascii.cast
asciinema: press "ctrl-d" or type "exit" when you're done
Just run the following command to start recording.
$ asciinema rec 2g-test
asciinema: recording asciicast to 2g-test
asciinema: press "ctrl-d" or type "exit" when you're done
For testing purpose run few commands and see whether it’s working fine or not.
$ free
              total        used        free      shared  buff/cache   available
Mem:          15867        2783       10537        1264        2546       11510
Swap:         17454           0       17454

$ hostnamectl
   Static hostname: daygeek-Y700
         Icon name: computer-laptop
           Chassis: laptop
        Machine ID: 31bdeb7b833547368d230a2025d475bc
           Boot ID: c84f7e6f39394d1f8fdc4bcaa251aee2
  Operating System: Manjaro Linux
            Kernel: Linux 4.19.8-2-MANJARO
      Architecture: x86-64

$ uname -a
Linux daygeek-Y700 4.19.8-2-MANJARO #1 SMP PREEMPT Sat Dec 8 14:45:36 UTC 2018 x86_64 GNU/Linux
Once you have done, simple press CTRL+D or type exit to stop the recording then hit Enter button to upload the recording to asciinema.org website.
It will take few seconds to generate the unique url for your uploaded recording. Once it’s done you will be getting the results same as below.
$ exit
exit
asciinema: recording finished
asciinema: press "enter" to upload to asciinema.org, "ctrl-c" to save locally

View the recording at:

 https://asciinema.org/a/b7bu5OhuCy2vUH7M8RRPjsSxg
via: https://www.2daygeek.com/linux-asciinema-record-your-terminal-sessions-share-them-on-web/
作者:Magesh Maruthamuthu 选题:lujun9972 译者:译者ID 校对:校对者ID

