mirror of
https://github.com/LCTT/TranslateProject.git
synced 2024-12-23 21:20:42 +08:00
323 lines
11 KiB
Markdown
323 lines
11 KiB
Markdown
在 Ubuntu 16.04 为 Nginx 服务器安装 LEMP 环境(MariaDB,PHP 7 并支持 HTTP 2.0)
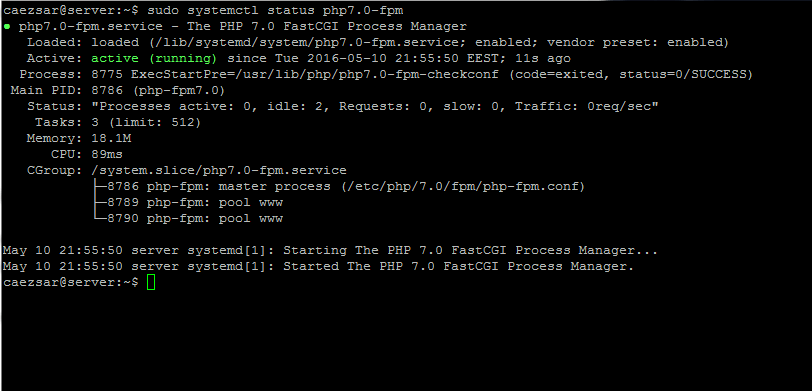
|
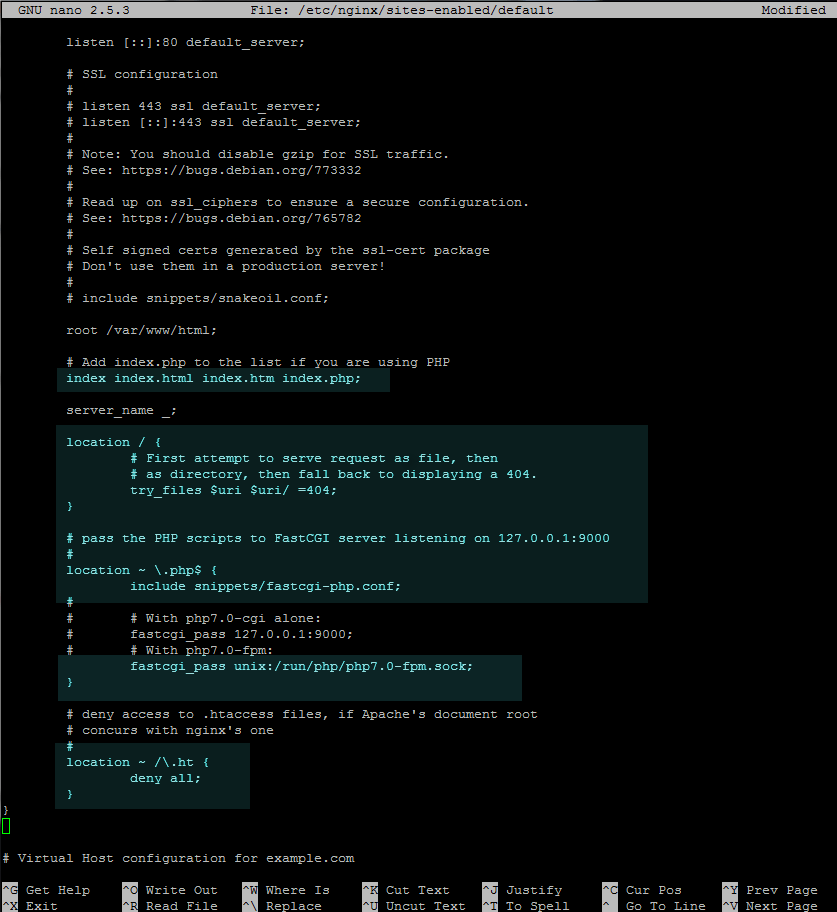
||
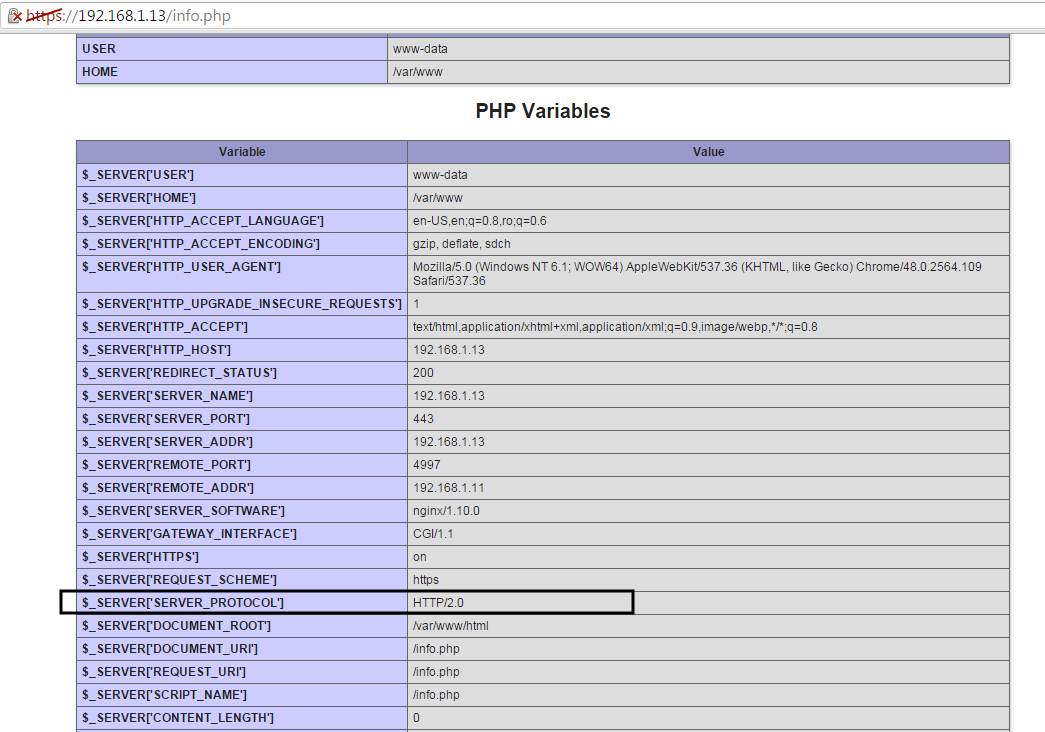
=====================
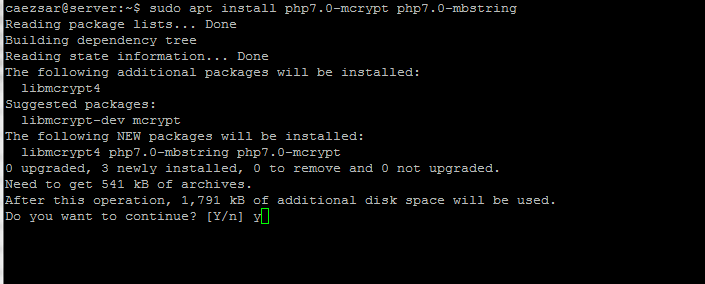
|
||
|
||
LEMP 是个缩写,代表一组软件包(L:Linux OS,E:Nginx 网络服务器,M:MySQL/MariaDB 数据库和 P:PHP 服务端动态编程语言),它被用来搭建动态的网络应用和网页。
|
||
|
||

|
||
|
||
*在 Ubuntu 16.04 安装 Nginx 以及 MariaDB,PHP7 并且支持 HTTP 2.0*
|
||
|
||
这篇教程会教你怎么在 Ubuntu 16.04 的服务器上安装 LEMP (Nginx 和 MariaDB 以及 PHP7)。
|
||
|
||
**前置准备**
|
||
|
||
- [安装 Ubuntu 16.04 服务器版本][1]
|
||
|
||
### 步骤 1:安装 Nginx 服务器
|
||
|
||
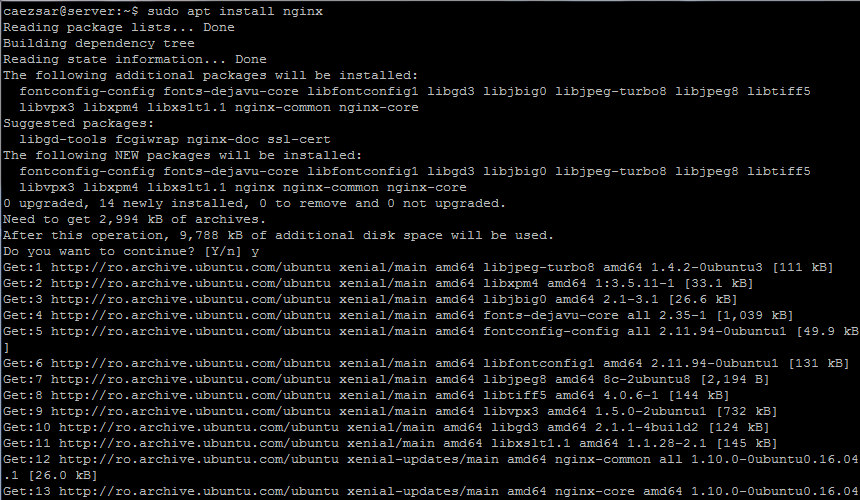
1、Nginx 是一个先进的、资源优化的 Web 服务器程序,用来向因特网上的访客展示网页。我们从 Nginx 服务器的安装开始介绍,使用 [apt 命令][2] 从 Ubuntu 的官方软件仓库中获取 Nginx 程序。
|
||
|
||
```
|
||
$ sudo apt-get install nginx
|
||
```
|
||
|
||
|
||
|
||
*在 Ubuntu 16.04 安装 Nginx*
|
||
|
||
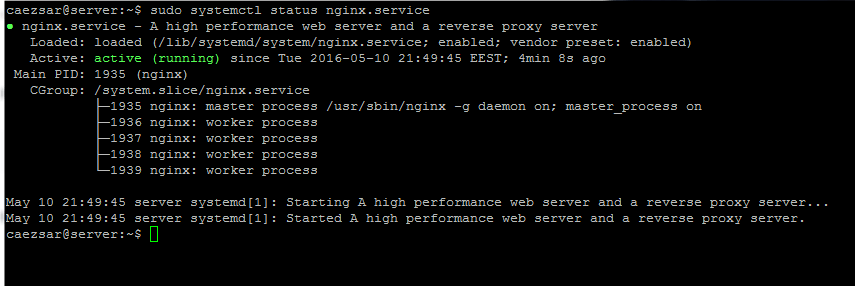
2、 然后输入 [netstat][3] 和 [systemctl][4] 命令,确认 Nginx 进程已经启动并且绑定在 80 端口。
|
||
|
||
```
|
||
$ netstat -tlpn
|
||
```
|
||
|
||

|
||
|
||
*检查 Nginx 网络端口连接*
|
||
|
||
```
|
||
$ sudo systemctl status nginx.service
|
||
```
|
||
|
||
|
||
|
||
*检查 Nginx 服务状态*
|
||
|
||
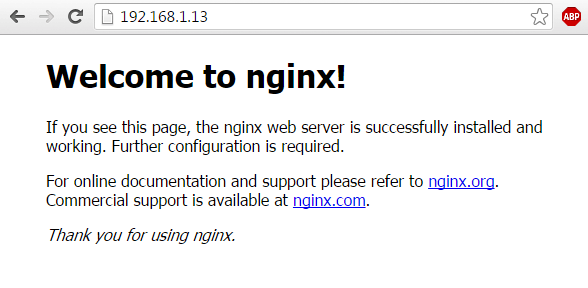
当你确认服务进程已经启动了,你可以打开一个浏览器,使用 HTTP 协议访问你的服务器 IP 地址或者域名,浏览 Nginx 的默认网页。
|
||
|
||
```
|
||
http://IP-Address
|
||
```
|
||
|
||
|
||
|
||
*验证 Nginx 网页*
|
||
|
||
### 步骤 2:启用 Nginx HTTP/2.0 协议
|
||
|
||
3、 对 HTTP/2.0 协议的支持默认包含在 Ubuntu 16.04 最新发行版的 Nginx 二进制文件中了,它只能通过 SSL 连接并且保证加载网页的速度有巨大提升。
|
||
|
||
要启用Nginx 的这个协议,首先找到 Nginx 提供的网站配置文件,输入下面这个命令备份配置文件。
|
||
|
||
```
|
||
$ cd /etc/nginx/sites-available/
|
||
$ sudo mv default default.backup
|
||
```
|
||
|
||

|
||
|
||
*备份 Nginx 的网站配置文件*
|
||
|
||
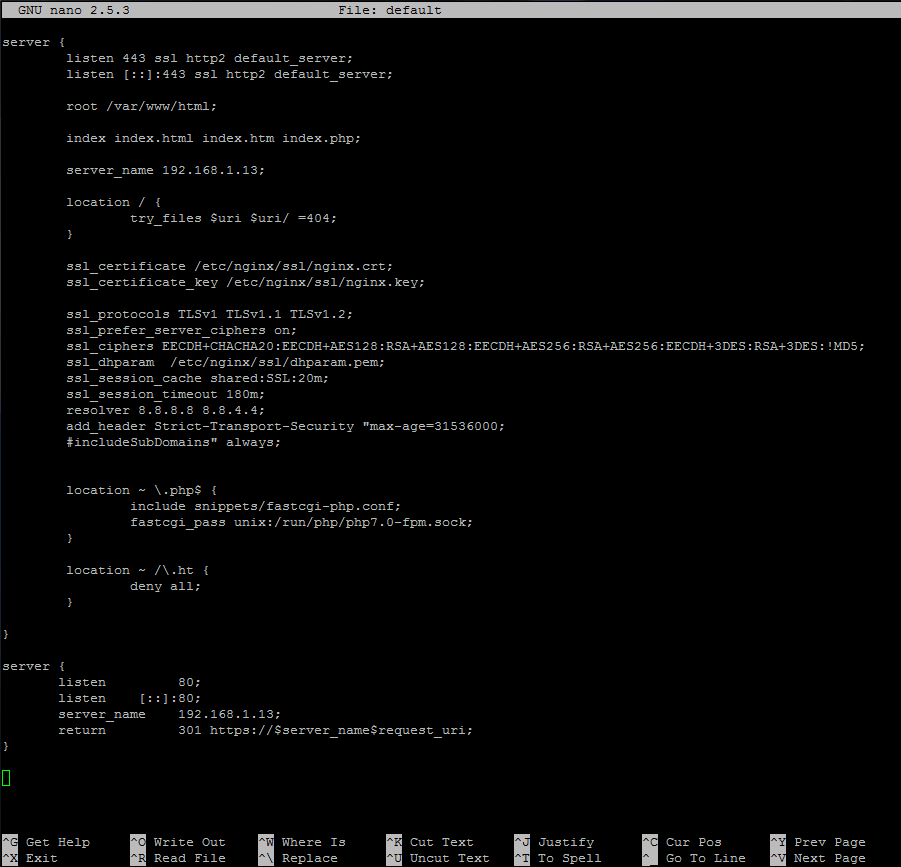
4、然后,用文本编辑器新建一个默认文件,输入以下内容:
|
||
|
||
```
|
||
server {
|
||
listen 443 ssl http2 default_server;
|
||
listen [::]:443 ssl http2 default_server;
|
||
|
||
root /var/www/html;
|
||
|
||
index index.html index.htm index.php;
|
||
|
||
server_name 192.168.1.13;
|
||
|
||
location / {
|
||
try_files $uri $uri/ =404;
|
||
}
|
||
|
||
ssl_certificate /etc/nginx/ssl/nginx.crt;
|
||
ssl_certificate_key /etc/nginx/ssl/nginx.key;
|
||
|
||
ssl_protocols TLSv1 TLSv1.1 TLSv1.2;
|
||
ssl_prefer_server_ciphers on;
|
||
ssl_ciphers EECDH+CHACHA20:EECDH+AES128:RSA+AES128:EECDH+AES256:RSA+AES256:EECDH+3DES:RSA+3DES:!MD5;
|
||
ssl_dhparam /etc/nginx/ssl/dhparam.pem;
|
||
ssl_session_cache shared:SSL:20m;
|
||
ssl_session_timeout 180m;
|
||
resolver 8.8.8.8 8.8.4.4;
|
||
add_header Strict-Transport-Security "max-age=31536000;
|
||
#includeSubDomains" always;
|
||
|
||
|
||
location ~ \.php$ {
|
||
include snippets/fastcgi-php.conf;
|
||
fastcgi_pass unix:/run/php/php7.0-fpm.sock;
|
||
}
|
||
|
||
location ~ /\.ht {
|
||
deny all;
|
||
}
|
||
|
||
}
|
||
|
||
server {
|
||
listen 80;
|
||
listen [::]:80;
|
||
server_name 192.168.1.13;
|
||
return 301 https://$server_name$request_uri;
|
||
}
|
||
```
|
||
|
||
|
||
|
||
*启用 Nginx HTTP 2 协议*
|
||
|
||
上面的配置片段向所有的 SSL 监听指令中添加 http2 参数来启用 `HTTP/2.0`。
|
||
|
||
上述添加到服务器配置的最后一段,是用来将所有非 SSL 的流量重定向到 SSL/TLS 默认主机。然后用你主机的 IP 地址或者 DNS 记录(最好用 FQDN 名称)替换掉 `server_name` 选项的参数。
|
||
|
||
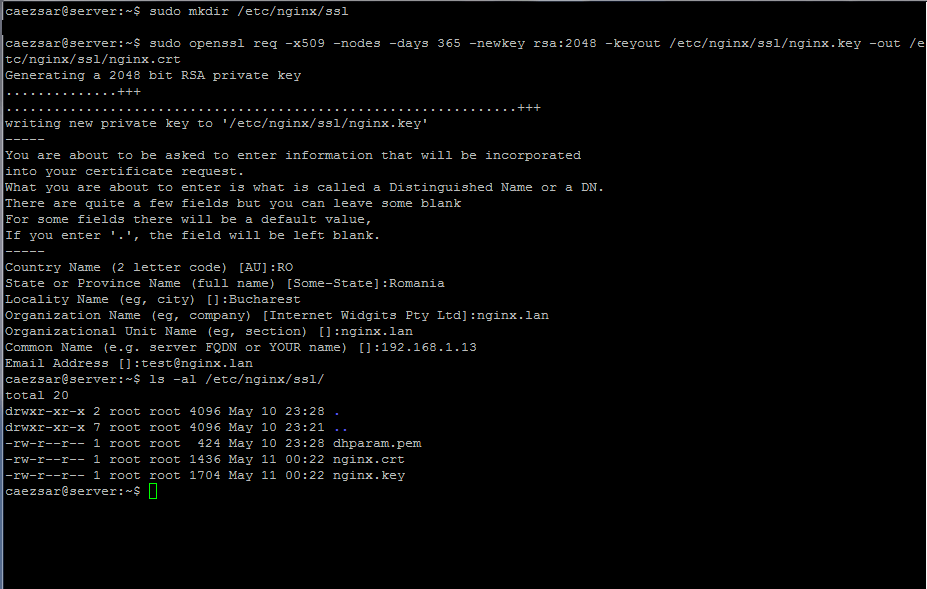
5、 当你按照以上步骤编辑完 Nginx 的默认配置文件之后,用下面这些命令来生成、查看 SSL 证书和密钥。
|
||
|
||
用你自定义的设置完成证书的制作,注意 Common Name 设置成和你的 DNS FQDN 记录或者服务器 IP 地址相匹配。
|
||
|
||
```
|
||
$ sudo mkdir /etc/nginx/ssl
|
||
$ sudo openssl req -x509 -nodes -days 365 -newkey rsa:2048 -keyout /etc/nginx/ssl/nginx.key -out /etc/nginx/ssl/nginx.crt
|
||
$ ls /etc/nginx/ssl/
|
||
```
|
||
|
||
|
||
|
||
*生成 Nginx 的 SSL 证书和密钥*
|
||
|
||
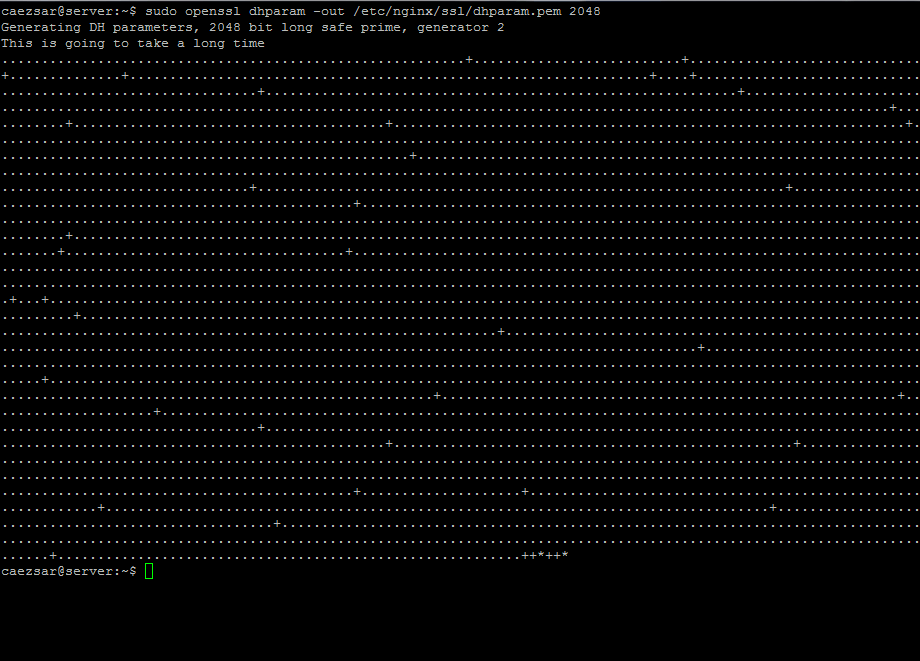
6、 通过输入以下命令使用一个强 DH 加密算法,这会修改之前的配置文件 `ssl_dhparam` 所配置的文件。
|
||
|
||
```
|
||
$ sudo openssl dhparam -out /etc/nginx/ssl/dhparam.pem 2048
|
||
```
|
||
|
||
|
||
|
||
*创建 Diffie-Hellman 密钥*
|
||
|
||
7、 当 `Diffie-Hellman` 密钥生成之后,验证 Nginx 的配置文件是否正确、能否被 Nginx 网络服务程序应用。然后运行以下命令重启守护进程来观察有什么变化。
|
||
|
||
```
|
||
$ sudo nginx -t
|
||
$ sudo systemctl restart nginx.service
|
||
```
|
||
|
||

|
||
|
||
*检查 Nginx 的配置*
|
||
|
||
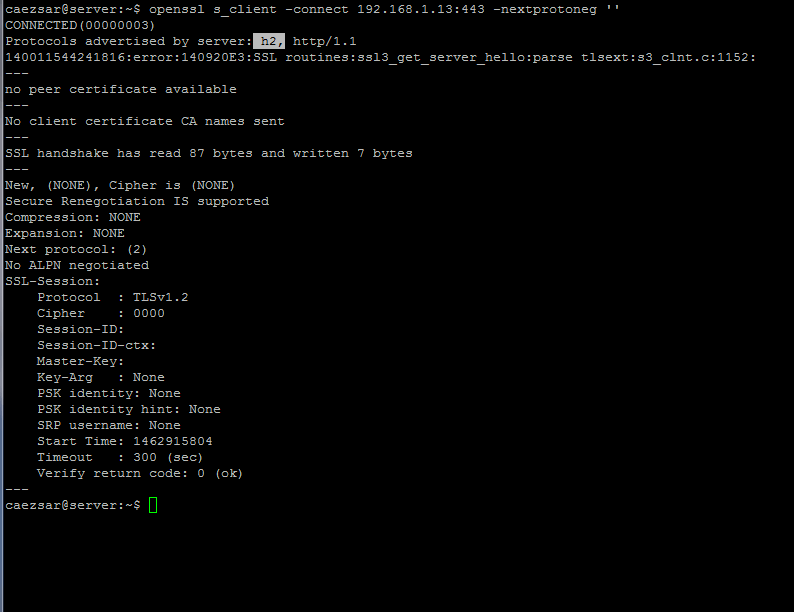
8、 键入下面的命令来测试 Nginx 使用的是 HTTP/2.0 协议。看到协议中有 `h2` 的话,表明 Nginx 已经成功配置使用 HTTP/2.0 协议。所有最新的浏览器默认都能够支持这个协议。
|
||
|
||
```
|
||
$ openssl s_client -connect localhost:443 -nextprotoneg ''
|
||
```
|
||
|
||
|
||
|
||
*测试 Nginx HTTP 2.0 协议*
|
||
|
||
### 第 3 步:安装 PHP 7 解释器
|
||
|
||
通过 FastCGI 进程管理程序的协助,Nginx 能够使用 PHP 动态语言解释器生成动态网络内容。FastCGI 能够从 Ubuntu 官方仓库中安装 php-fpm 二进制包来获取。
|
||
|
||
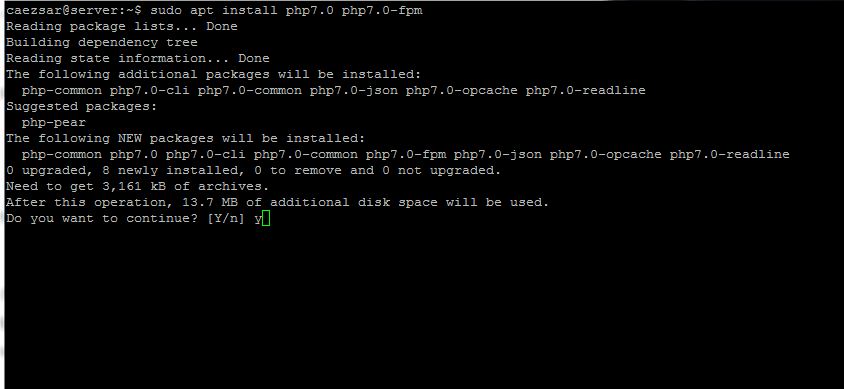
9、 在你的服务器控制台里输入下面的命令来获取 PHP7.0 和扩展包,这能够让 PHP 与 Nginx 网络服务进程通信。
|
||
|
||
```
|
||
$ sudo apt install php7.0 php7.0-fpm
|
||
```
|
||
|
||
|
||
|
||
*安装 PHP 7 以及 PHP-FPM*
|
||
|
||
10、 当 PHP7.0 解释器安装成功后,输入以下命令启动或者检查 php7.0-fpm 守护进程:
|
||
|
||
```
|
||
$ sudo systemctl start php7.0-fpm
|
||
$ sudo systemctl status php7.0-fpm
|
||
```
|
||
|
||
|
||
|
||
*开启、验证 php-fpm 服务*
|
||
|
||
11、 当前的 Nginx 配置文件已经配置了使用 PHP FPM 来提供动态内容。
|
||
|
||
下面给出的这部分服务器配置让 Nginx 能够使用 PHP 解释器,所以不需要对 Nginx 配置文件作别的修改。
|
||
|
||
```
|
||
location ~ \.php$ {
|
||
include snippets/fastcgi-php.conf;
|
||
fastcgi_pass unix:/run/php/php7.0-fpm.sock;
|
||
}
|
||
```
|
||
|
||
下面是的截图是 Nginx 默认配置文件的内容。你可能需要对其中的代码进行修改或者取消注释。
|
||
|
||
|
||
|
||
*启用 PHP FastCGI*
|
||
|
||
12、 要测试启用了 PHP-FPM 的 Nginx 服务器,用下面的命令创建一个 PHP 测试配置文件 `info.php`。接着用 `http://IP_or domain/info.php` 这个网址来查看配置。
|
||
|
||
```
|
||
$ sudo su -c 'echo "<?php phpinfo(); ?>" |tee /var/www/html/info.php'
|
||
```
|
||
|
||

|
||
|
||
*创建 PHP Info 文件*
|
||
|
||

|
||
|
||
*检查 PHP FastCGI 的信息*
|
||
|
||
检查服务器是否宣告支持 HTTP/2.0 协议,定位到 PHP 变量区域中的 `$_SERVER[‘SERVER_PROTOCOL’]` 就像下面这张截图一样。
|
||
|
||
|
||
|
||
*检查 HTTP2.0 协议信息*
|
||
|
||
13、 为了安装其它的 PHP7.0 模块,使用 `apt search php7.0` 命令查找 php 的模块然后安装。
|
||
|
||
如果你想要 [安装 WordPress][5] 或者别的 CMS,需要安装以下的 PHP 模块,这些模块迟早有用。
|
||
|
||
```
|
||
$ sudo apt install php7.0-mcrypt php7.0-mbstring
|
||
```
|
||
|
||
|
||
|
||
*安装 PHP 7 模块*
|
||
|
||
14、 要注册这些额外的 PHP 模块,输入下面的命令重启 PHP-FPM 守护进程。
|
||
|
||
```
|
||
$ sudo systemctl restart php7.0-fpm.service
|
||
```
|
||
|
||
### 第 4 步:安装 MariaDB 数据库
|
||
|
||
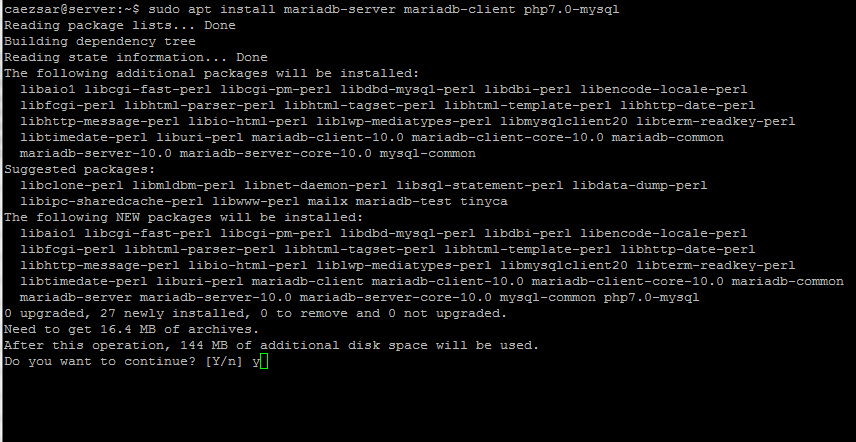
15、 最后,我们需要 MariaDB 数据库来存储、管理网站数据,才算完成 LEMP 的搭建。
|
||
|
||
运行下面的命令安装 MariaDB 数据库管理系统,重启 PHP-FPM 服务以便使用 MySQL 模块与数据库通信。
|
||
|
||
```
|
||
$ sudo apt install mariadb-server mariadb-client php7.0-mysql
|
||
$ sudo systemctl restart php7.0-fpm.service
|
||
```
|
||
|
||
|
||
|
||
*安装 MariaDB*
|
||
|
||
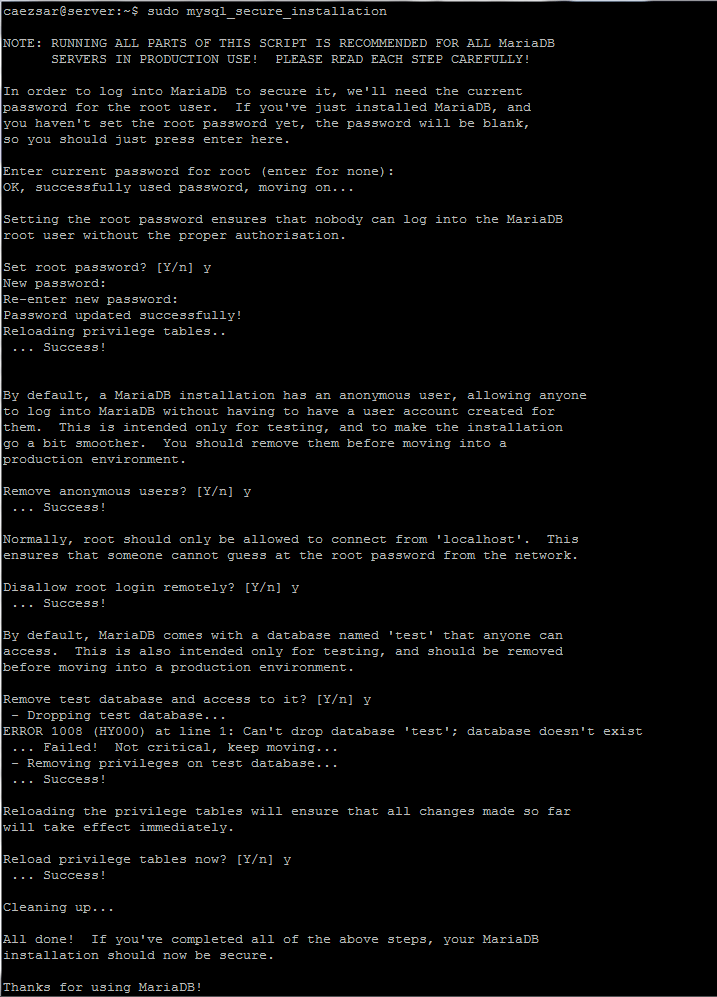
16、 为了安全加固 MariaDB,运行来自 Ubuntu 软件仓库中的二进制包提供的安全脚本,这会询问你设置一个 root 密码,移除匿名用户,禁用 root 用户远程登录,移除测试数据库。
|
||
|
||
输入下面的命令运行脚本,并且确认所有的选择。参照下面的截图。
|
||
|
||
```
|
||
$ sudo mysql_secure_installation
|
||
```
|
||
|
||
|
||
|
||
*MariaDB 的安全安装*
|
||
|
||
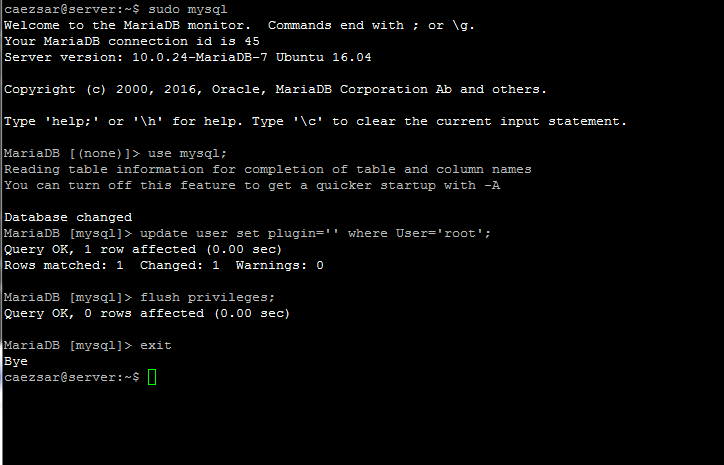
17、 配置 MariaDB 以便普通用户能够不使用系统的 sudo 权限来访问数据库。用 root 用户权限打开 MySQL 命令行界面,运行下面的命令:
|
||
|
||
```
|
||
$ sudo mysql
|
||
MariaDB> use mysql;
|
||
MariaDB> update user set plugin=’‘ where User=’root’;
|
||
MariaDB> flush privileges;
|
||
MariaDB> exit
|
||
```
|
||
|
||
|
||
|
||
*MariaDB 的用户权限*
|
||
|
||
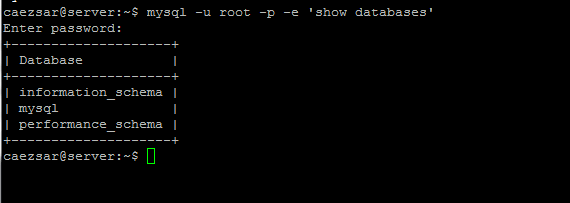
最后通过执行以下命令登录到 MariaDB 数据库,就可以不需要 root 权限而执行任意数据库内的命令:
|
||
|
||
```
|
||
$ mysql -u root -p -e 'show databases'
|
||
```
|
||
|
||
|
||
|
||
*查看 MariaDB 数据库*
|
||
|
||
好了!现在你拥有了配置在 **Ubuntu 16.04** 服务器上的 **LEMP** 环境,你能够部署能够与数据库交互的复杂动态网络应用。
|
||
|
||
--------------------------------------------------------------------------------
|
||
|
||
via: http://www.tecmint.com/install-nginx-mariadb-php7-http2-on-ubuntu-16-04/
|
||
|
||
作者:[Matei Cezar][a]
|
||
译者:[GitFuture](https://github.com/GitFuture)
|
||
校对:[wxy](https://github.com/wxy)
|
||
|
||
本文由 [LCTT](https://github.com/LCTT/TranslateProject) 原创编译,[Linux中国](https://linux.cn/) 荣誉推出
|
||
|
||
[a]: http://www.tecmint.com/author/cezarmatei/
|
||
[1]: http://www.tecmint.com/installation-of-ubuntu-16-04-server-edition/
|
||
[2]: http://www.tecmint.com/apt-advanced-package-command-examples-in-ubuntu/
|
||
[3]: http://www.tecmint.com/20-netstat-commands-for-linux-network-management/
|
||
[4]: http://www.tecmint.com/manage-services-using-systemd-and-systemctl-in-linux/
|
||
[5]: http://www.tecmint.com/install-wordpress-using-lamp-or-lemp-on-rhel-centos-fedora/
|