安装完最小化 RHEL/CentOS 7 后需要做的 30 件事情(二)
================================================================================
### 7. 安装 PHP ###
PHP 是用于 web 基础服务的服务器端脚本语言。它也经常被用作通用编程语言。在最小化安装的 CentOS 中安装 PHP:
# yum install php
安装完 php 之后,确认重启 Apache 服务以便在 Web 浏览器中渲染 PHP。
# systemctl restart httpd.service
下一步,通过在 Apache 文档根目录下创建下面的 php 脚本验证 PHP。
# echo -e "<?php\nphpinfo();\n?>" > /var/www/html/phpinfo.php
现在在 Linux 命令行中查看我们刚才创建的 PHP 文件(phpinfo.php)。
# php /var/www/html/phpinfo.php
或者
# links http://127.0.0.1/phpinfo.php
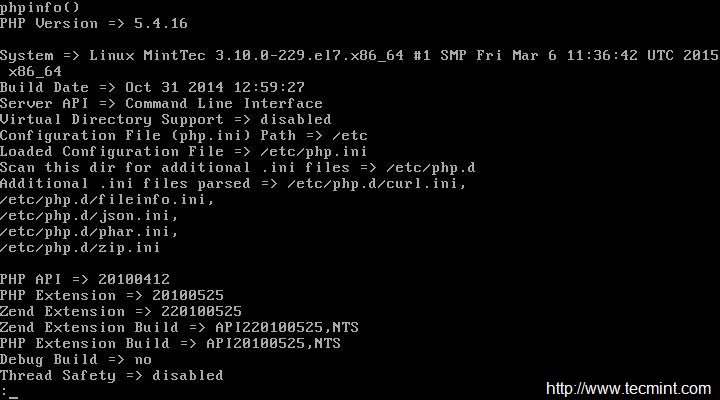
*验证 PHP*
### 8. 安装 MariaDB 数据库 ###
MariaDB 是 MySQL 的一个分支。RHEL 以及它的衍生版已经从 MySQL 迁移到 MariaDB。这是一个主流的数据库管理系统,也是一个你必须拥有的工具。不管你在配置怎样的服务器,或迟或早你都会需要它。在最小化安装的 CentOS 上安装 MariaDB,如下所示:
# yum install mariadb-server mariadb

*安装 MariaDB 数据库*
启动 MariaDB 并配置它开机时自动启动。
# systemctl start mariadb.service
# systemctl enable mariadb.service
允许 mysql(mariadb) 服务通过防火墙(LCTT 译注:如果你的 MariaDB 只用在本机,则务必不要设置防火墙允许通过,使用 UNIX Socket 连接你的数据库;如果需要在别的服务器上连接数据库,则尽量使用内部网络,而不要将数据库服务暴露在公开的互联网上。)
# firewall-cmd –add-service=mysql
现在是时候确保 MariaDB 服务器安全了(LCTT 译注:这个步骤主要是设置 mysql 管理密码)。
# /usr/bin/mysql_secure_installation
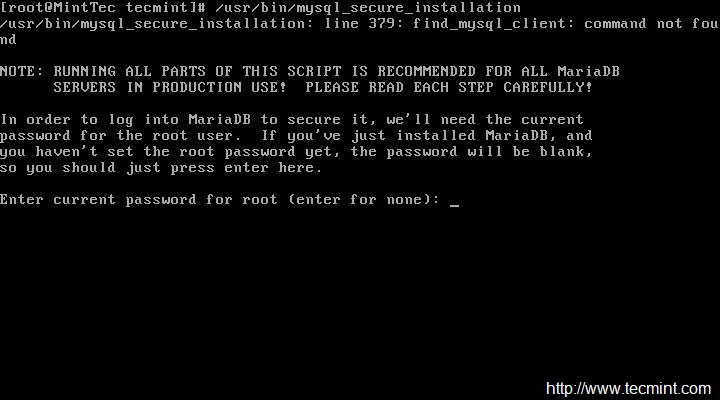
*保护 MariaDB 数据库*
请阅读:
- [在 CentOS 7.0 上安装 LAMP (Linux, Apache, MariaDB, PHP/PhpMyAdmin)][1]
- [在 CentOS 7.0 上创建 Apache 虚拟主机][2]
### 9. 安装和配置 SSH 服务器 ###
SSH 即 Secure Shell,是 Linux 远程管理的默认协议。 SSH 是随最小化 CentOS 服务器中安装运行的最重要的软件之一。
检查当前已安装的 SSH 版本。
# SSH -V

*检查 SSH 版本*
使用更安全的 SSH 协议,而不是默认的协议,并更改端口号进一步加强安全。编辑 SSH 的配置文件 ‘/etc/ssh/ssh_config’。
去掉下面行的注释或者从协议行中删除 1,然后行看起来像这样(LCTT 译注: SSH v1 是过期废弃的不安全协议):
# Protocol 2,1 (原来)
Protocol 2 (现在)
这个改变强制 SSH 使用 协议 2,它被认为比协议 1 更安全,同时也确保在配置中更改端口号 22 为其它。
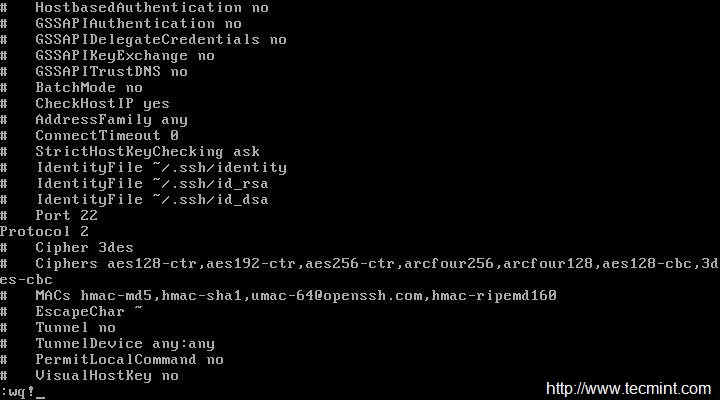
*保护 SSH 登录*
取消 SSH 中的‘root login’, 只允许通过普通用户账号登录后才能使用 su 切换到 root,以进一步加强安全。请打开并编辑配置文件 ‘/etc/ssh/sshd_config’ 并更改 PermitRootLogin yes 为 PermitRootLogin no。
# PermitRootLogin yes (原来)
PermitRootLogin no (现在)
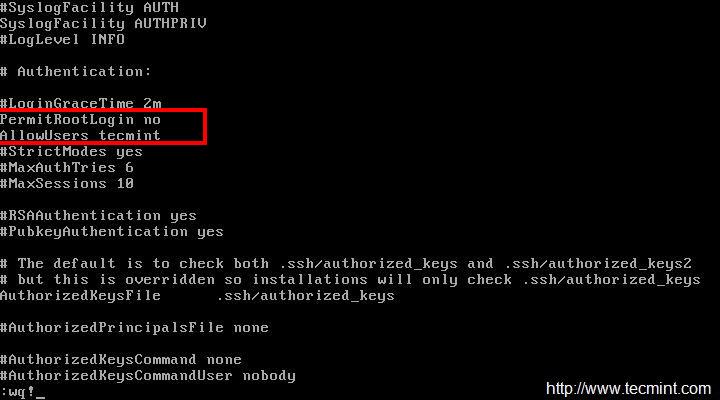
*取消 SSH Root 直接登录*
最后,重启 SSH 服务启用更改。
# systemctl restart sshd.service
请查看:
- [加密和保护 SSH 服务器的 5 个最佳实践][3]
- [5 个简单步骤实现使用 SSH Keygen 无密码登录 SSH][4]
- [在 PuTTY 中实现 “无密码 SSH 密钥验证”][5]
### 10. 安装 GCC (GNU 编译器集) ###
GCC 即 GNU 编译器集,是一个 GNU 项目开发的支持多种编程语言的编译系统(LCTT 译注:在你需要自己编译构建软件时需要它)。在最小化安装的 CentOS 没有默认安装。运行下面的命令安装 gcc 编译器。
# yum install gcc
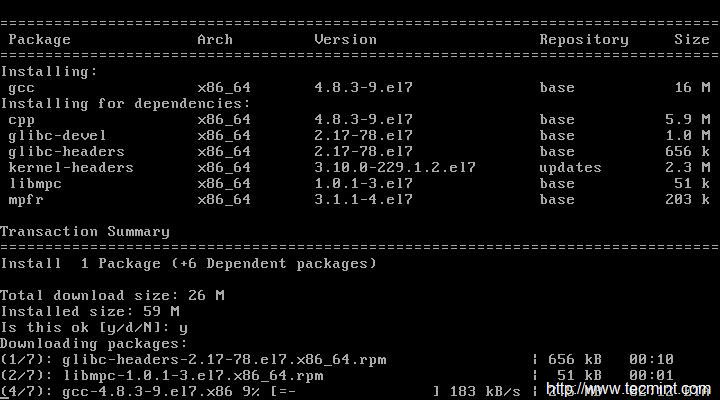
*在 CentOS 上安装 GCC*
检查安装的 gcc 版本。
# gcc --version
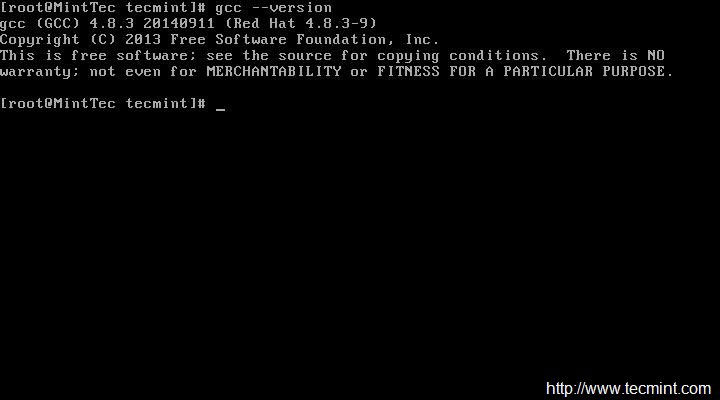
*检查 GCC 版本*
### 11. 安装 Java ###
Java是一种通用的基于类的,面向对象的编程语言。在最小化 CentOS 服务器中没有默认安装(LCTT 译注:如果你没有任何 Java 应用,可以不用装它)。按照下面命令从库中安装 Java。
# yum install java
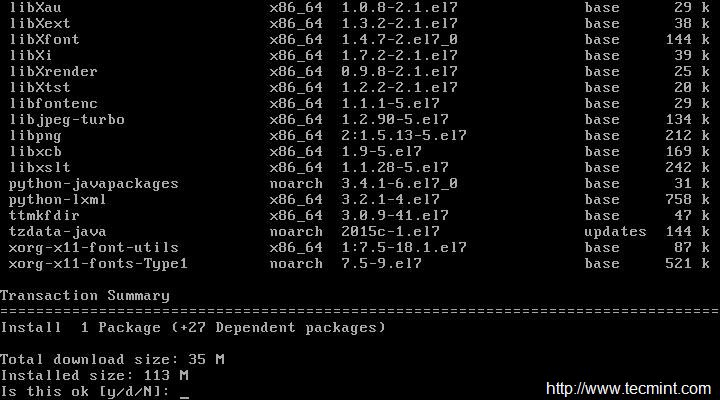
*安装 Java*
检查安装的 Java 版本。
# java -version

*检查 Java 版本*
--------------------------------------------------------------------------------
via: http://www.tecmint.com/things-to-do-after-minimal-rhel-centos-7-installation/2/
作者:[Avishek Kumar][a]
译者:[ictlyh](https://github.com/ictlyh)
校对:[wxy](https://github.com/wxy)
本文由 [LCTT](https://github.com/LCTT/TranslateProject) 原创翻译,[Linux中国](http://linux.cn/) 荣誉推出
[a]:http://www.tecmint.com/author/avishek/
[1]:http://www.tecmint.com/install-lamp-in-centos-7/
[2]:http://www.tecmint.com/apache-virtual-hosting-in-centos/
[3]:http://www.tecmint.com/5-best-practices-to-secure-and-protect-ssh-server/
[4]:http://www.tecmint.com/ssh-passwordless-login-using-ssh-keygen-in-5-easy-steps/
[5]:http://www.tecmint.com/ssh-passwordless-login-with-putty/