安装完最小化 RHEL/CentOS 7 后需要做的 30 件事情(三)
================================================================================
### 12. 安装 Apache Tomcat ###
Tomcat 是由 Apache 设计的用来运行 Java HTTP web 服务器的 servlet 容器。按照下面的方法安装 tomcat,但需要指出的是安装 tomcat 之前必须先安装 Java。
# yum install tomcat
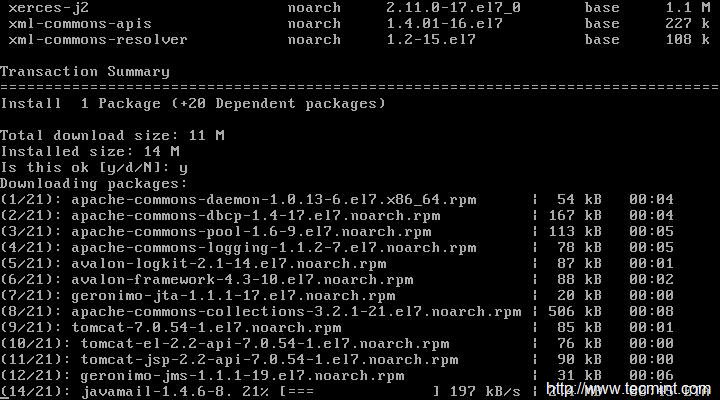
*安装 Apache Tomcat*
安装完 tomcat 之后,启动 tomcat 服务。
# systemctl start tomcat
查看 tomcat 版本。
# /usr/sbin/tomcat version
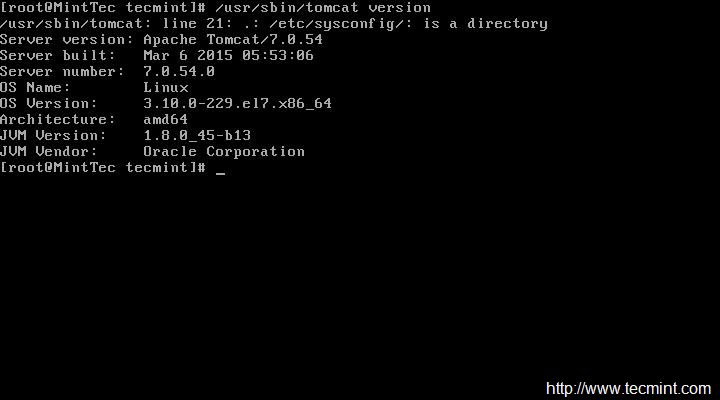
*查看 tomcat 版本*
允许 tomcat 服务和默认端口(8080) 通过防火墙并重新加载设置。
# firewall-cmd –zone=public –add-port=8080/tcp --permanent
# firewall-cmd –reload
现在该保护 tomcat 服务器了,添加一个用于访问和管理的用户和密码。我们需要编辑文件 ‘/etc/tomcat/tomcat-users.xml’。查看类似下面的部分:
<tomcat-users>
....
</tomcat-users>
<role rolename="manager-gui"/>
<role rolename="manager-script"/>
<role rolename="manager-jmx"/>
<role rolename="manager-status"/>
<role rolename="admin-gui"/>
<role rolename="admin-script"/>
<user username="tecmint" password="tecmint" roles="manager-gui,manager-script,manager-jmx,manager-status,admin-gui,admin-script"/>
</tomcat-users>

*保护 Tomcat*
我们在这里添加用户 “tecmint” 到 tomcat 的管理员/管理组中,使用 “tecmint” 作为密码。先停止再启动 tomcat 服务以使更改生效,并添加 tomcat 服务到随系统启动。
# systemctl stop tomcat
# systemctl start tomcat
# systemctl enable tomcat.service
请阅读: [在 RHEL/CentOS 7.0/6.x 中安装和配置 Apache Tomcat 8.0.9][5]
### 13. 安装 Nmap 监视开放端口 ###
Nmap 网络映射器用来分析网络,通过运行它可以发现网络的映射关系。nmap 并没有默认安装,你需要从库中安装它。
# yum install nmap

*安装 Nmap 监视工具*
列出主机中所有的开放端口以及对应使用它们的服务。
# namp 127.0.01
!监视开放端口](http://www.tecmint.com/wp-content/uploads/2015/04/Monitor-Open-Ports.jpeg)
*监视开放端口*
你也可以使用 firewall-cmd 列出所有端口,但我发现 nmap 更有用。
# firewall-cmd –list-ports

*在防火墙中检查开放端口*
请阅读: [Nmap 监视开放端口的 29 个有用命令][1]
### 14. 配置 FirewallD ###
firewalld 是动态管理服务器的防火墙服务。在 CentOS 7 中 Firewalld 移除了 iptables 服务。在红帽企业版 Linux 和它的衍生版中默认安装了 Firewalld。如果有 iptables 的话为了使每个更改生效需要清空所有旧的规则然后创建新规则。
然而用firewalld,不需要清空并重新创建新规则就可以实现更改生效。
检查 Firewalld 是否运行。
# systemctl status firewalld
或
# firewall-cmd –state

*检查 Firewalld 状态*
获取所有的区域列表。
# firewall-cmd --get-zones

*检查 Firewalld 区域*
在切换之前先获取区域的详细信息。
# firewall-cmd --zone=work --list-all

*检查区域详情*
获取默认区域。
# firewall-cmd --get-default-zone

*Firewalld 默认区域*
切换到另一个区域,比如 ‘work’。
# firewall-cmd --set-default-zone=work

*切换 Firewalld 区域*
列出区域中的所有服务。
# firewall-cmd --list-services

*列出 Firewalld 区域的服务*
添加临时服务,比如 http,然后重载 firewalld。
# firewall-cmd --add-service=http
# firewall-cmd –reload

*添加临时 http 服务*
添加永久服务,比如 http,然后重载 firewalld。
# firewall-cmd --add-service=http --permanent
# firewall-cmd --reload

*添加永久 http 服务*
删除临时服务,比如 http。
# firewall-cmd --remove-service=http
# firewall-cmd --reload

*删除临时 Firewalld 服务*
删除永久服务,比如 http
# firewall-cmd --zone=work --remove-service=http --permanent
# firewall-cmd --reload

*删除永久服务*
允许一个临时端口(比如 331)。
# firewall-cmd --add-port=331/tcp
# firewall-cmd --reload

*打开临时端口*
允许一个永久端口(比如 331)。
# firewall-cmd --add-port=331/tcp --permanent
# firewall-cmd --reload

*打开永久端口*
阻塞/移除临时端口(比如 331)。
# firewall-cmd --remove-port=331/tcp
# firewall-cmd --reload

*移除临时端口*
阻塞/移除永久端口(比如 331)。
# firewall-cmd --remove-port=331/tcp --permanent
# firewall-cmd --reload

*移除永久端口*
停用 firewalld。
# systemctl stop firewalld
# systemctl disable firewalld
# firewall-cmd --state

*停用 Firewalld 服务*
启用 firewalld。
# systemctl enable firewalld
# systemctl start firewalld
# firewall-cmd --state

*启用 Firewalld*
- [如何在 RHEL/CentOS 7 中配置 ‘Firewalld’][2]
- [配置和管理 Firewalld 的有用 ‘Firewalld’ 规则][3]
### 15. 安装 Wget ###
Wget 是从 web 服务器获取(下载)内容的命令行工具。它是你使用 wget 命令获取 web 内容或下载任何文件必须要有的重要工具。
# yum install wget

*安装 Wget 工具*
关于在终端中如何使用 wget 命令下载文件的方法和实际例子,请阅读[10 个 Wget 命令例子][4]。
### 16. 安装 Telnet 客户端###
Telnet 是通过 TCP/IP 允许用户登录到相同网络上的另一台计算机的网络协议。和远程计算机的连接建立后,它就成为了一个允许你在自己的计算机上用所有提供给你的权限和远程主机交互的虚拟终端。(LCTT 译注:除非你真的需要,不要安装 telnet 服务,也不要用 telnet 客户端连接另外一个 telnet 服务,因为 telnet 是明文传输的。不过如下用 telnet 客户端检测另外一个服务的端口是否工作是常用的操作。)
Telnet 对于检查远程计算机或主机的监听端口也非常有用。
# yum install telnet
# telnet google.com 80

*Telnet 端口检查*
--------------------------------------------------------------------------------
via: http://www.tecmint.com/things-to-do-after-minimal-rhel-centos-7-installation/3/
作者:[Avishek Kumar][a]
译者:[ictlyh](https://github.com/ictlyh)
校对:[wxy](https://github.com/wxy)
本文由 [LCTT](https://github.com/LCTT/TranslateProject) 原创翻译,[Linux中国](http://linux.cn/) 荣誉推出
[a]:http://www.tecmint.com/author/avishek/
[1]:http://linux.cn/article-2561-1.html
[2]:http://linux.cn/article-4425-1.html
[3]:http://www.tecmint.com/firewalld-rules-for-centos-7/
[4]:http://linux.cn/article-4129-1.html
[5]:http://www.tecmint.com/install-apache-tomcat-in-centos/