在 CentOS 7 中安装并使用自动化工具 Ansible
================================================================================
Ansible是一款为类Unix系统开发的自由开源的配置和自动化工具。它用Python写成,类似于Chef和Puppet,但是有一个不同和优点是我们不需要在节点中安装任何客户端。它使用SSH来和节点进行通信。
本篇中我们将在CentOS 7上安装并配置Ansible,并且尝试管理两个节点。
- **Ansible 服务端** – ansible.linuxtechi.com ( 192.168.1.15 )
- **节点** – 192.168.1.9 , 192.168.1.10
### 第一步: 设置EPEL仓库 ###
Ansible仓库默认不在yum仓库中,因此我们需要使用下面的命令启用epel仓库。
[root@ansible ~]# rpm -iUvh http://dl.fedoraproject.org/pub/epel/7/x86_64/e/epel-release-7-5.noarch.rpm
### 第二步: 使用yum安装Ansible ###
[root@ansible ~]# yum install ansible
安装完成后,检查ansible版本:
[root@ansible ~]# ansible --version

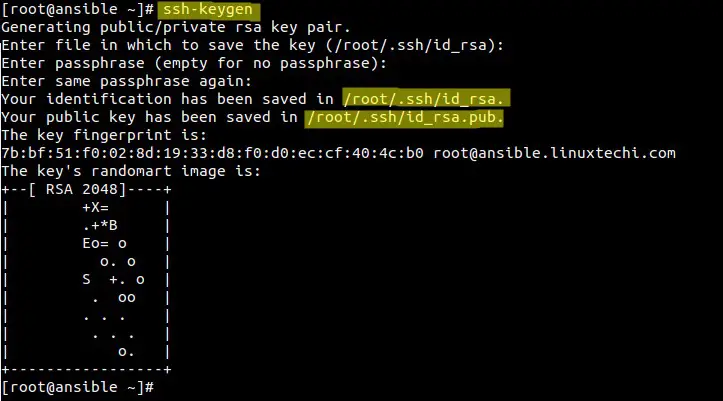
### 第三步: 设置用于节点鉴权的SSH密钥 ###
在Ansible服务端生成密钥,并且复制公钥到节点中。
root@ansible ~]# ssh-keygen
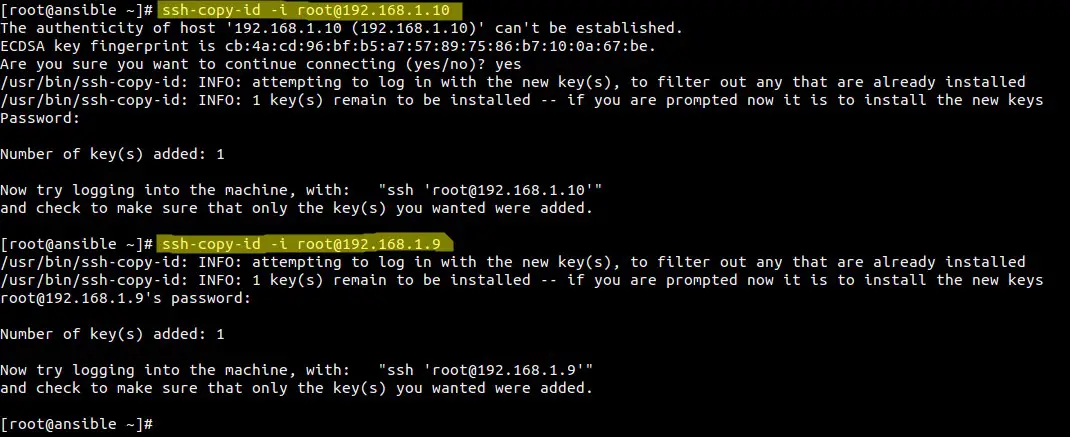
使用ssh-copy-id命令来复制Ansible公钥到节点中。
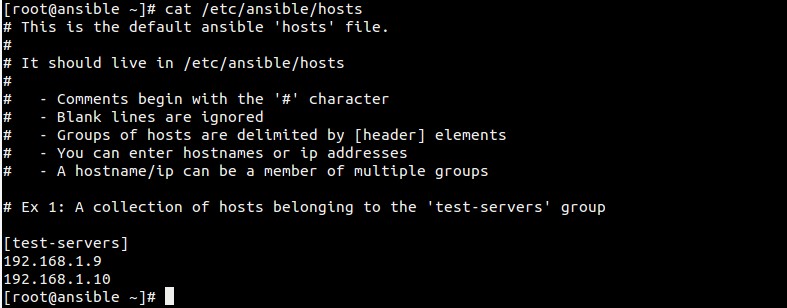
### 第四步:为Ansible定义节点的清单 ###
文件 `/etc/ansible/hosts` 维护着Ansible中服务器的清单。
[root@ansible ~]# vi /etc/ansible/hosts
[test-servers]
192.168.1.9
192.168.1.10
保存并退出文件。
主机文件示例如下:
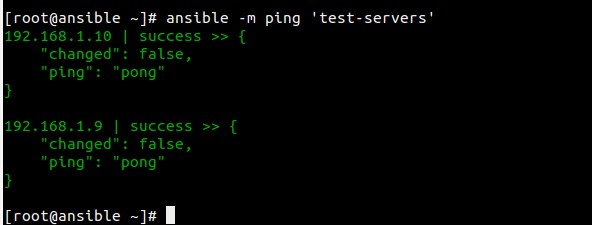
### 第五步:尝试在Ansible服务端运行命令 ###
使用ping检查‘test-servers’或者ansible节点的连通性。
[root@ansible ~]# ansible -m ping 'test-servers'
#### 执行shell命令 ####
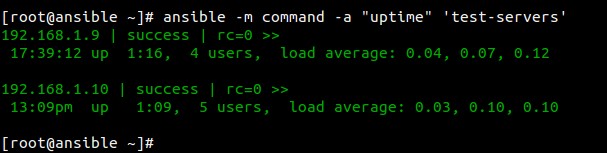
**例子1:检查Ansible节点的运行时间(uptime)**
[root@ansible ~]# ansible -m command -a "uptime" 'test-servers'
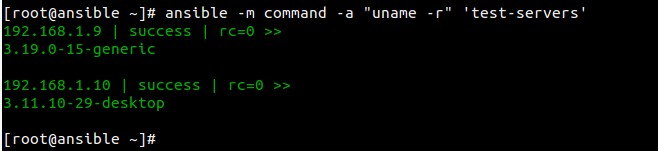
**例子2:检查节点的内核版本**
[root@ansible ~]# ansible -m command -a "uname -r" 'test-servers'
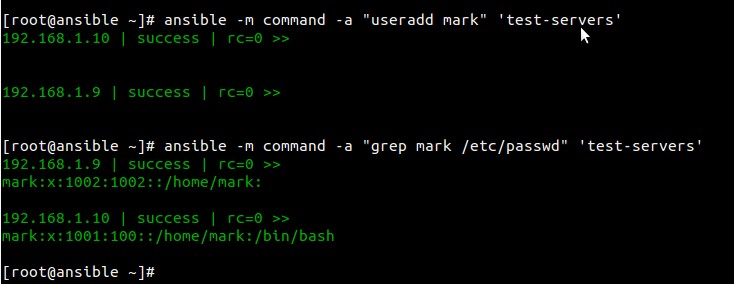
**例子3:给节点增加用户**
[root@ansible ~]# ansible -m command -a "useradd mark" 'test-servers'
[root@ansible ~]# ansible -m command -a "grep mark /etc/passwd" 'test-servers'
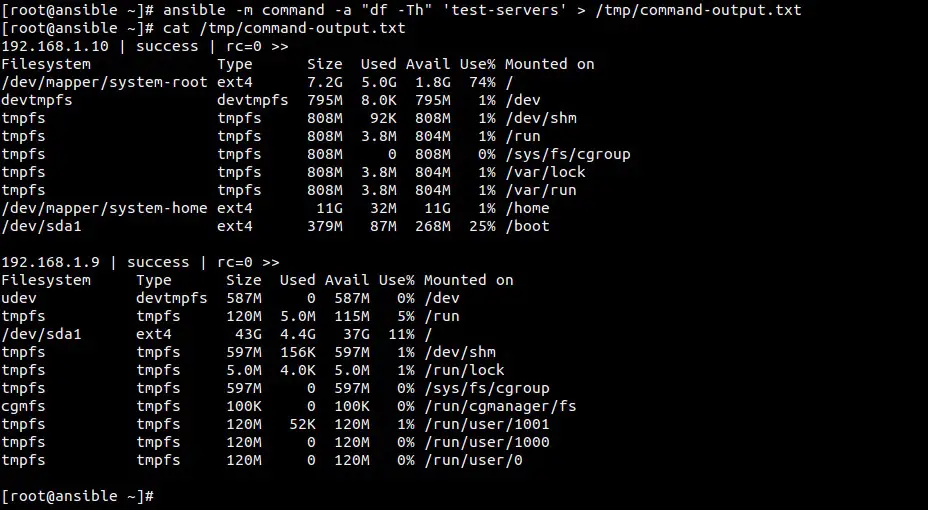
**例子4:重定向输出到文件中**
[root@ansible ~]# ansible -m command -a "df -Th" 'test-servers' > /tmp/command-output.txt
--------------------------------------------------------------------------------
via: http://www.linuxtechi.com/install-and-use-ansible-in-centos-7/
作者:[Pradeep Kumar][a]
译者:[geekpi](https://github.com/geekpi)
校对:[wxy](https://github.com/wxy)
本文由 [LCTT](https://github.com/LCTT/TranslateProject) 原创编译,[Linux中国](https://linux.cn/) 荣誉推出
[a]:http://www.linuxtechi.com/author/pradeep/